App to Help Design a Room: A Step-by-Step Guide
Find the best app to help design a room with our step-by-step guide. Learn to choose, use, and master tools for a perfect, photorealistic interior design.
You’ve probably done some version of this already. You found a sofa you love, maybe from Crate & Barrel, maybe a textured sectional from West Elm, and then the doubt hit. Will it fit under the window? Will the arm height fight with your coffee table? Will the color look rich in your room, or flat and muddy once it arrives?
That hesitation is exactly why so many homeowners now look for an app to help design a room before they buy. Good design apps remove guesswork. Great ones help you make a purchase decision with confidence, not just play around with a floor plan.
From Design Doubt to Digital Confidence
The reason these tools matter is simple. Decorating used to rely on tape measures, screenshots, and imagination. That works for broad ideas, but it breaks down when you’re comparing real products, real finishes, and real room proportions.
The shift toward digital room planning is no fad. The interior design software sector was valued at approximately $5.2 billion in 2023 and is projected to reach $12.5 billion by 2030, with mobile apps saving users up to 100x more time than traditional 3D/CAD mockups and helping reduce returns by 25-30% through accurate scaling previews, according to Apartment Therapy’s review of room design apps.
That matters in everyday terms. A room design app can answer the questions that usually stall a project:
- Fit questions: Will the dresser block the swing of the closet door?
- Style questions: Does a warm oak media console work better than walnut in this light?
- Purchase questions: Is the boucle chair worth ordering, or is it too bulky for the room?
- Layout questions: Should the bed stay centered, or shift to make space for a reading corner?
What a good app should help you solve
Some apps are built for measuring. Some are built for sketching layouts. Some are built for making a room look polished in a realistic image.
Those are not the same job.
Practical rule: Pick the tool based on the decision you need to make. If you’re choosing between exact products, a generic furniture model won’t get you far enough.
The strongest tools make the room feel less abstract. You stop wondering and start comparing. That’s when decorating gets easier, faster, and a lot more enjoyable.
Choosing the Right Digital Design Tool
Not every app to help design a room does the same thing. Most fall into three groups. If you know the trade-offs, you’ll waste less time chasing the wrong kind of result.
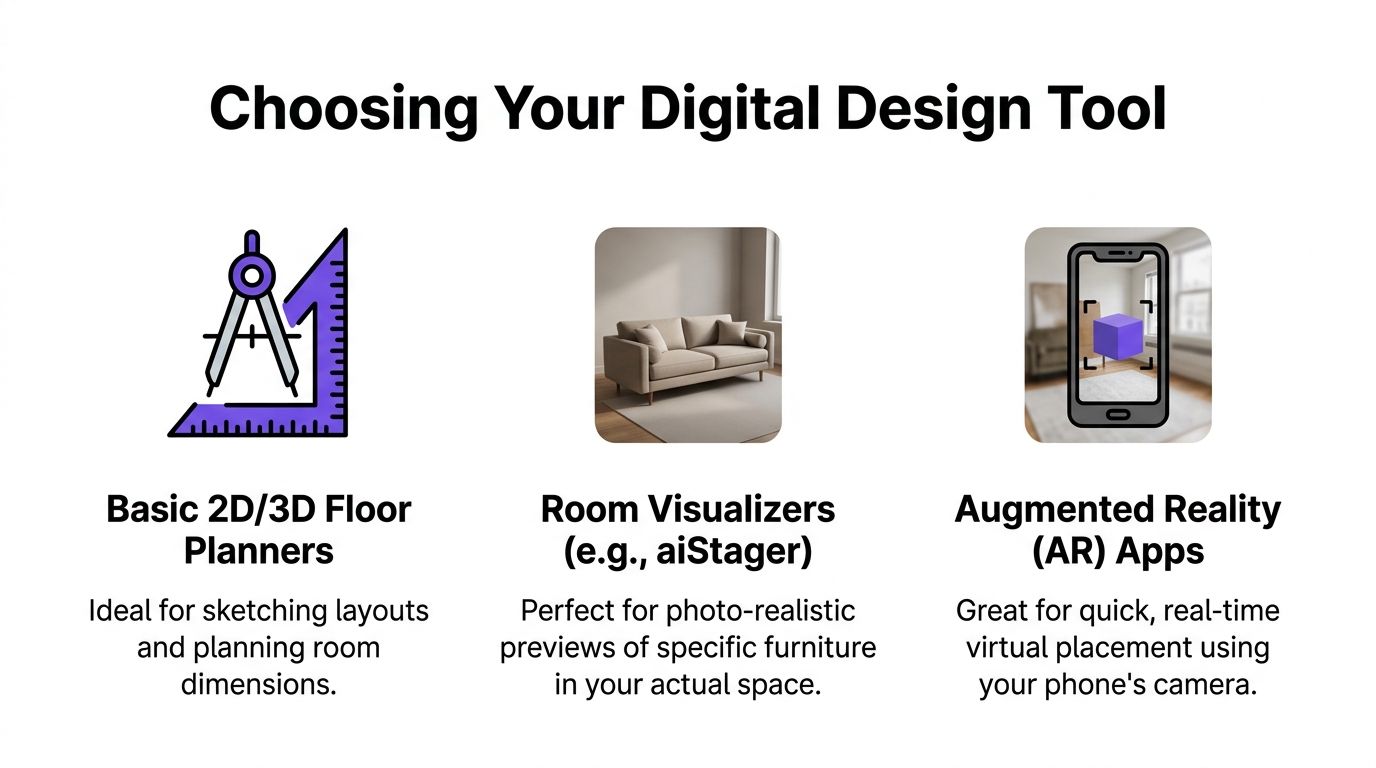
The three categories that matter
Basic 2D and 3D floor planners are useful when you need to map a room. They help with walls, windows, traffic flow, and furniture footprints. If you’re rearranging a bedroom, checking whether a king bed will leave enough circulation space, or building a simple layout from scratch, this category works well.
Then there are catalog-based modelers. These apps let you place sofas, beds, tables, and lighting from built-in libraries. They’re better for mood and general styling than a pure floor planner, but they often rely on generic items. That becomes a problem when you want to see your exact Article dining table or a specific CB2 lounge chair rather than a rough substitute.
The third category is advanced AI visualizers. These focus less on manually building a room from the ground up and more on turning a room photo into a realistic design preview. They’re especially useful when you want to compare actual purchase options, finishes, and brand-specific products in a way that looks close to a real photograph.
Where most apps still fall short
A major limitation in many room design tools is their reliance on proprietary furniture libraries. As noted in the Planner 5D app listing context, they often can’t directly integrate real-world products from retail websites, which forces users to settle for “close enough” substitutes and manually input dimensions.
That’s the gap most roundups miss. The difference between a generic cream sofa and the exact cream sofa you’re considering is not small. Arm shape, seat depth, leg finish, and overall scale all change how the room reads.
Comparison of Room Design App Types
| App Type | Best For | Key Feature | Limitation |
|---|---|---|---|
| Basic 2D/3D Floor Planners | Layout planning, room measurements, renovation prep | Wall and furniture placement | Less helpful for realistic product comparison |
| Catalog-Based Modelers | Early styling concepts and mood testing | Built-in furniture libraries | Often limited to generic or proprietary items |
| Advanced AI Visualizers | Product-level decisions and realistic previews | Photo-based visualization using actual room context | Depends on good room photos and accurate product data |
If you want a simple planning starting point, a retailer-oriented tool such as Room Planner from Tip Top Furniture & Mattresses can help you think through furniture fit and arrangement before you buy. If you want a broader look at software options and how they differ, this roundup of best room planning software is useful for sorting tools by use case instead of hype.
The right app isn’t the one with the biggest object library. It’s the one that answers your next real decision.
How to Prepare Your Room for Its Digital Debut
The quality of your result starts before you open any app. A rushed photo and vague measurements produce vague answers. A clean input gives you something you can trust.
Take a room photo that helps the software
Stand in a corner when possible. That angle captures the most floor area and gives the app more context for walls, openings, and furniture relationships. Hold your phone straight and avoid tilting down too hard, because dramatic angles can distort proportions.
Natural light helps. Open blinds, turn on interior lights if the room is dim, and avoid shooting into a bright window if you can. If the room is cluttered, clear the major distractions first. You don’t need the space magazine-perfect, but laundry piles, open boxes, and stray chairs can confuse both you and the tool.
A more detailed walkthrough on photo setup is in this guide to the perfect empty room photo for virtual staging.
Measure more than the room itself
Recording the room width and length is often where the process stops. That’s not enough if you want a design that feels right.
Measure these too:
- Window placement: Note width, height, and sill height.
- Door swing: A chair that looks fine in a render can still block a door in real life.
- Ceiling height: This changes how tall bookcases, headboards, and drapery feel.
- Fixed features: Radiators, vents, fireplaces, and built-ins all affect layout choices.
Build a mini style brief
Design apps work better when you know your direction. Pull a few reference images and look for patterns, not perfection. If your saved rooms all feature pale oak, matte black accents, and low-profile upholstery, that’s useful. If they mix spindle chairs, warm linen, and vintage rugs, that’s useful too.
Try writing down three things:
Your style direction
Maybe it’s Japandi, modern farmhouse, California casual, or refined transitional.Your color guardrails
Soft olive, chalky white, camel leather, blackened bronze. Keep it short.Your must-haves A sleeper sofa, storage coffee table, washable rug, or performance fabric dining chairs.
A clear style brief keeps you from testing twenty options that were never right for the room in the first place.
Designing Your Space with Virtual Furniture
Once your room is photographed and measured, the design process becomes much more practical. You’re no longer decorating in the abstract. You’re editing a real space with visible limits and opportunities.

Start with the room, not the product
Upload the room photo first. Then anchor the room with the biggest pieces. In a living room, that usually means the sofa, rug, and media unit. In a bedroom, it’s the bed, nightstands, and dresser.
Large pieces determine circulation and visual weight; if these aspects are incorrect, decorative layers won't be sufficient to improve the room.
Two very different ways to add furniture
Most apps use a familiar method. You search the built-in catalog for something like “blue sofa,” “round coffee table,” or “oak dining chair.” That’s fine for broad experimentation. You can see whether the room wants a sectional or apartment sofa, or whether a pedestal table feels lighter than four visible legs.
But this method gets shaky when you’re comparing actual products. A generic blue sofa might suggest the right color family, while telling you almost nothing about the specific Joybird silhouette you bookmarked or the deeper seat on an Interior Define model.
Some newer tools change that workflow. Instead of asking you to hunt through a generic library, they let you use a real product link. A tool such as aiStager takes a room photo and a product URL, then renders that item into the room using the product’s own data. That makes it much easier to compare different versions of the same purchase category, such as three blue velvet sofas from Joybird, Interior Define, and Anthropologie, or one dining chair in wood, black, and ivory finishes.
What to test inside the design
Once the main item is in place, don’t just ask whether it “looks good.” Test specific variables.
- Scale: Does the sofa feel grounded, or does it eat the room?
- Color: Does camel leather warm the room more than cream upholstery?
- Finish: Does brushed brass feel sharp against your flooring, or too shiny?
- Spacing: Is there enough air around the piece for the room to feel calm?
For faster-moving professional work, speed matters even more. As noted in Furniture of Dalton’s discussion of room design app workflow, many apps that require 15-30 minutes of manual setup per room are too slow for teams handling repeated staging or high-volume image production. That same truth applies to homeowners. If every test takes too long, you stop experimenting.
A quick visual demo helps if you’ve never seen this process in action:
Make the room feel finished, not crowded
After the main furniture is placed, layer with restraint. Add lighting, a side table, artwork, or a bench only if they support the room’s function. Many beginners overfill digital rooms because empty space feels uncomfortable on screen.
In real interiors, breathing room is part of the design.
Leave some visual quiet around the hero piece. A room usually feels more expensive when every corner isn’t trying to speak at once.
When to Choose a Hyper-Realistic AI Tool
Basic planners are enough for some projects. If you only need to confirm that a queen bed fits on the long wall, use the simple tool and move on. But there’s a point where simple planning stops being helpful.
That point usually comes right before money changes hands.
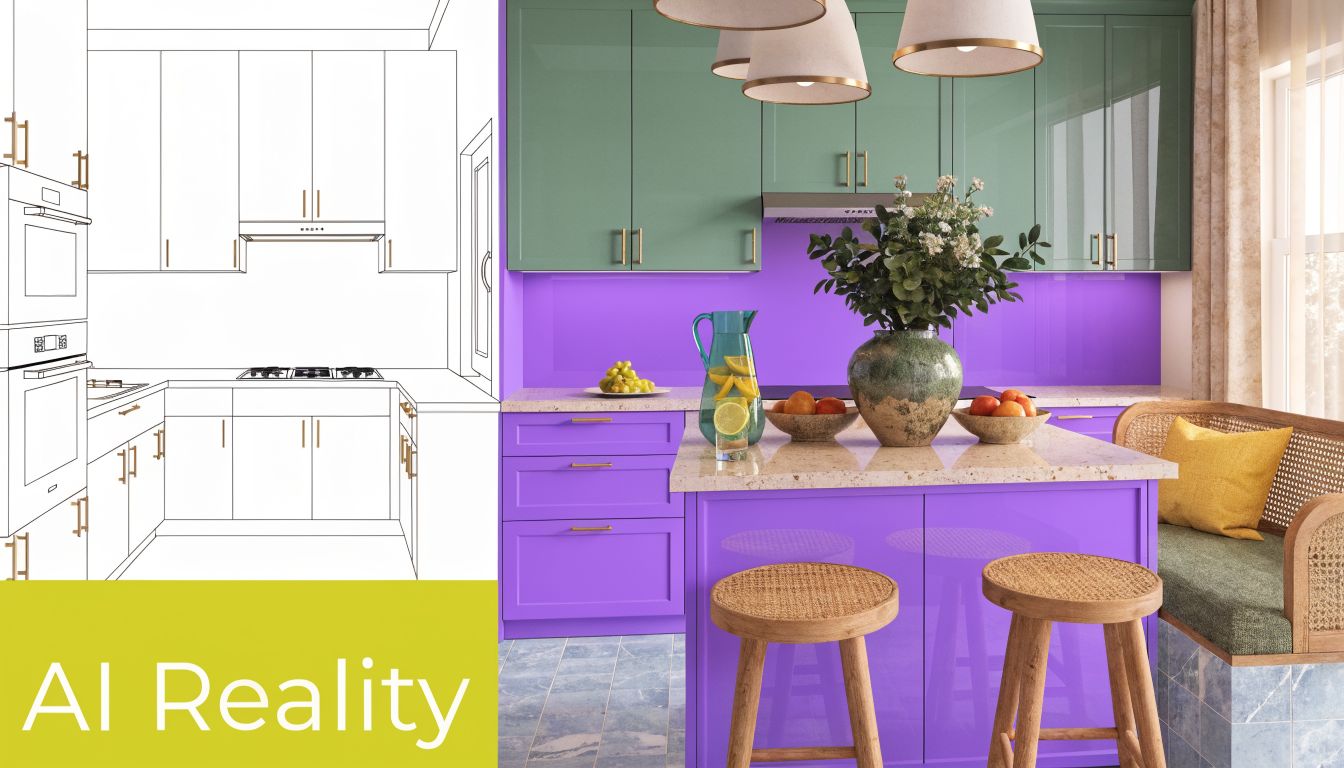
Photorealism changes the kind of decision you can make
A flat 3D model can tell you that a chair fits. It usually can’t tell you whether that chair feels elegant, bulky, cold, soft, or out of place in your actual light.
That’s why hyper-realistic visualization matters. When the output looks close to a finished photo instead of a game-like render, you can judge tone, texture, and proportion more accurately. A nubby ivory boucle chair reads differently from a structured linen version. A walnut console with slim legs reads differently from a blockier oak piece, even when both technically fit the same wall.
Advanced AI tools prove their value. The methodology behind them can be up to 100x faster than manual 3D/CAD mockups, and tools that automatically pull product data from a URL to create a hyper-realistic render have been shown to reduce client approval cycles by 70-80% in professional use, according to Grand View Research market analysis cited for this workflow.
When the upgrade is worth it
Choose a hyper-realistic tool when your question is one of these:
You’re deciding between exact products
Not “a sofa,” but this sofa versus that one.Material matters
Linen, velvet, boucle, leather, oak, walnut, travertine, smoked glass.You need stakeholder approval
A spouse, client, contractor, or listing team needs to understand the direction quickly.The room already exists and you want to work from a photo
This is especially helpful in furnished homes, empty listings, and rooms with awkward architecture.
Real products are the turning point
The leap from generic furniture blocks to actual products is more important than many people realize. With generic libraries, you can test concept. With shoppable products, you can test commitment.
That distinction is huge for homeowners. If you’re comparing a low, sleek sectional against a slipcovered one, what you need isn’t a rough shape. You need to see the effect of those exact proportions and finishes in your room.
It also matters for designers. Client presentations go more smoothly when the image looks believable enough that the client can react to the room instead of trying to mentally translate a sketchy render. For real estate agents, a realistic staged room feels more persuasive than a stylized digital mockup. For furniture retailers, showing a real SKU in a real-looking space is far more useful than dropping a cutout onto a blank background.
If you want more context on how brands handle product-focused visualization, this Ultimate Guide to AI Furniture Visuals is a worthwhile read.
Hyper-realistic room design isn’t about making the image prettier. It’s about making the decision clearer.
Finalizing and Exporting Your Perfect Room Design
Once you land on a direction, treat the design as a working document, not a final decoration file. The image should help you buy smarter, communicate faster, and avoid expensive second-guessing.
Save more than one version
Export a few options side by side. Don’t save only the winner. Save the runner-up too, especially if the difference comes down to color, leg finish, or layout.
That gives you a cleaner comparison later when decision fatigue kicks in. It also helps if a product goes out of stock and you need a backup that still suits the room.
Turn the design into an action plan
A finished render becomes more useful when you pair it with a simple shopping and implementation list.
- Record product links: Keep the exact sofa, rug, lighting, and table links together.
- Capture finish notes: Note whether you chose natural oak, antique brass, or ivory performance fabric.
- Separate essentials from later additions: Buy the anchor pieces first. Layer decor after the room is functioning well.
- Share the visuals: Send them to a partner, designer, contractor, or installer so everyone is reacting to the same concept.
Fix common problems before you trust the output
If something feels off, don’t ignore it. Usually the issue comes from the source photo or the product data.
Poor lighting in the render often starts with a dim or uneven room photo. An item that looks too large or too small may trace back to incomplete product dimensions or a misleading source image. If the room feels awkward, revisit the camera angle. A stronger input often solves the problem faster than endless re-editing.
A room design app is most helpful when it moves you toward a real decision. If the final output doesn’t tell you what to buy, where to place it, or what to skip, keep refining.
Design Your Home with Confidence
Value of an app to help design a room isn’t novelty. It’s clarity. You stop making decorating decisions based on hope and start making them based on visible, testable choices.
That shift changes the whole process. Layout becomes easier to judge. Product selection becomes more grounded. Finishes stop feeling like a gamble. Even small decisions, like whether to choose a black floor lamp or a warm brass one, get easier when you can see the room respond.
The biggest leap comes when design tools move beyond generic placeholders and help you visualize real products inside your actual space. That’s the point where a room planner stops being a toy and starts becoming a practical buying tool.
Good design still needs taste, restraint, and attention. Technology doesn’t replace that. What it does do is remove a lot of unnecessary uncertainty, which is often the part that keeps projects stuck.
If you’re furnishing one room, presenting ideas to a client, or trying to make smarter product decisions before checkout, the right digital tool can shorten the path between inspiration and a room that feels finished.
If you want to test real furniture in your actual room photo instead of settling for generic stand-ins, aiStager gives you a practical way to compare products, colors, and finishes from a simple photo and product link before you buy.