Perfect Empty Room Photos for Virtual Staging
Learn how to take perfect empty room photos for virtual staging. Our guide covers prep, lighting, and angles to get stunning AI-powered designs.
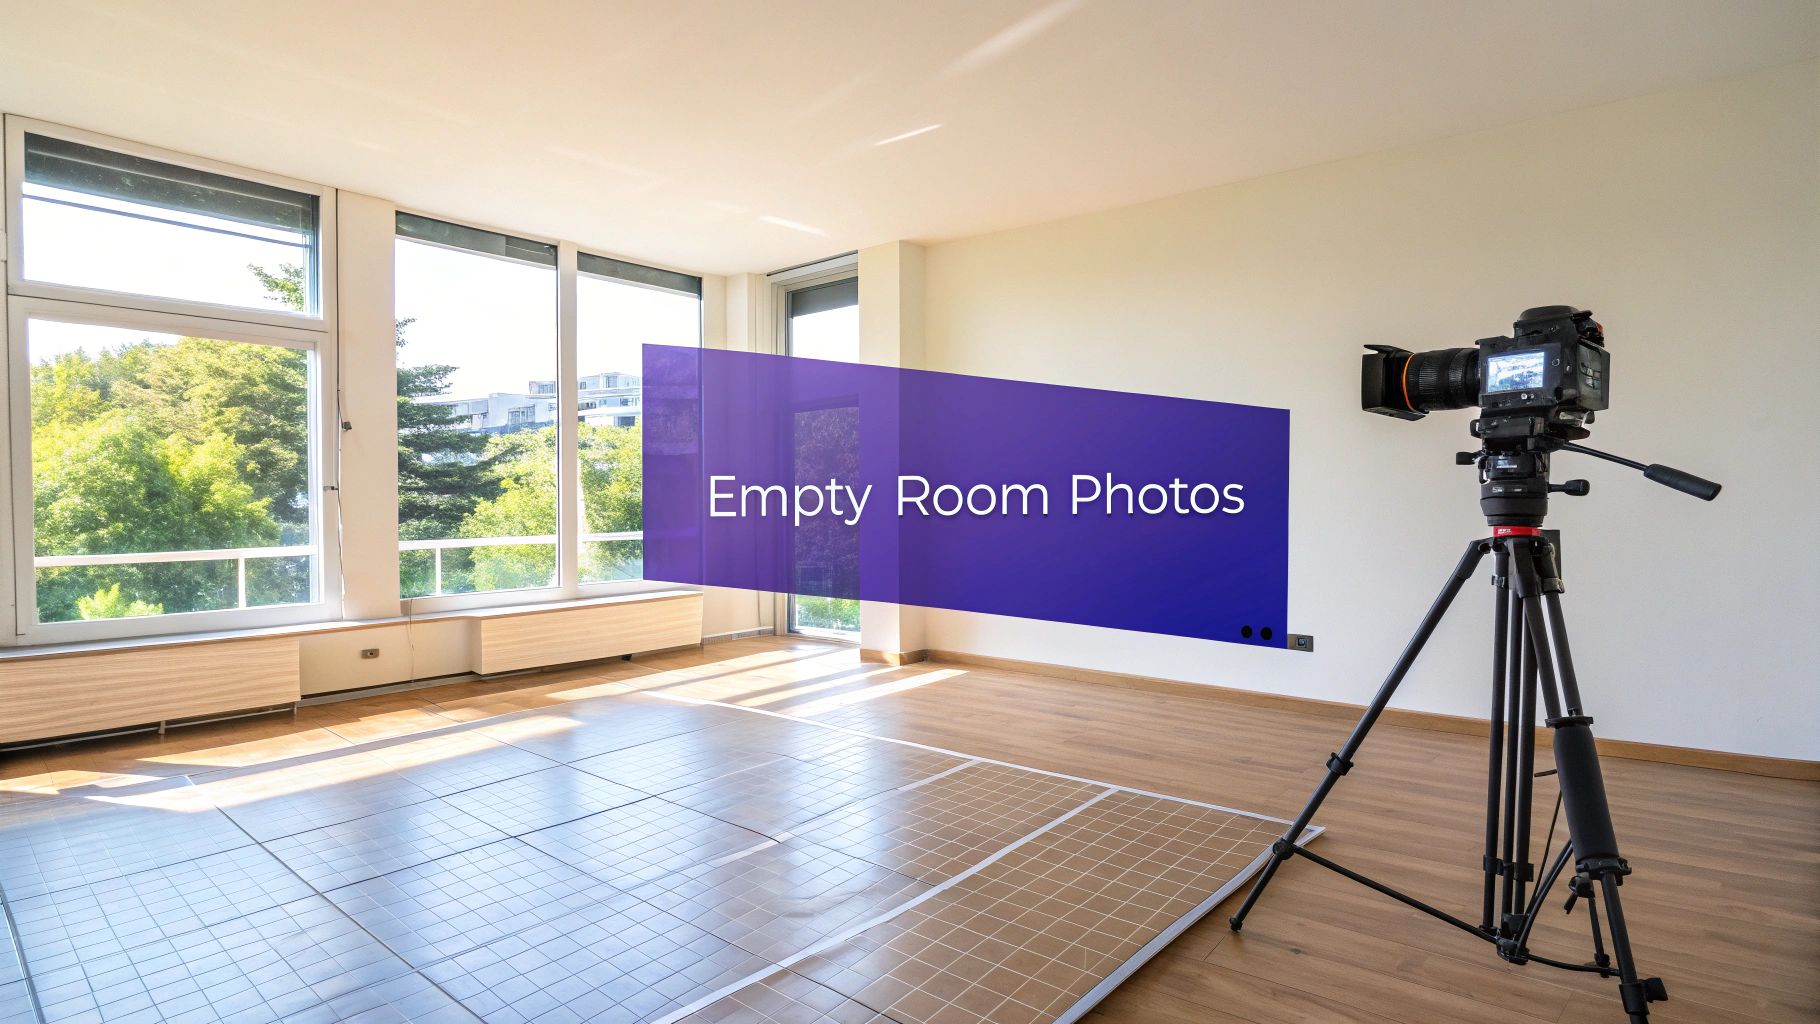
Empty room photos are the foundational blank canvas we use in real estate and interior design to digitally add furniture and decor.
Why a Great Photo Is Your Most Important Tool
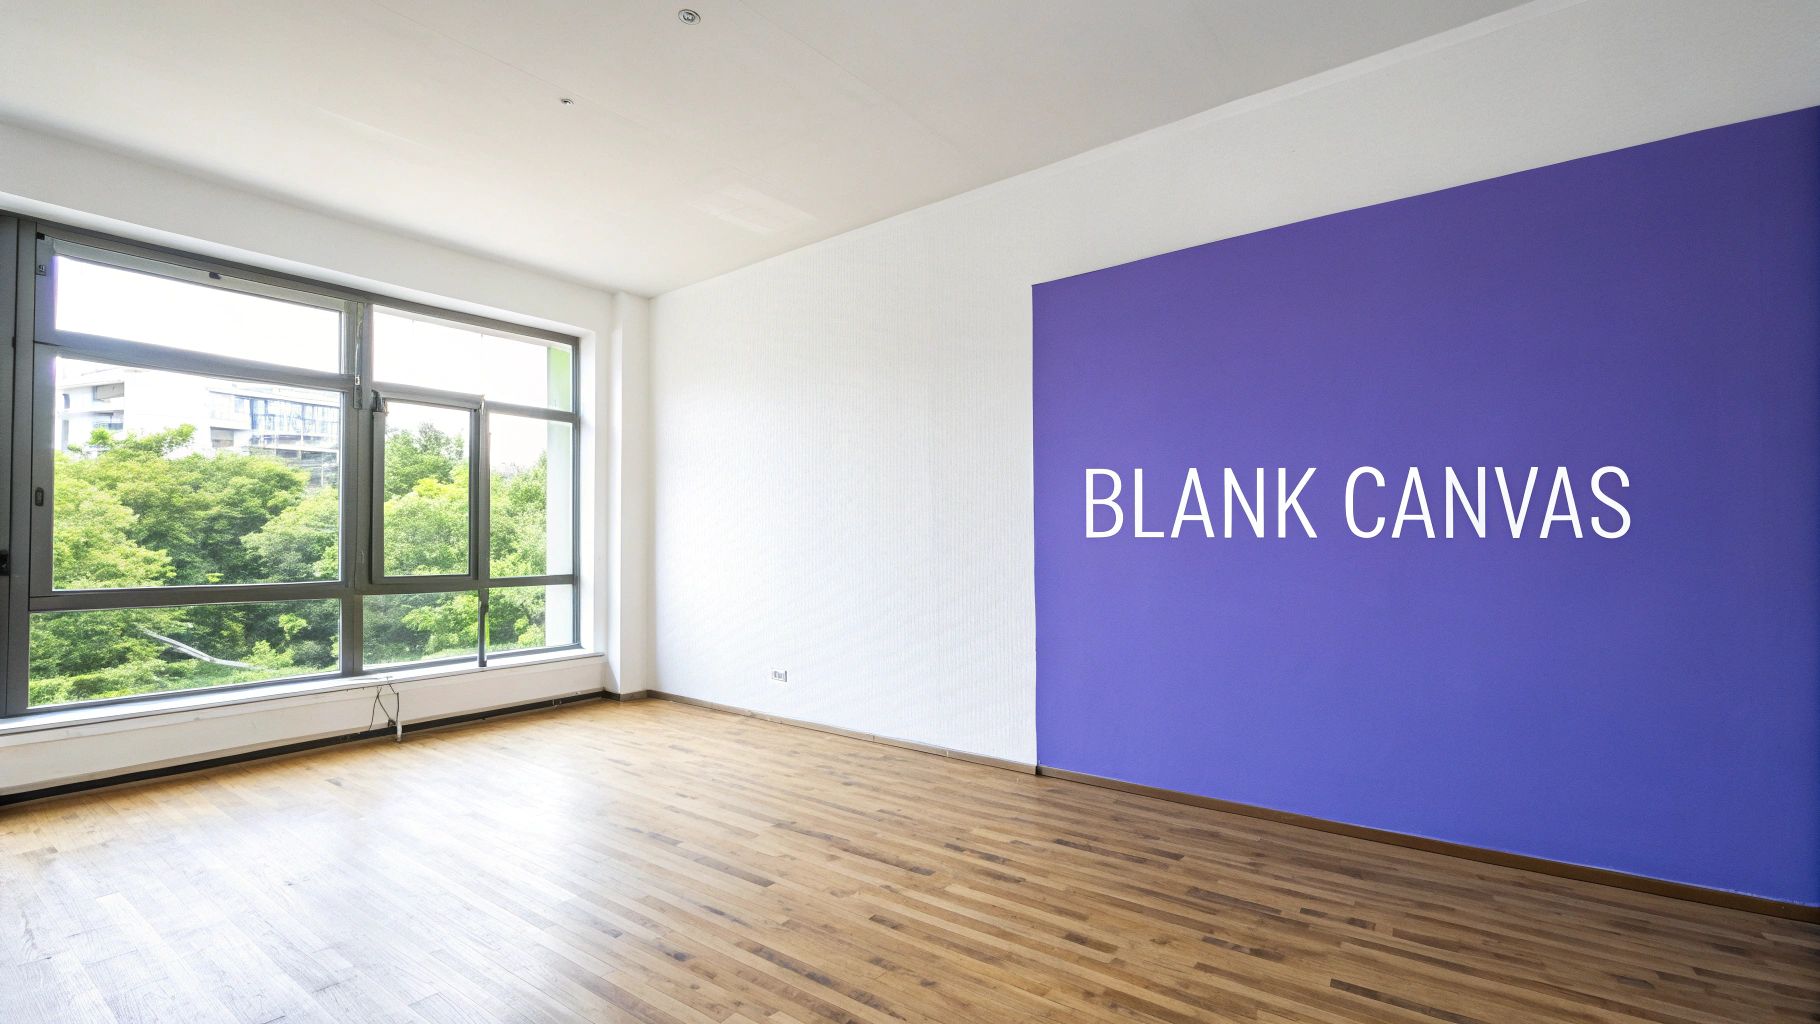
Think of an empty room photo not just as a picture, but as the blueprint for your entire design vision. It’s the essential starting point where virtual staging tools bring ideas to life. Many people assume any quick phone snapshot will work, but the quality of your initial photo directly impacts how realistic the final staged result will look.
This is especially true for advanced platforms like aiStager. It’s the only solution that generates hyper-realistic photos using true dimension rooms and furniture objects. A clean, well-lit photo allows the AI to accurately interpret space, light, and texture, transforming a simple picture into a powerful design tool.
From Technical Necessity to Design Opportunity
The idea of empty spaces in photography isn't exactly new. Back in the mid-1800s, long camera exposure times made moving people vanish from city scenes, creating unintentionally empty streetscapes. This was a technical limitation, not an artistic choice.
Today, we create empty room photos on purpose. They serve as the perfect foundation for exploring design possibilities. For instance, with a tool like aiStager, you can easily test different products in your room. Just upload a photo and a product link, and you can visualize how a sleek West Elm sofa compares to a more traditional option from Pottery Barn.
The platform excels at testing different versions of the same product. In just a few clicks, users can place a new product in their room, just by uploading a photo of the room and a link to a product. You can swap a sofa's color from a neutral beige to a bold navy to see what works best with your lighting and decor.
A great empty room photo helps potential buyers envision the space, and understanding how different flooring choices can significantly impact your home's appeal and value is part of that vision. This guide will walk you through the practical steps to capture photos that unlock the full potential of AI-powered virtual staging.
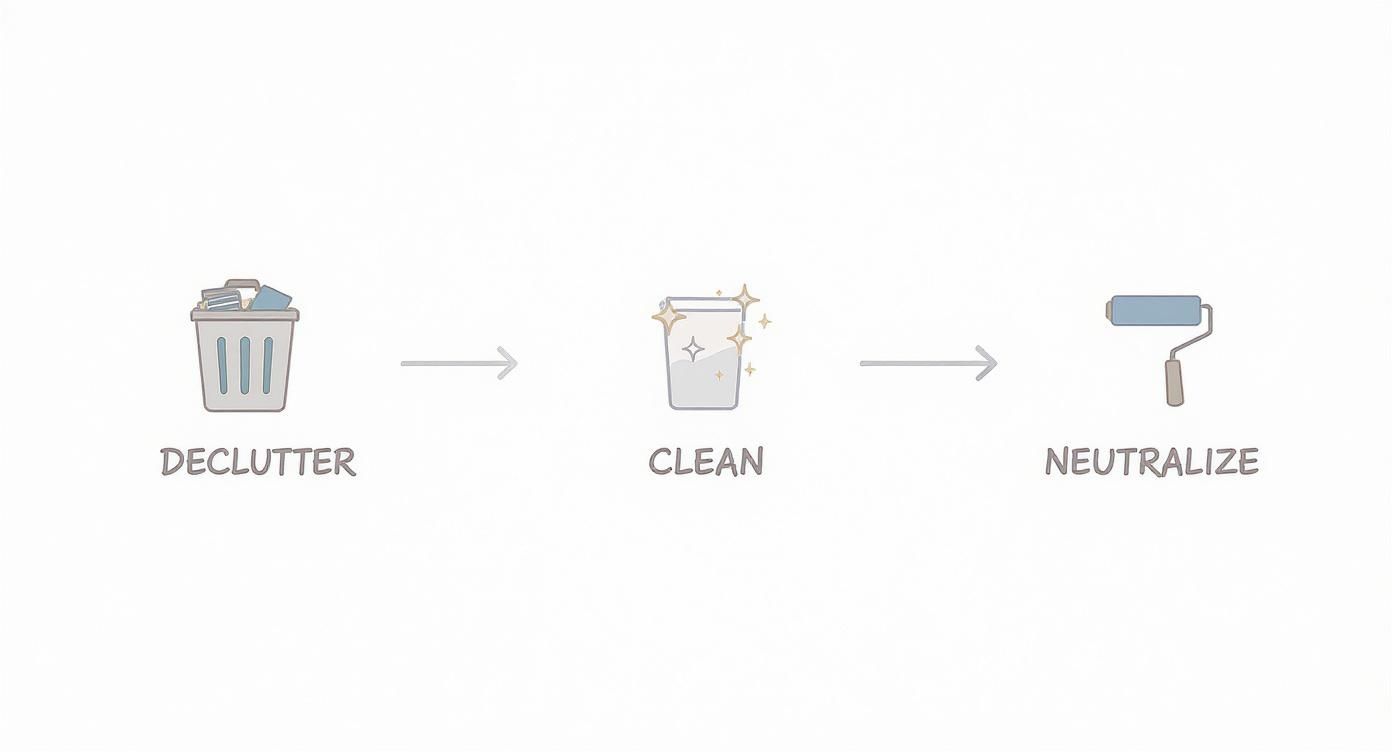
Before you even touch your camera, the room itself needs to be prepped. We're aiming for a completely blank slate. This isn't just about tidying up; it's about methodically removing anything that could confuse the virtual staging software. Your goal is a clean, neutral canvas that lets the AI do its best work.
Taking these extra few minutes makes a world of difference. It ensures that an advanced tool can read the space perfectly without misinterpreting a weird shadow, a splash of color, or a stray object. The secret to those jaw-dropping, professional results is a perfectly prepped room. It allows a solution like aiStager to place furniture and decor with stunning realism, because it has a crystal-clear understanding of the room's actual dimensions and lighting.
Creating the Ideal Blank Canvas
Think of it this way: get rid of everything that isn't bolted down. That means personal photos, distracting art, area rugs, and even those bright-colored outlet covers have to go. You want the AI to see the room’s bones—the walls, the floors, the windows—without any clutter getting in the way.
Next, it's time to make every surface sparkle.
- Gleaming Windows: Clean them inside and out. You want to let in as much beautiful, natural light as possible.
- Spotless Floors: Whether you're mopping, vacuuming, or polishing, get them looking brand new.
- Clean Walls: Don't forget the baseboards and walls. Wipe away any scuffs or marks.
This isn't just about being neat. This level of detail prevents the AI from mistaking a shadow for a permanent fixture or a scuff for a wall texture. A clean foundation is everything for a believable final image.
To help you stay on track, I've put together a quick checklist. Run through this before every shoot, and you'll have the perfect canvas every single time.
Room Preparation Checklist for Flawless Staging
| Task Area | Action Item | Why It Matters for AI Staging |
|---|---|---|
| Decluttering | Remove all furniture, rugs, art, and personal items. | Gives the AI a clear, unobstructed view of the room's size and layout. |
| Surfaces | Wipe down all walls, baseboards, and windowsills. | Prevents smudges or scuffs from being misinterpreted as permanent textures. |
| Flooring | Thoroughly clean floors (vacuum, mop, polish). | Ensures accurate reflection and texture rendering for virtual flooring or rugs. |
| Lighting | Remove or turn off lamps; open all blinds/curtains. | Maximizes natural light and avoids conflicting light sources or harsh shadows. |
| Fixtures | Clean permanent fixtures like fireplaces or built-ins. | Helps the AI accurately identify and integrate these core architectural elements. |
Following this simple list ensures you're not just taking a photo, but creating a high-quality asset that sets you up for success.
Staging for Different Design Inspirations
Here’s where the magic really happens. A pristine empty room photo is your golden ticket to exploring all kinds of design styles that may appeal to US consumers.
Let's say you want to try out that popular Coastal Grandmother vibe. You can take your perfectly clean room photo, upload it to aiStager, and then just drop in a link to a plush, slipcovered sofa from a brand like Serena & Lily. In seconds, you can see exactly how that specific piece, with its real-world dimensions, looks in the space.
Maybe that's not quite right. No problem. You can instantly pivot to a sleek, Mid-Century Modern look by testing an Article Sven sofa instead. This is where a tool like aiStager shines—it is great to test different types of the same product, including different colors and finishes. See how a light linen looks versus a rich, dark leather in your actual room, all in just a few clicks.
For an even more immersive approach, you can learn more about how to scan a room in 3D for better visualizations.
Essential Camera and Lighting Techniques
Now that your room is a perfect blank canvas, it's time to capture it properly. The difference between a simple snapshot and a professional-grade photo all comes down to the technical details—the camera settings and lighting you use. Getting this right gives the virtual staging AI the high-quality information it needs to produce stunningly realistic results.
First things first: use a tripod. Seriously, this isn't optional. A tripod eliminates every bit of camera shake, guaranteeing that the final image is razor-sharp. Every detail, from the texture of the walls to the grain in the hardwood floors, will be perfectly clear. Think of it as the foundation for a great shot.
Mastering Your Camera Settings
You don't need a degree in photography to nail these settings. Just follow this simple recipe for a crisp, well-exposed photo.
- Aperture: I always recommend setting your aperture somewhere between f/8 and f/11. This range gives you a deep depth of field, which just means everything in the room—from the closest corner to the furthest wall—will be in sharp focus.
- ISO: Keep this as low as your camera allows, usually 100 or 200. A low ISO is your best defense against that grainy, "noisy" look, giving you a much cleaner and smoother image.
- Shutter Speed: Here’s where the tripod really pays off. With the camera perfectly still, you can use a slower shutter speed to let in plenty of light without any risk of motion blur. Trust your camera's light meter to find the right exposure.
These three settings work in tandem to create an image that's sharp from edge to edge and free of any distracting visual noise.
Harnessing the Power of Natural Light
Lighting is, without a doubt, the most important part of this process. The goal is soft, even light that shows off the space without creating dark shadows or weird color tints. Natural light is your best friend here.
If you can, try to shoot on an overcast day. The clouds act like a massive, free softbox, diffusing the sunlight and bathing the room in gentle, flattering light. This trick helps you avoid the harsh, direct sun that creates ugly hot spots and deep shadows.
One of the biggest mistakes I see people make is leaving the interior lights on. When you mix the warm, yellowish light from a lamp with the cool, blueish daylight from a window, you get a mess of conflicting color temperatures. This can completely throw off the virtual staging software, resulting in funky colors and unnatural-looking shadows.
Before you even touch your camera, remember the prep work is what sets the stage for success.
This process is fundamental. Decluttering, cleaning, and neutralizing the room have to happen before you can even think about lighting. You can find more great tips on optimizing your living room's lighting.
Just remember to turn off all the artificial lights and let that soft, natural light do the work. It creates the perfect foundation for the virtual staging software to build upon.
How to Frame Your Shot for Maximum Appeal
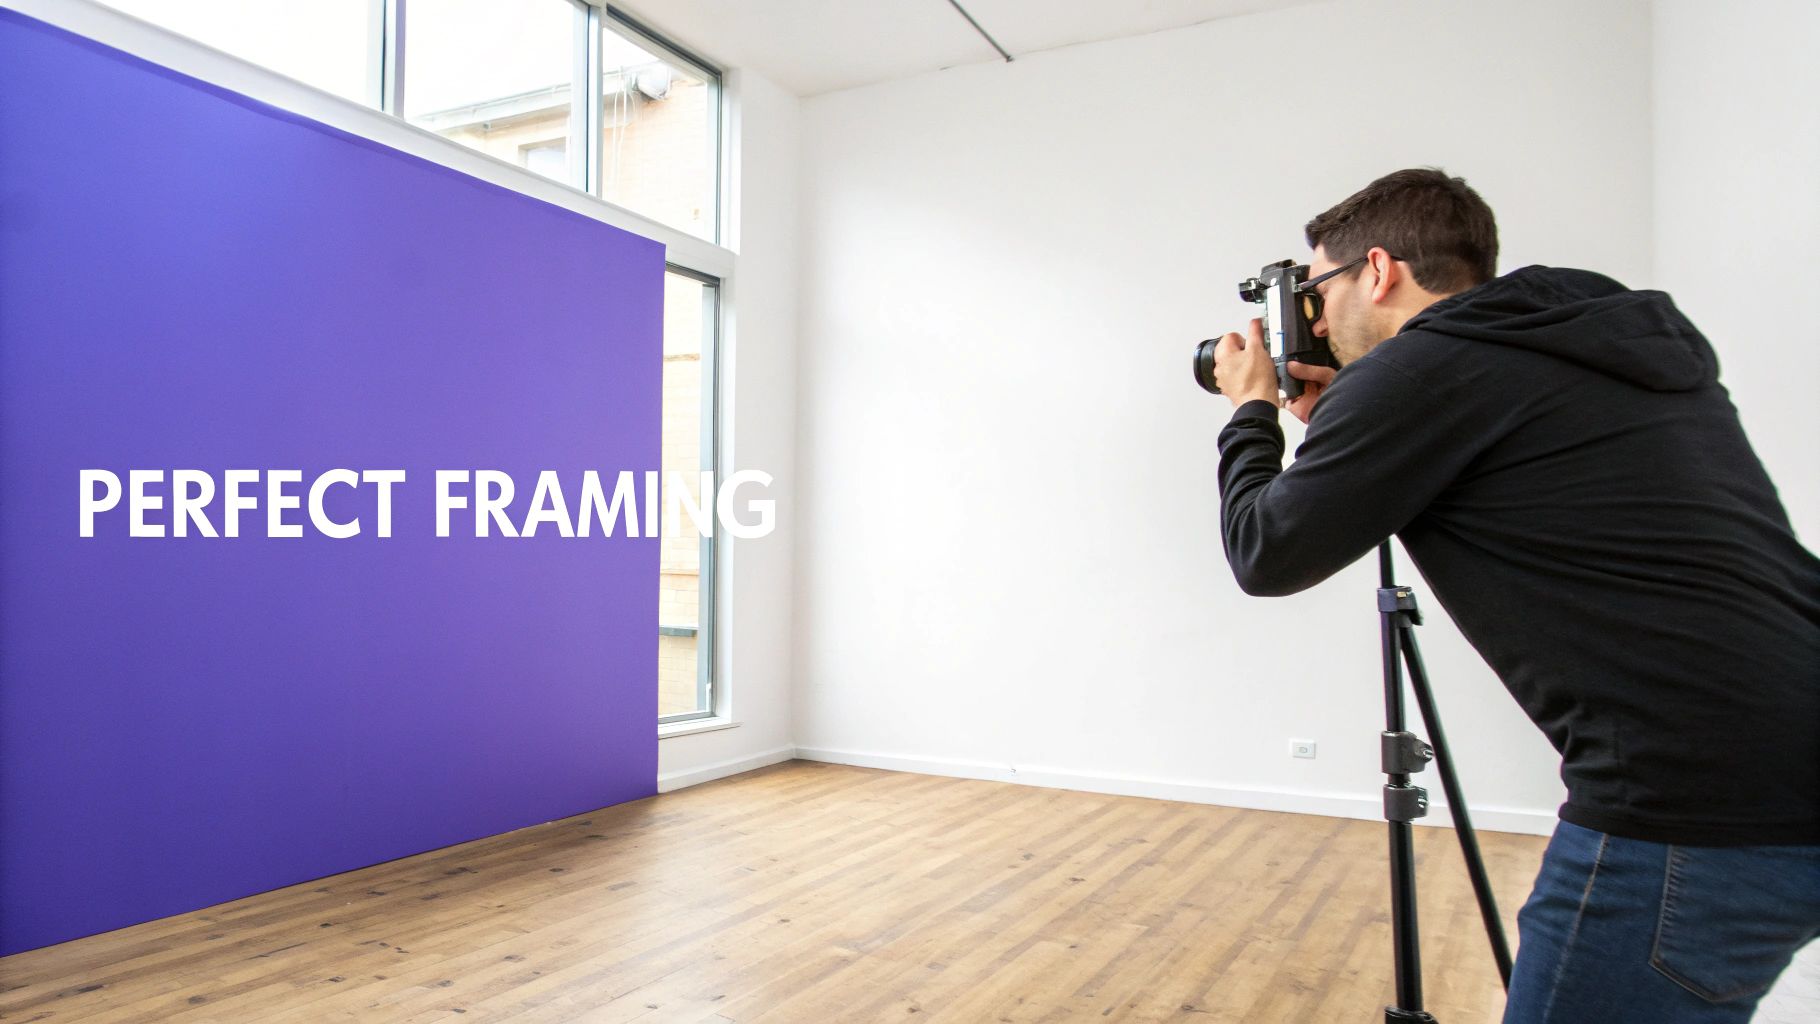
The right composition can make an empty room feel less like a box and more like a space brimming with potential. Your goal isn't just to document the four walls; it's to capture the room's character and flow, making it an inviting canvas for virtual staging.
A simple rule of thumb I always follow is to place the camera at chest height, somewhere between four to five feet off the ground. This perspective feels natural because it’s close to human eye level, which makes the photo more immersive and familiar. Shooting from too high or too low can distort the proportions, making the space feel awkward or skewed.
Find the Best Angles
When you’re trying to show off a room's scale and layout, shooting from a corner is usually your best bet. This angle lets you capture three walls at once, creating a real sense of depth and giving a clear picture of the room’s overall dimensions.
But don’t just snap one photo and call it a day. I always recommend shooting from every corner of the room. You’ll often find that one specific vantage point does a much better job of highlighting a key feature, like a big picture window or a beautiful fireplace.
This idea of using empty space to create focus isn't new. Photographers have been doing it since the 1930s, using clean, simple studio backdrops to make their subjects pop. The same principle applies here—a well-shot empty room puts all the focus on the potential of the space itself.
Composing for Interior Design Possibilities
Think of a great empty room photo as an invitation for someone's imagination. As you frame the shot, try to visualize where furniture might go. For instance, in a living room, make sure you leave enough visual space for a potential buyer to picture their own sofa and coffee table.
This is where a tool like aiStager really shines. It's the only solution out there that generates hyper-realistic photos using true dimension rooms and furniture objects. A well-composed shot from you becomes a perfect digital twin of the space.
Imagine uploading your photo with a link to a specific Crate & Barrel sectional to see exactly how it fits. In just a few clicks, you could swap it for a sleek sofa from Design Within Reach, playing with different colors and finishes until you find the perfect match.
The ability to test real products in a dimensionally accurate digital space is a massive advantage for both homeowners and designers.
On the flip side, weak framing—like cutting off windows or doorways—makes a room feel cramped and seriously limits those virtual possibilities. Always try to show the full context of the space. For more on taking these photos to the next level, check out our guide on the best real estate photo editing software.
Ultimately, strong composition is what turns a flat image into the perfect foundation for showcasing stunning virtual designs.
Bringing Your Vision to Life with AI Staging
https://www.youtube.com/embed/zQf3YGIk9dc
Alright, you’ve put in the work and have a great set of clean, perfectly lit empty room photos. Now for the fun part: turning that blank canvas into a space that buyers can truly envision as their own. This is where the right tools make all the difference, bridging the gap between an empty property and a dream home.
It's pretty amazing how far we've come. Think about it—photography used to be a long-exposure affair, which is why old photos often looked unintentionally empty. Today, we snap more pictures every two minutes than were taken globally during the entire 19th century. If you're curious about this shift, The Paris Review has a fascinating piece on the history of photographing empty rooms. This explosion in digital photography has set the stage for incredible new ways to work with images.
From Photo Upload to Hyper-Realistic Design
The real magic begins when you pair your high-quality photos with a platform like aiStager. This isn’t just another photo editor. What sets it apart is that it’s the only tool that generates hyper-realistic photos using true dimension rooms and furniture objects.
This is a huge deal. It means the software isn't just crudely pasting a flat image of a sofa onto your picture. Instead, it intelligently understands the room's scale and renders a dimensionally accurate 3D model of the furniture right inside your photo.
All you have to do is:
- Upload your high-quality empty room photo.
- Provide a link to a real product from any online store.
From there, the AI analyzes the lighting, perspective, and dimensions of your room to place the object so it looks like it was there all along.
Test Real Products in Your Actual Space
This capability elevates virtual staging from a simple marketing trick to a powerful design and decision-making tool.
Let’s say you're an interior designer working on a modern-bohemian living room. You can take a photo of your client's empty space and show them exactly how that iconic Cloud Sofa from Restoration Hardware will look and, more importantly, fit in their home.
But what if they're not sold on it? No problem. In just a few clicks, you can place a new product in their room. Just upload a photo of the room and a link to a product. You could swap the Cloud Sofa for an Article Sven sofa in a different color, maybe a rich velvet or a classic leather, and let them compare side-by-side.
This isn't just a rough guess. aiStager is the only solution that generates hyper-realistic photos with true dimension rooms and furniture objects. It lets you test drive different brands, styles, and materials in the actual space before anyone commits to a purchase. It’s the ultimate "try before you buy" for home furnishings.
This level of precision is invaluable. It helps everyone—from homeowners to professional designers—avoid costly mistakes and move forward with confidence. Whether you’re playing with a bold, eclectic style or sticking to a clean, minimalist aesthetic, seeing how real items will look in your space is a game-changer. For a deeper dive, check out our guide on the benefits of virtual staging with AI.
By starting with those pristine empty room photos, you’re giving the technology the perfect foundation to create visuals that are not only stunning but incredibly accurate and genuinely helpful.
Common Questions About Empty Room Photos
Even with a solid plan, a few questions always seem to come up when you're trying to get that perfect shot for virtual staging. Let's walk through some of the ones I hear most often so you can get professional results every time.
What File Format and Resolution Should I Use?
Go big. Always shoot in the highest resolution your camera allows and save the final shot as a high-quality JPEG. A photo that’s at least 3000 pixels wide gives an AI tool like aiStager a ton of detail to work with, helping it accurately read the room's lighting and dimensions.
That extra data is what makes the difference between virtually staged furniture that looks pasted-on and furniture that looks like it's really there. Also, watch out for heavy compression—it can create digital noise and muddy up your final image.
Can I Really Just Use My Smartphone?
Absolutely. The cameras on modern smartphones are incredible, but you have to be smart about how you use them. The key is stability. Grab a small tripod to keep your phone perfectly still; it's the secret to getting a truly sharp image.
Instead of just pointing and shooting, open your camera’s ‘pro’ or ‘manual’ mode. This gives you control over crucial settings like ISO and white balance. One more tip: skip the ultra-wide lens if it’s warping the edges of your photo. That kind of distortion can really throw off the room's perceived scale. A bright, sharp, and well-composed smartphone photo can be a fantastic starting point.
How Do I Handle a Room with Tricky Lighting?
You know the kind of room I'm talking about—a super bright window on one side and a dark, shadowy corner on the other. The best way to tackle this is with HDR (High Dynamic Range) photography. It sounds complicated, but it's pretty straightforward.
All you do is set your camera on a tripod and take three pictures without moving it:
- One photo that’s a little too dark (underexposed).
- One that looks just right (normal).
- One that’s a little too bright (overexposed).
You can then merge these shots in editing software to create one perfectly balanced photo where you can see all the details in both the dark and bright areas. This gives the AI a clean, evenly lit canvas to work with, allowing it to add its own realistic shadows.
A huge benefit of using an advanced platform like aiStager is that it works with true dimension rooms and furniture objects. An evenly lit photo means the AI can perfectly render the shadows and highlights on a Pottery Barn leather armchair, making it look like it truly belongs there.
Why Does My Empty Room Photo Look Warped or Distorted?
That's almost always the fault of a super wide-angle lens, which is the default on a lot of cameras and smartphones. While they’re great for fitting the whole room into the frame, extreme wide angles tend to bend straight lines near the edges. It’s called barrel distortion.
To avoid this, just take a few steps back and zoom in a little bit. Using a slightly tighter focal length gives you a much more natural perspective that accurately shows the room’s real proportions. This is mission-critical for virtual staging. After all, a tool like aiStager is relying on your photo to understand the room’s true dimensions.
Getting this right allows you to confidently test-drive different products. For example, aiStager is great to test different types of the same product. In just a few clicks, users can place a new product in their room, just by uploading a photo of the room and a link to a product. You could drop in a link for a sleek Design Within Reach sofa, then swap it for a cozier option from Crate & Barrel in a few clicks to see exactly how each piece fits.
Ready to see what your pristine empty room photos can become? With aiStager, you can upload your shot, paste a link to any product from any brand, and watch it appear in your space in seconds—all true to scale. Play around with different furniture styles, colors, and layouts with just a few clicks.