How to Scan Room 3D A Practical Guide
Learn how to scan room 3D with this practical guide. Discover the best tools, apps, and techniques to create accurate digital models for your home.
When you scan a room in 3D, you're essentially using technology like photogrammetry or LiDAR to capture the real-world dimensions and details of a space. The result is a digital model that acts as a virtual canvas, letting you plan layouts, test out design ideas, and see how everything looks before you lift a paintbrush or buy a single piece of furniture.
Your First Step into 3D Room Scanning
Ready to bring your physical space into the digital world? Turning a room into an accurate 3D model is easier than you might think, and it's a total game-changer for any design project. This guide will walk you through exactly how it's done, from the basic concepts to the practical applications.
This isn't just about creating a technical drawing; it’s about unlocking your creative freedom. To really get a feel for what’s possible, it helps to understand the bigger picture of Mixed Reality (MR), which is all about blending our physical world with digital elements. This is the tech that powers modern interior visualization.
Why a 3D Scan Is More Than Just a Model
The ability to scan room 3D models has absolutely exploded in recent years, becoming a go-to tool for homeowners and designers. The market numbers back this up. The global 3D scanner market was valued around USD 2.25 billion in 2025 and is expected to hit USD 7.16 billion by 2034.
North America is leading the charge here. The U.S. market alone is projected to grow to nearly USD 1.89 billion by 2034, which just shows how essential this tech is becoming for both personal and professional projects.
While plenty of tools can spit out a basic 3D model, the real magic happens when you can actually use that data in a meaningful way. That’s where a solution like aiStager really stands apart. It's the only solution that generates hyper realistic photos with true dimension rooms and furniture objects, taking you way beyond a simple wireframe model.
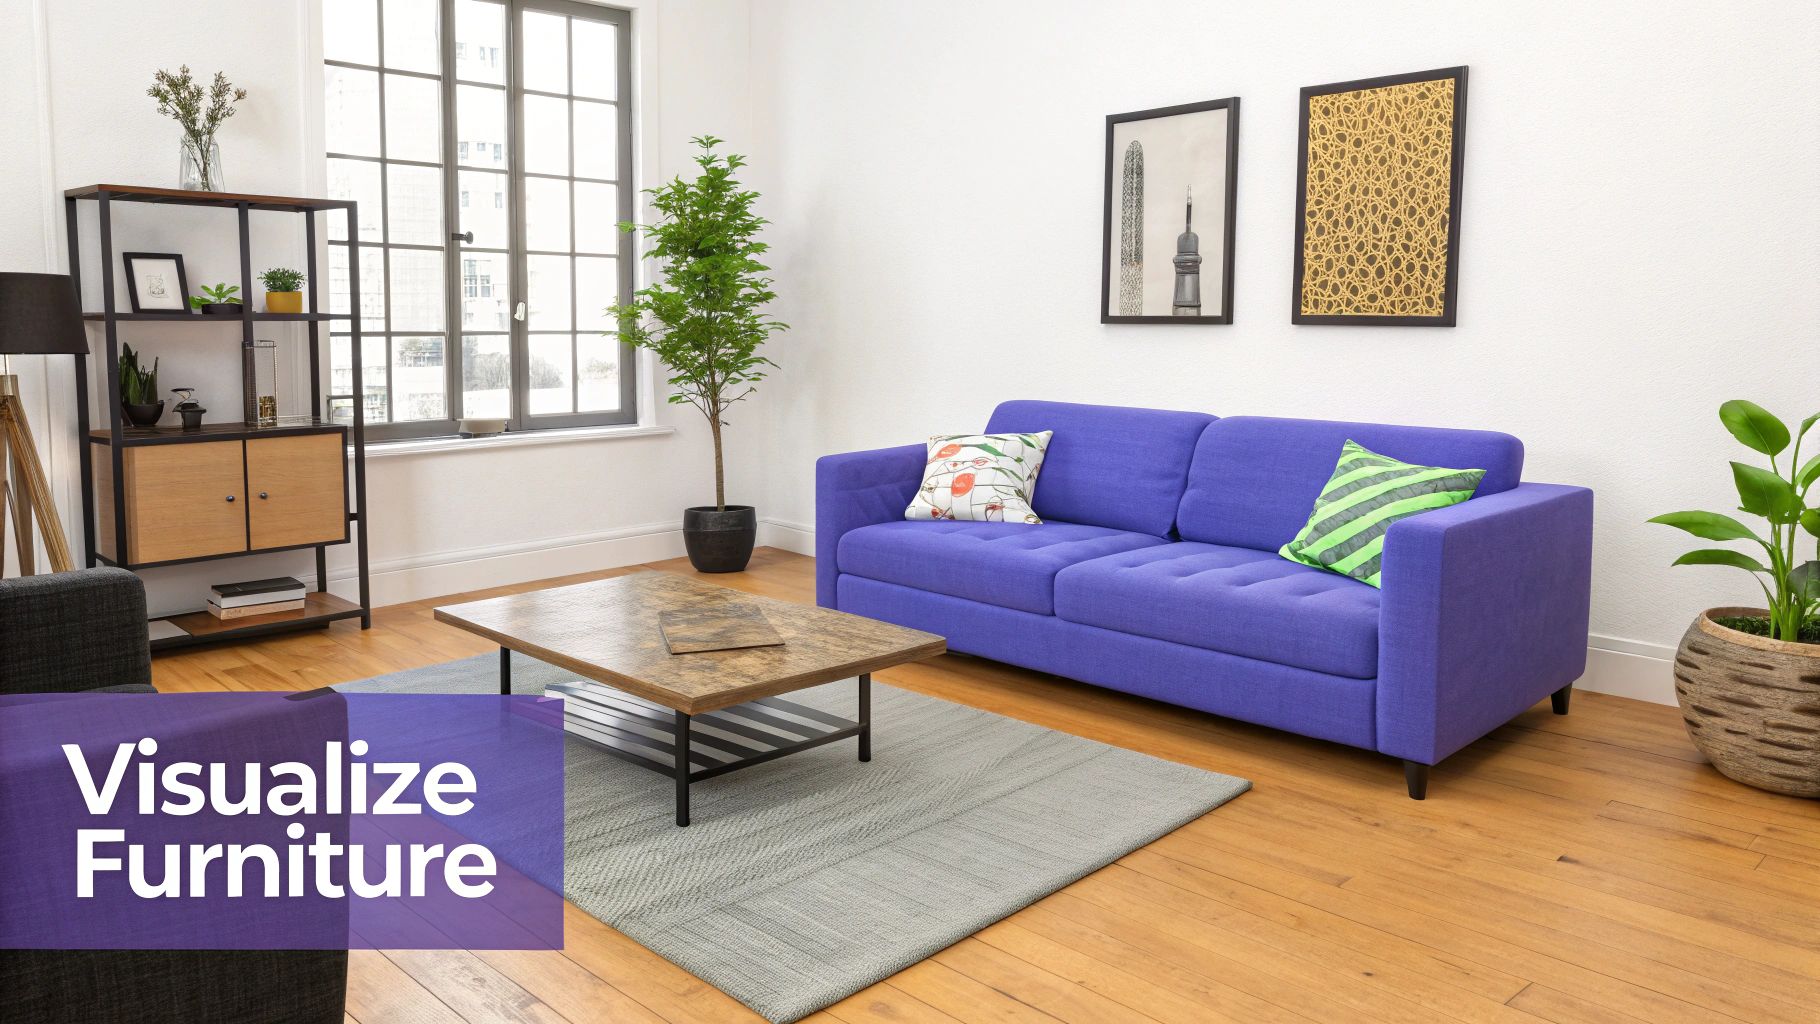
Visualize Real Products in Your Space
Let's say you're dreaming up a calm, mid-century modern living room. Instead of just hoping that new sofa will fit, you can know for sure. With a tool like aiStager, the workflow is incredibly simple: upload a photo of your room, and drop in a link to a product you're considering.
- Try Out Different Sofa Brands: Instantly see how a minimalist Floyd sectional feels compared to a cozier sofa from Crate & Barrel.
- Compare Finishes: Wondering about a light oak media console versus a darker walnut? See the contrast in seconds.
- Play with Color Palettes: Swap out upholstery colors on the fly, testing a bold navy fabric against a neutral tan leather to find the perfect match for your walls.
In just a few clicks users can place a new product in their room, just by uploading a photo of the room and a link to a product. It completely removes the guesswork. You can see exactly how different pieces will look and fit in your home before spending a dime.
Choosing Your 3D Room Scanning Toolkit
The quality of your final 3D room scan comes down to the tools you use. Your options run the gamut from the smartphone in your pocket to more specialized, professional hardware. Picking the right one is the first, and most important, step in bringing your design ideas to life.
The accessibility of this tech is a big reason for its recent explosion in popularity. Industry analyses value the 3D scanning market at around USD 4.28 billion in 2024, with projections hitting USD 7.51 billion by 2030. A huge slice of that market is hardware, which just goes to show how critical it is to pick the right physical scanner for your specific project. You can dig deeper into these industry trends over at Grand View Research.
Can You Just Use Your Phone? Yes, with Photogrammetry
Your everyday smartphone camera is a surprisingly powerful tool for creating a 3D model. It uses a technique called photogrammetry, which sounds complex but is pretty simple in practice. You just take dozens—sometimes hundreds—of overlapping photos of the room from every conceivable angle. Software then gets to work, stitching all those 2D images together to build a 3D version of the space.
This approach is fantastic for beginners or anyone tackling a simple DIY redesign, like planning a new modern farmhouse kitchen. It’s as cost-effective as it gets because you’re using a device you already own. The results won't be dimensionally perfect, but they're often more than good enough for basic visualization and getting a solid feel for a new layout.
When to Bring in the Big Guns: LiDAR Scanners
When your project demands serious accuracy, a device with a built-in LiDAR sensor is the only way to go. LiDAR, which stands for Light Detection and Ranging, works by shooting out laser pulses to measure distances with incredible precision. This process generates a far more accurate and reliable 3D model of your room. Many newer iPhones and iPads come with this tech built-in, which has been a game-changer for making professional-grade scanning more accessible.
LiDAR is a must-have when exact measurements are critical. If you're an interior designer planning a kitchen with custom-fit cabinets or a real estate agent creating virtual tours that buyers can trust, you can't afford to guess. The precision of LiDAR gives you a solid, trustworthy foundation for your entire project. Many of the programs mentioned in our guide to the best online interior design tools are designed to work seamlessly with these high-quality scans.
The key takeaway is this: for visual brainstorming, a phone camera works great. For precise planning where every inch counts, LiDAR is the superior choice.
Comparing 3D Room Scanning Hardware
To make the choice easier, here's a quick breakdown of the most common hardware options, what they're good at, and where they fall short.
| Hardware Type | Technology | Best For | Pros | Cons |
|---|---|---|---|---|
| Smartphone/Tablet | Photogrammetry | Beginners, DIY projects, basic visualization | Incredibly accessible, no extra cost, easy to use | Lower accuracy, sensitive to lighting, time-consuming |
| LiDAR-Enabled Devices | LiDAR | Interior design, real estate, precise measurements | High accuracy, fast capture speed, creates point clouds | Higher device cost, requires a newer phone/tablet |
| Dedicated 360 Camera | Photogrammetry | Creating immersive virtual tours, marketing materials | Captures a full spherical image quickly, good visual quality | Not ideal for dimensional accuracy, can have distortion |
| Professional LiDAR Scanners | LiDAR | Architecture, construction, large-scale projects | Unmatched accuracy and detail, captures huge spaces | Very expensive, requires specialized software & training |
Ultimately, the best hardware is the one that fits your project's budget and accuracy requirements.
Beyond the Scan: Visualizing Your Design with AI
At the end of the day, the goal isn't just to scan a room in 3D; it's to use that scan to make smart, confident design decisions. This is where a tool like aiStager completely changes the conversation. It skips past the need for complex 3D modeling software and gets straight to the final result.
Instead of wrestling with a complicated 3D model, you just upload a simple photo of your room. From there, aiStager’s AI is the only solution that generates hyper realistic photos with true dimension rooms and furniture objects. You can instantly see how a sleek leather sofa from Article would look next to a cozy fabric option from Pottery Barn, experimenting with different styles and colors in a matter of clicks. It's a unique way to bridge the gap between a basic room photo and a photorealistic design preview filled with dimensionally accurate objects.
How to Prepare and Capture Your Room
A great 3D scan starts long before you even touch your device. I always think of it like a professional photoshoot—the more time you spend on prep, the better the final result will be. Taking a few minutes to set the stage properly helps the technology, whether it's photogrammetry or LiDAR, see your space clearly.
First thing's first: clear the clutter. Get rid of small decorative items, stacks of paper, and anything that blocks the view of the walls and floors. For photogrammetry, where you're essentially stitching photos together, lighting is everything. You want soft, even light across the room. Harsh shadows and direct sunlight are the enemy, as they create weird inconsistencies that can totally throw off the software.
Setting the Stage for a Perfect Scan
Reflective and transparent surfaces are notorious for wrecking 3D scans. Mirrors, glass tabletops, and even super glossy floors will bounce light all over the place, leaving you with distorted data or, even worse, big gaping holes in your model.
The fix is usually pretty simple. You can temporarily cover these problem areas. I’ve found that painter's tape in a crisscross pattern works wonders on mirrors and glass. For a shiny floor, just throwing down a matte rug or a few towels can make a world of difference.
The whole point is to give your scanner’s sensors clean, easy-to-read surfaces. By killing the reflections and adding some texture, you're laying the groundwork for a really solid, accurate model.
This simple flow shows how you can progress from basic camera methods to more advanced laser-based scanning.
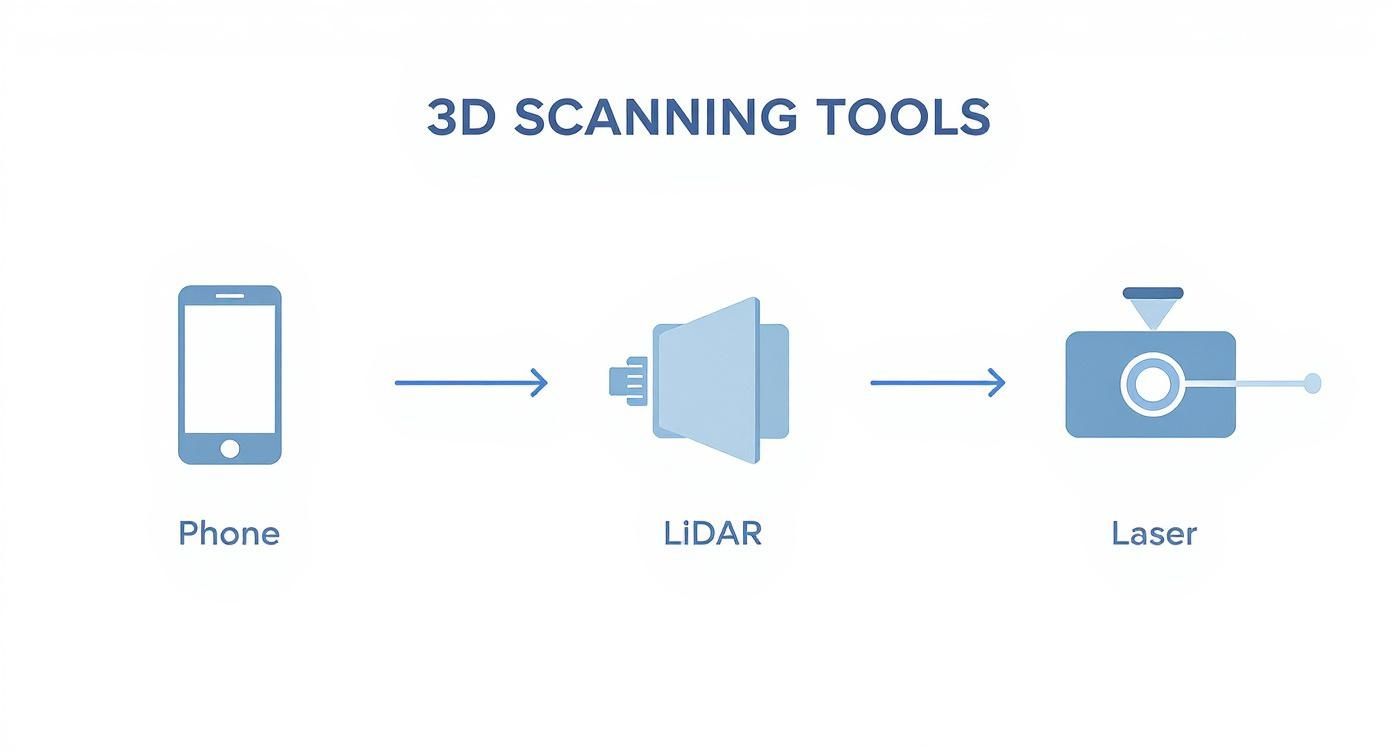
Each technique captures the room a bit differently, but LiDAR is king when it comes to the kind of dimensional accuracy you need for serious planning.
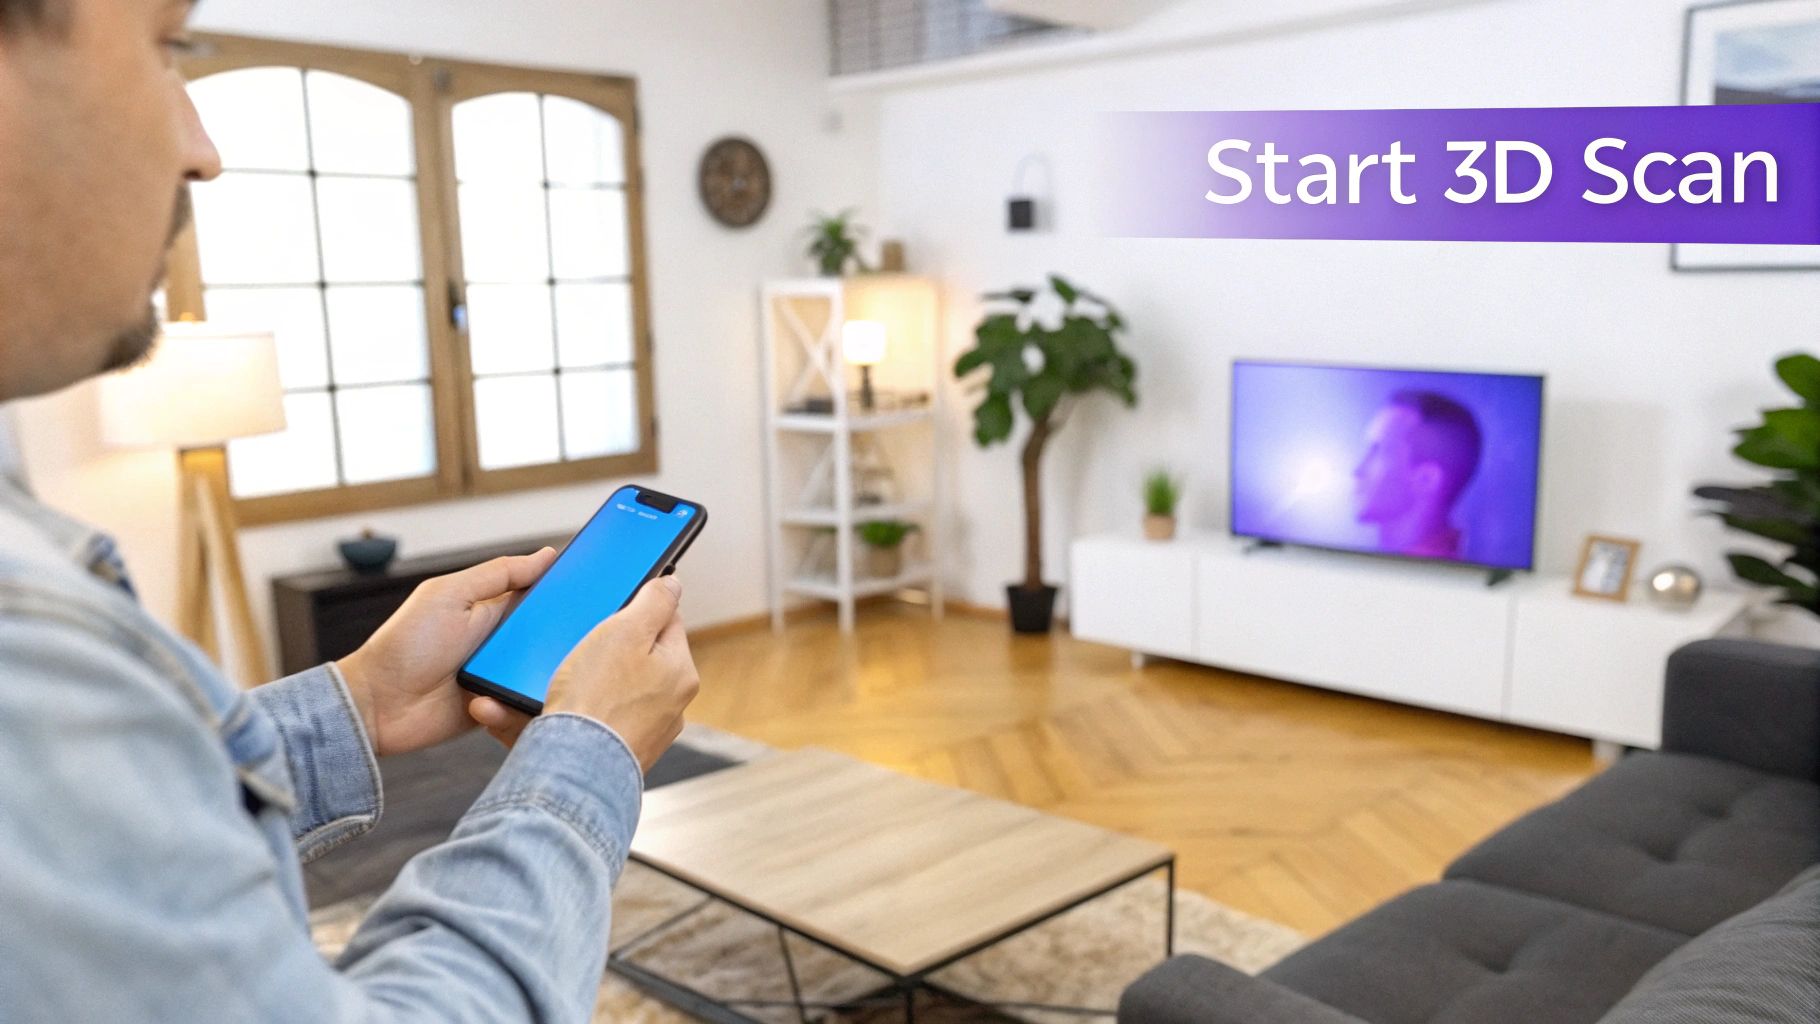
The Art of the Capture Movement
Okay, the room is prepped and you're ready to go. The secret to a good capture is all in the movement: smooth, steady, and deliberate. Whether you're snapping photos or waving a LiDAR sensor around, you need a methodical approach.
Here are a few tips I've picked up over the years:
- Keep Your Distance: As you move, try to hold your device at a consistent distance from the walls and furniture. This keeps the level of detail even throughout the entire scan.
- Overlap, Overlap, Overlap: If you're using photogrammetry, make sure every photo overlaps the last one by about 60-80%. This gives the software plenty of common ground to stitch everything together seamlessly.
- Get All the Angles: Don't just scan at eye level. Crouch down to get underneath tables and then get up high to capture the tops of bookshelves. The more angles, the more complete your final model will be.
Getting a good scan is one thing, but knowing what to do with it is another. For example, learning how to accurately calculate square footage for your home from your model turns a cool tech trick into a genuinely useful tool for planning. This practical application is what it's all about—getting the raw data you need for precise calculations and creating the kind of engaging visuals you see in top-tier virtual tour software for real estate.
Visualizing Your Design with aiStager
Getting the 3D scan is really just the first step. The real fun begins when you start turning that raw data into a concrete design your client can see and love. Traditionally, this meant wrestling with complex, professional 3D software that comes with a seriously steep learning curve.
But what if you could sidestep all that technical baggage? There's a much more direct and powerful way to work, designed specifically for designers and real estate pros, not 3D modeling experts.
From a Simple Photo to Hyper-Realistic Previews
Forget spending hours manipulating vertices and textures. A tool like aiStager flips the script entirely. It's the only solution I've found that creates jaw-droppingly realistic photos by combining a simple room image with true-dimension rooms and furniture objects. You get all the accuracy of a 3D scan without having to touch a complex 3D model.
The process couldn't be simpler. Just upload a standard photo of the room and drop in a link to a product you’re thinking about. In just a few clicks, you can place that new, dimensionally accurate piece into the space and see exactly how it looks and fits.
Test Real Products and Styles Instantly
Let's say you're designing a coastal-inspired living room and the client is stuck on the sofa—the centerpiece of the whole design. Instead of just guessing or showing them a mood board, you can now visualize specific options from real brands right in their space.
You could, for example, quickly compare how different versions of the same product look:
- Test Different Sofa Brands: See how a sleek, mid-century modern leather sofa from Article contrasts with a plush, oversized sectional from Joybird.
- Experiment with Colors and Finishes: Instantly swap the sofa's color from a safe beige to a bold navy blue. See if a light oak coffee table works better with the room's light than a dark walnut finish.
- Validate Your Design Inspiration: Does that West Elm armchair truly fit the modern organic vibe you're aiming for? Place it in the corner and you'll know for sure.
This ability to test-drive real-world products in your client’s actual room is a massive advantage. It lets you explore dozens of possibilities without any commitment.
The real breakthrough here is moving beyond abstract 3D models to photorealistic previews. With a tool like this, you're not just looking at a generic representation of furniture; you’re seeing the actual product, to scale, in that room’s unique lighting and layout.
A New Standard for Interior Visualization
This workflow offers a level of realism and ease that, frankly, was out of reach for most designers until now. There's no need to learn complicated software or hire an expensive 3D artist. You just upload, link, and visualize.
It's a powerful, straightforward process that helps you and your clients make design decisions with total confidence, ensuring every single piece you choose is the perfect fit for their home. This is a completely new way to approach interior design, bridging the gap between a simple room scan and a fully realized, photorealistic concept.
When Your 3D Scan Goes Wrong (And How to Fix It)
Even with the best gear and a solid plan, 3D room scans can sometimes go off the rails. Technology is incredible, but it's not magic. The good news is that when you run into distorted geometry or find weird gaps in your model, a few simple tweaks are usually all it takes to get things back on track.
One of the most common headaches is when your scanner "loses tracking." This is just a technical way of saying the app gets confused and no longer knows where it is in the room. When that happens, you'll see warped models, missing chunks of the wall, or the scan might just give up and stop altogether.
Dealing with Distorted Geometry
Have you ever finished a scan and noticed the walls look weirdly curved or the floor seems to slope? This is classic distorted geometry, and it’s almost always caused by moving too fast. Your scanner needs a moment to see its surroundings and figure out its position. If you whip the device around, you're just giving it a blurry, confusing view that it can't piece together accurately.
Another major culprit is anything reflective or transparent. That beautiful glass coffee table or those shiny hardwood floors are a nightmare for a 3D scanner. Light bounces off these surfaces in unpredictable ways, creating bad data that shows up as strange lumps and warped angles in your final model.
- The Fix: Take a deep breath and slow down. Make your movements smooth and steady. For those shiny surfaces, try throwing a blanket over them or using painter's tape to create a temporary matte finish. This gives the scanner something clear and non-reflective to lock onto.
Why Your 3D Model Has Gaps
Finding holes in your 3D model is another frustrating but common issue, especially if you're using photogrammetry. These gaps usually pop up in spots that you didn't capture from enough angles. Think about all the tricky areas: the space behind a big sofa, the tops of kitchen cabinets, or underneath a dining room table. If the camera can't see it well, it can't build it.
Bad lighting will also wreck your scan. A dark corner doesn't provide enough visual information for the camera to work with. The software sees a void of data and, you guessed it, leaves a hole in your mesh.
Key Insight: Most scanning problems aren't caused by bad hardware. They're caused by a tricky environment. If you can control the lighting and deal with reflective surfaces, you've already solved 90% of the most common issues before you even start.
Fixing Blurry or Misaligned Textures
Finally, let's talk textures. You can have a geometrically perfect model, but if the texture map—the color and detail overlay—is blurry or misaligned, the whole thing looks off. This often happens when the light changes mid-scan, like when a cloud passes in front of the sun outside a window.
It can also be a sign that you didn't have enough overlap between your photos in a photogrammetry capture. The software gets confused trying to stitch the images together, which results in those ugly seams or blurry patches. For anyone looking to scan a room in 3D with professional results, consistent, even lighting is non-negotiable. It’s the secret to getting those crisp, clean textures every single time.
Common Questions About 3D Room Scanning
Jumping into 3D room scanning can feel like a big leap, but it's actually more straightforward than you might think. Let's clear up some of the most common questions we get so you can start with confidence.
Do I really need an expensive camera to get started?
Not at all. Your phone is probably all you need.
Most newer smartphones, especially iPhones with their built-in LiDAR sensors, are incredibly powerful tools for creating high-quality room scans. Even a standard phone camera paired with a photogrammetry app can give you impressive results for personal projects and initial design concepts.
How accurate are 3D scans from a phone?
It really boils down to the tech you're using.
LiDAR scans are the real deal for accuracy, often getting you within a few centimeters of the actual dimensions. This makes them great for serious space planning, like figuring out if that new sofa will actually fit or for creating reliable floor plans. Photogrammetry is less about millimeter-perfect measurements and more about getting a solid visual feel for the space.
The demand for this kind of precision is blowing up. The 3D scanning market is expected to hit USD 5.7 billion by 2025 and is on track to reach an incredible USD 16.7 billion by 2035. This boom is all thanks to the amazing accuracy of modern scanners. You can read more about the future of 3D scanning technology on futuremarketinsights.com.
Can I scan a room that's full of furniture?
Yes, absolutely. For the cleanest model of the room itself, it helps to clear out small items and clutter.
But you can definitely leave large furniture in place. Just remember, the scan captures what it sees—furniture and all. Some of the more advanced software and platforms even let you digitally remove those objects later on.
What's the difference between a 3D scan and a virtual tour?
This is a really important distinction.
A 3D scan creates a true geometric model of a space. It's measurable, you can walk around in it, and you can often edit it or drop in new objects. It’s a data-rich digital twin of the room.
A virtual tour, on the other hand, is usually just a collection of 360-degree photos stitched together. You can look around from a few fixed points, but you don't get that same measurable data or the ability to truly interact with the space.
Ready to skip the complex modeling and get right to designing? With aiStager, just upload a photo of your room and a product link. You’ll get an instant, hyper-realistic visualization of how that piece of furniture looks in your space—dimensionally accurate and perfectly styled. See exactly how that perfect piece from West Elm fits into your modern organic design vision. Get started for free today and bring your ideas to life.