How to Start Real Estate Photography in 2026
Learn how to start real estate photography with this complete guide. Discover the gear, shooting techniques, and business strategies to succeed.
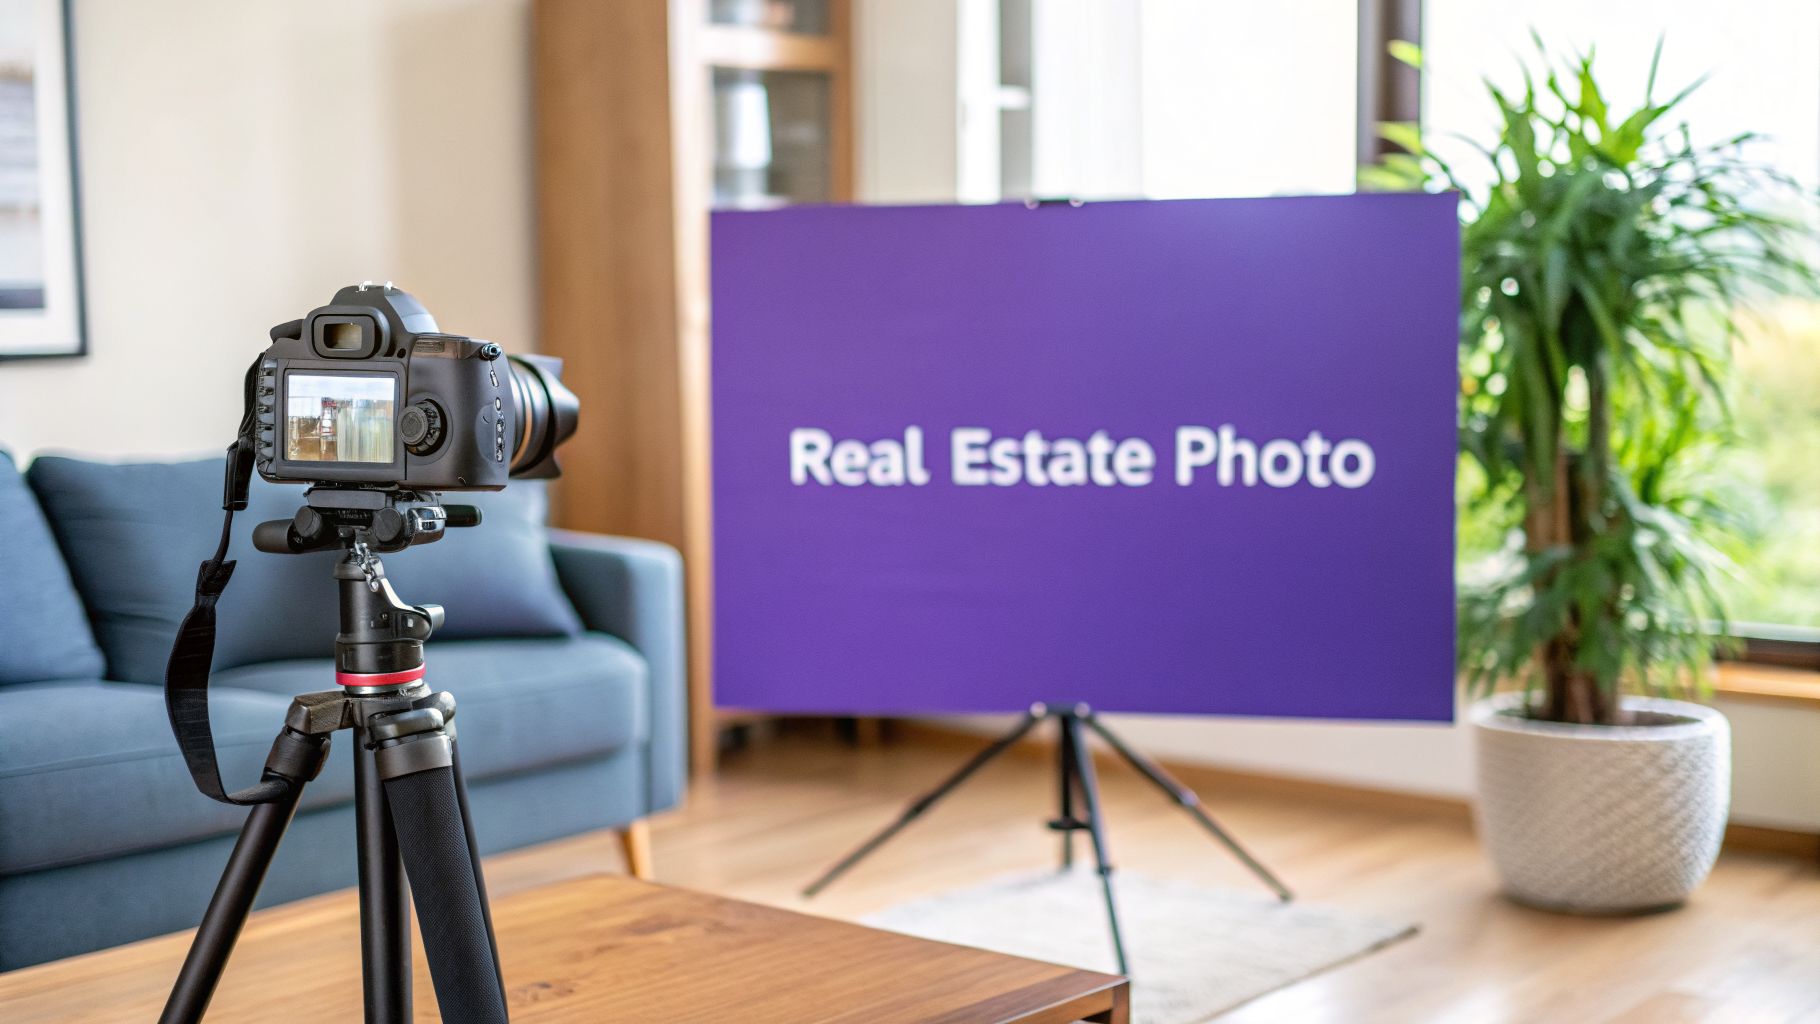
So you want to start a real estate photography business? It’s a fantastic career path, but it's more than just knowing your way around a camera. You're blending technical photography skills with some serious business savvy to create images that don't just look good—they help agents move properties off the market.
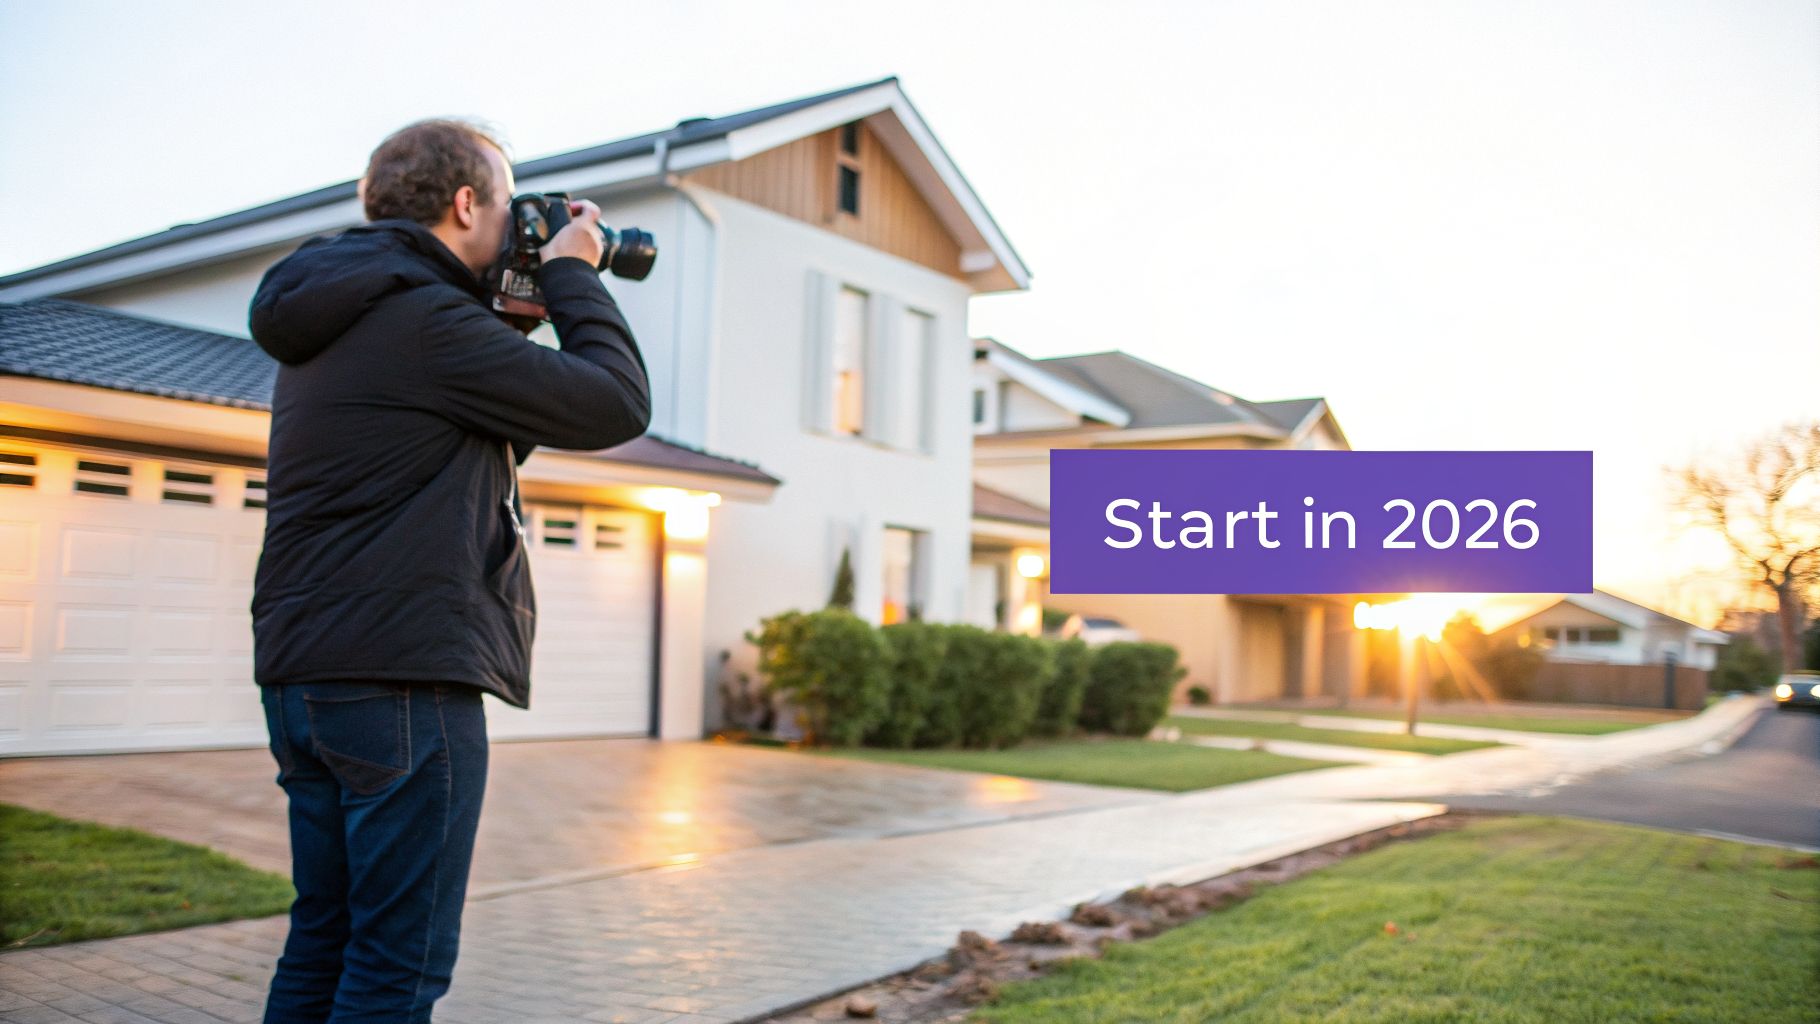
Why 2026 Is The Year to Start
Let’s be honest: while other photography gigs can be a rollercoaster of trends and unpredictable income, real estate is different. It’s grounded in a fundamental need. People will always need a place to live, which means houses will always be bought and sold.
This creates a steady, reliable demand for what you do. Agents need compelling photos for every single listing, no matter what the market is doing. That’s your bread and butter. It's a level of consistency you just don’t find in many other creative fields.
To give yourself a real shot at success, it helps to start by understanding the evolving landscape of real estate agency advertising in 2026. Knowing what agents need is half the battle.
Gain an Edge with Modern Tools
Getting ahead in 2026 isn't just about taking sharp, well-lit photos. The real money is in becoming a full-service marketing partner for your clients.
Think about it. You walk into a beautiful home, but it's completely empty. Delivering photos of vacant rooms is one thing, but what if you could show buyers what the home could look like?
That’s where tools for virtual staging come in.
With a solution like aiStager, you can transform an empty room into a fully furnished, hyper-realistic space in minutes. It's the only platform that generates images with true-to-dimension rooms and furniture objects, making the final result look indistinguishable from a real photo.
This is a game-changer. Suddenly, you're not just a photographer; you're helping agents solve a huge problem—getting buyers to connect emotionally with an empty space.
Stand Out by Offering More Than Just Photos
Imagine this scenario: you've shot an empty living room. Instead of just sending the plain photo, you upload it to aiStager, drop in a link to a specific product like a West Elm "Harmony" sofa, and show the agent a beautifully staged image with a sleek Mid-Century Modern feel.
The real magic is in the flexibility. In just a few clicks, you can test different types of the same product. For example, you can show them that same room with a more traditional sofa from Pottery Barn, or even just swap out the color of the original couch to a different finish. You're giving your clients options and helping them visualize the final product, all with just a photo of the room and a product link.
This is how you build a business that lasts. You stop selling photos and start selling solutions that help your clients close deals faster. That’s the kind of value that agents will pay a premium for, every single time.
Your First Real Estate Photography Kit
Getting the right gear for real estate photography isn’t about buying the most expensive camera. It’s about understanding why certain pieces of equipment are essential for getting the job done right. Let's move past the generic shopping lists and build a starter kit that will have you producing professional-quality images from your very first shoot.
The heart of your setup is, of course, the camera. People get bogged down debating full-frame versus crop-sensor cameras, but honestly, either will work just fine when you're starting out. A crop sensor will make your wide-angle lens feel a bit tighter, but today’s cameras in both formats have plenty of power for MLS listings and marketing flyers.
What you absolutely can't compromise on is your lens. Your first and most important investment is a good wide-angle lens. For a full-frame camera, you'll want something in the 16-35mm range. If you’re using a crop-sensor, look for a lens around 10-24mm. This is the sweet spot for capturing an entire room without that weird, distorted "funhouse mirror" effect that screams amateur.
The Tools That Make the Difference
Beyond your camera and lens, a couple of other items are completely non-negotiable. These are the tools that separate the crisp, bright photos agents love from the blurry, shadowy ones they'll never hire you for again.
First up: a sturdy tripod. I can't stress this enough. You'll often be shooting in dim interiors and blending multiple exposures (bracketing), which means your camera has to be rock-solid. A cheap, flimsy tripod will introduce motion blur and turn your editing session into a nightmare. Don't skimp here.
Next, you need a reliable light source. Natural light is great, but you can't depend on it. A single on-camera speedlight (a flash) is the perfect place to start. The trick is to never point it directly at your subject. Instead, angle the flash head up at a white ceiling or wall to "bounce" the light. This creates a soft, even glow that fills in harsh shadows and makes a space feel airy and welcoming.
If you want to instantly elevate your work, buy a quality tripod and learn how to bounce your flash. These two things solve the biggest problems beginners face: blurry photos and dark, uninviting rooms.
Putting Your Kit to Work
Let's walk through a real-world scenario. You're in a living room, ready to shoot. You place your camera on the tripod in a corner to make the room feel as spacious as possible. Your first shot, using only the available light, looks okay, but the corners are dark and the details are lost in the shadows.
Now, you pop on your speedlight. You aim it up and slightly behind you, bouncing the light off the ceiling. You take another shot. The difference is night and day. The whole room is beautifully and evenly lit, the colors pop, and the space feels warm and inviting. That one simple technique is a game-changer.
As you start booking more jobs and your confidence grows, you can begin to expand your kit. Here’s a typical upgrade path many photographers take:
- Multiple Flashes: You can move from one on-camera flash to a setup with two or three off-camera strobes. This gives you incredible control to light bigger rooms or create more dramatic, high-end shots.
- Specialty Lenses: A tilt-shift lens is a fantastic tool for correcting perspective distortion right in the camera, ensuring all your vertical lines are perfectly straight—a signature of professional architectural work.
- A Drone: Adding aerial photos to your services is a massive value-add. It gives clients a stunning view of the entire property, its layout, and the surrounding neighborhood.
Your starter kit—a solid camera, a wide-angle lens, a good tripod, and a single flash—is more than enough to land your first clients and start building a strong portfolio. Once you’ve nailed your on-site workflow, the magic continues in post-production. To learn more about that crucial step, check out our guide on real estate photo editing software. Mastering your gear gets you the right shots, but editing is where you polish them to perfection.
Mastering the Shots That Sell Homes
Alright, you’ve got the gear. That’s a great start, but it’s what you do with it that truly separates a pro from an amateur. Now we get to the fun part—the actual techniques that create those bright, sharp, and inviting photos that agents and buyers can't get enough of.
Let's dive into the camera settings and compositional rules that should become second nature on every single shoot.
Dialing in Your Camera for Perfect Interiors
Your camera settings are the technical foundation of every great real estate photo. For interiors, you should live in Aperture Priority mode (A or Av). It’s the easiest way to take control of the one setting that matters most for this job: depth of field.
The industry gold standard is an aperture (f-stop) between f/8 and f/11, and for good reason. This sweet spot keeps everything in the frame tack sharp, from the chair in the foreground to the window in the back. You might be tempted to use a wider aperture like f/4 for that blurry, artistic background, but save that for portraits. Real estate clients want to see every single detail.
With your aperture locked in, your next move is to keep your ISO as low as it can go, ideally ISO 100 or 200. A low ISO kills digital noise and keeps your images looking crisp and clean, which is especially important in the darker corners of a room. Of course, a narrow aperture and low ISO mean your shutter will be open longer. This is why a sturdy tripod isn’t just a nice-to-have; it's a non-negotiable tool for getting perfectly sharp, blur-free shots every time.
This simple workflow shows how your main pieces of gear work together as a system.
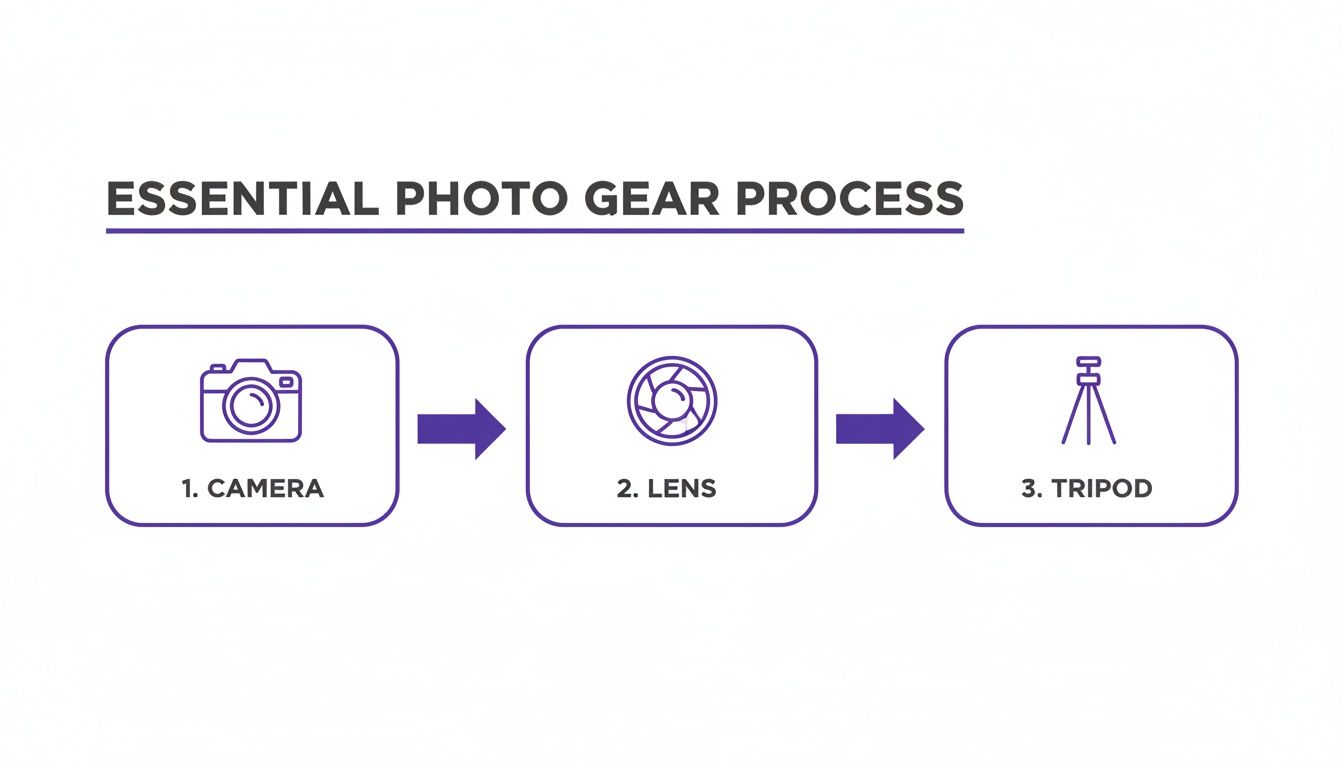
Think of it as a three-legged stool: your camera, lens, and tripod all support each other to create a stable foundation for professional images.
That tripod also unlocks a powerful technique called exposure bracketing. Instead of one photo, you’ll take a series of them—usually three or five—at different brightness levels without moving the camera. You'll capture one shot that looks "normal," one that's intentionally dark, and one that's intentionally bright. Later, you'll blend these together in software to create one flawless image where you can see the view outside the bright window and the details in the shadowy parts of the room.
The magic formula for consistently professional real estate photos is simple: a tripod, a low ISO, and an f-stop between f/8 and f/11. Nail these three things on every shoot, and the quality of your work will jump dramatically.
Composition: Telling the Home's Story
Technical perfection is only half the battle. Your composition—how you frame the shot—is what turns a picture of a room into an invitation. It’s how you guide a buyer’s eye through the space and help them mentally move their own furniture in.
Here are a few core compositional rules to live by:
- Shoot from the Corners: Planting your tripod in a corner and shooting toward the opposite side of the room is the oldest trick in the book because it works. It instantly makes a room feel more spacious and clearly shows the layout.
- Keep Your Verticals Straight: This is a big one. All vertical lines—door frames, wall corners, windows—must be perfectly straight up and down. If they’re tilted, it looks amateurish and disorienting. Always check your camera to make sure it's perfectly level.
- Shoot from the Right Height: A great starting point for your camera height is about five feet (or 60 inches). This feels natural, like you’re standing in the room. You may need to adjust down for rooms with low furniture or up a bit to see over a tall kitchen counter, but 60 inches is your home base.
Think of yourself as a visual storyteller. Your shot list should create a logical flow, like a mini-tour of the home. Start with wide shots of each room to give a sense of the space. Then, move in for medium shots of important features, like a cozy fireplace or a beautiful kitchen island. Finally, grab some detail shots that highlight quality finishes, like unique tilework or high-end fixtures.
These principles are just as important for vacant properties. Making an empty room look appealing is a real skill. If you want to see great examples and get more ideas, check out our guide on composing powerful pictures of empty rooms. Once you get good at shooting empty spaces, you can easily start offering valuable add-ons like virtual staging.
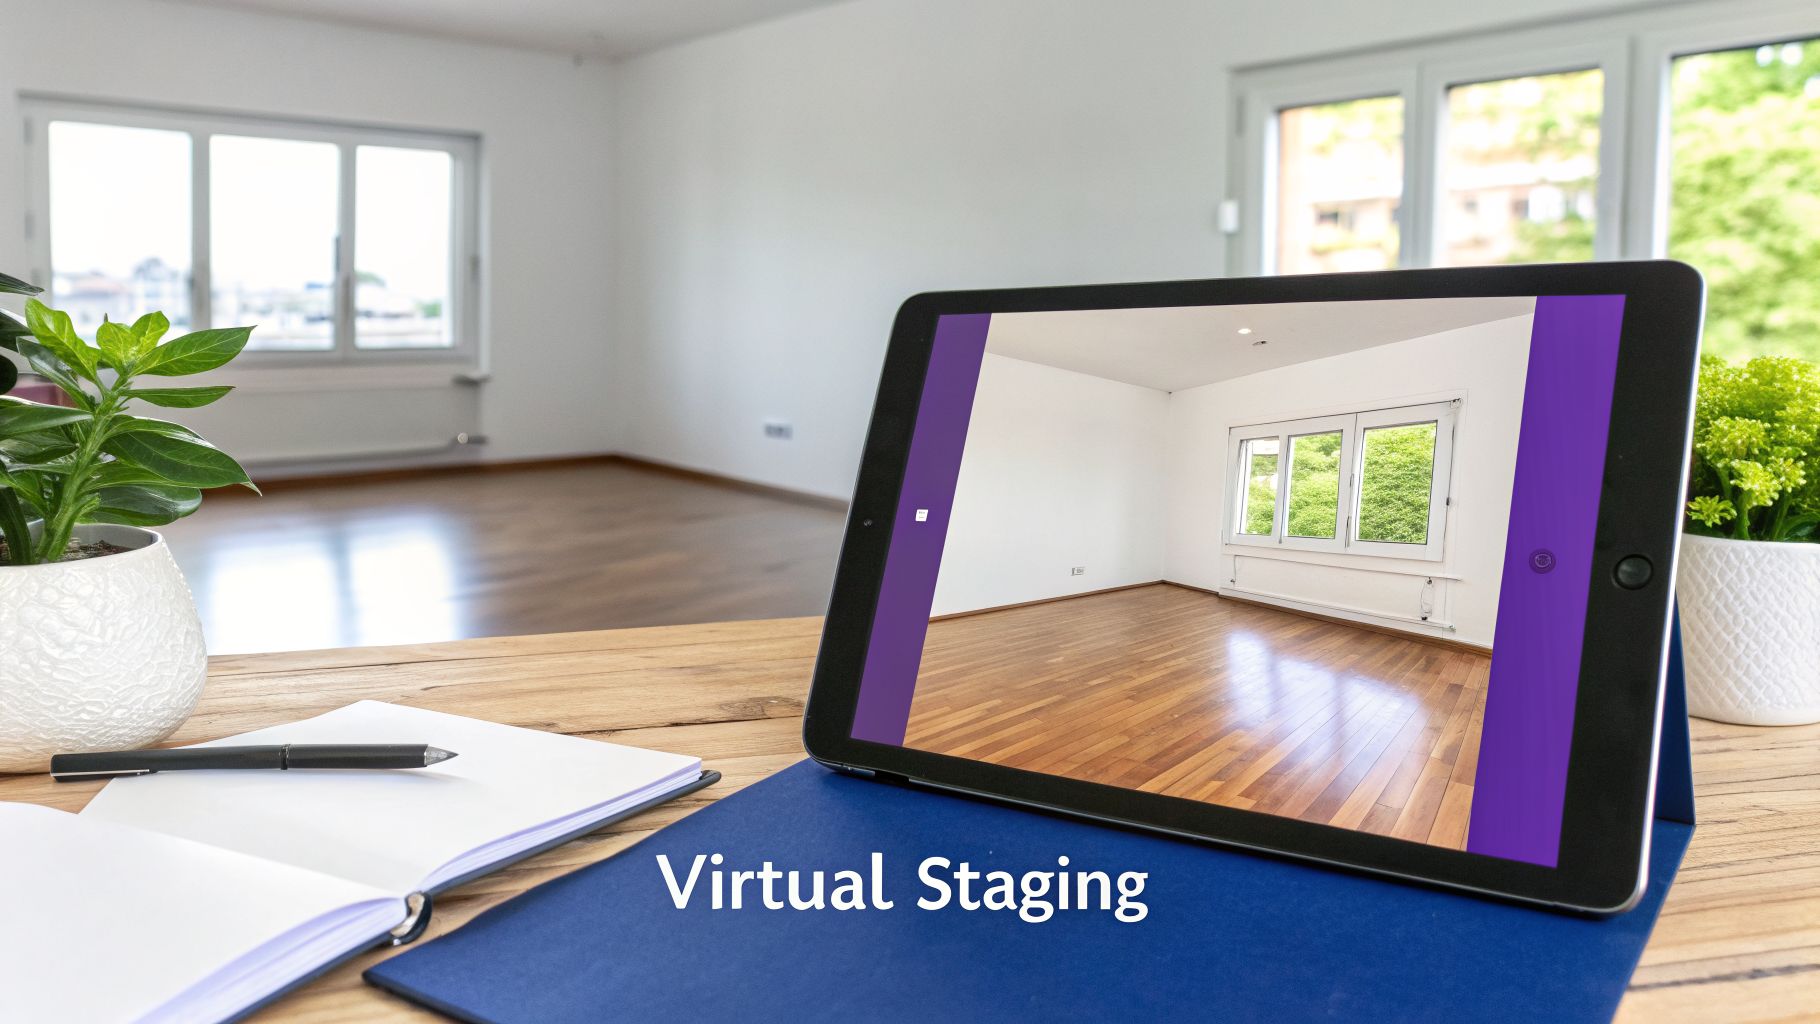
Level Up Your Service: Offer AI-Powered Virtual Staging
Nothing kills a listing's appeal faster than a sea of empty rooms. They look cold, uninviting, and buyers struggle to imagine themselves living there. This is a huge opportunity for you to step in with a solution that not only solves this problem but also adds a valuable, high-margin service to your business: AI-powered virtual staging.
Instead of just handing over photos of vacant spaces, you can offer to transform them into beautifully furnished, sellable homes. This isn't just an add-on; it's a game-changer that helps agents move properties faster and makes you an indispensable partner in their success.
From Empty Rooms to Dream Homes With AI
We've all been there. You nail the lighting and composition for a shot of an empty living room, but the final image just feels... flat. It lacks the emotion that sells a home. This is where a tool like aiStager can completely flip the script.
The workflow is surprisingly straightforward. You take your photo of the empty room, upload it, and then you can start adding furniture. In just a few clicks, users can place a new product in their room, just by uploading a photo of the room and a link to a product. For your real estate agent clients, this opens up a whole new world of marketing possibilities.
Here’s a look at just how simple it is to take a blank canvas and turn it into a compelling, furnished space.
The key is that aiStager is the only solution that generates hyper-realistic photos. It understands the room's dimensions and places furniture accordingly, so it looks like it truly belongs there, not like a bad copy-and-paste job.
Why True-to-Dimension Staging Matters
The real magic behind a tool like aiStager is its ability to produce photos with true-dimension rooms and furniture objects. This isn’t just about dropping a generic 3D model into a photo. The AI actually analyzes the room’s perspective and scale, then renders the furniture with accurate sizing, lighting, and shadows.
When it's done right, the final image is virtually indistinguishable from a photo of a physically staged room. This gives you and your clients incredible power. An agent can now cater to different buyer tastes without spending thousands on staging and moving crews.
Imagine showing a client how a room could look with two completely different design inspirations. You could create a sleek, minimalist vibe with an armchair from Article and then, in minutes, swap it for a classic, cozy look using a piece from Pottery Barn to appeal to US consumers who love a more traditional feel.
This kind of customization helps potential buyers form a genuine emotional connection with the property, which is exactly what you want.
Offer Your Clients Unmatched Flexibility
One of the biggest selling points for your virtual staging service is the ability to test out different products and styles with just a few clicks. aiStager is great to test different types of the same product, a massive advantage you can offer to agents.
You can show them what the primary bedroom looks like with a specific West Elm bed. If they're not sold on the color, you can instantly render it in a different finish. Want to see how it compares to a bed from another brand? You can swap it out in seconds.
This gives your clients the freedom to experiment with:
- Different Brands: Compare different sofa brands, like a high-end sofa with a more budget-friendly option, to see how each one fits the space.
- Various Styles: Showcase the same room with a Mid-Century Modern feel versus a popular US design inspiration like Coastal Grandmother aesthetic.
- Colors and Finishes: Test different upholstery colors or wood finishes to find the perfect match for the room's flooring and natural light.
When you offer this service, you’re elevating your role from just a photographer to a true marketing partner. You’re providing powerful visualization tools that directly help sell homes. To get a better handle on the specifics of the service, check out this great overview of virtual staging services.
And to really stay ahead of the curve, it pays to keep an eye on the best AI tools for real estate STR professionals. Understanding the technology that's shaping the industry proves you’re committed to offering the most modern, effective solutions out there.
Getting Your Business Off the Ground and Landing Clients
Alright, you’ve got the skills and the gear. Now for the exciting part: turning your passion into a real, money-making business. This is where we move beyond the camera and start thinking like an entrepreneur. It’s all about setting smart prices, getting your name out there, and building relationships that lead to consistent work.
And you've picked a great time to jump in. The demand for quality photography is stronger than ever. The global photography services market was valued at a massive $55.6 billion in 2023 and is on track to reach $81.83 billion by 2032. The U.S. market is especially hot, which means agents need photographers like you to make their listings stand out. If you're curious about the numbers, this detailed photography business analysis breaks down why the future looks so bright.
How to Price Your Work for Profit
Figuring out what to charge can be one of the most nerve-wracking parts of starting out. You don't want to price yourself out of the market, but you also can't afford to undervalue your time, talent, and all that expensive gear. Most successful real estate photographers I know stick to one of two simple models.
Pricing by Property Size
This is a really logical way to structure your fees. A bigger house simply takes more time to shoot and edit. You can create tiers based on square footage, which is a metric agents know inside and out. For example, a home under 2,000 sq ft might be your base package, with price increases for larger properties.
Pricing by the Number of Photos
Another popular route is charging based on the final number of images delivered. It’s incredibly straightforward for agents to understand. You could offer a package of 25 photos for standard listings and maybe a 40-photo package for larger homes or those with more features. Then, just set a clear price for any additional photos they might want.
When you're new, take an hour to research what other photographers in your city are charging. The goal isn't to be the cheapest—it's to understand the local market. This helps you position your services, whether you decide to compete on price or justify a higher rate by offering more value.
Don't forget to price out your add-on services separately. This is where you can seriously boost your income on each project.
- Drone Photography: Often a simple flat-rate add-on.
- Virtual Tours: Usually priced based on the home's square footage.
- Virtual Staging: This is almost always a per-photo charge.
Remember, your price tag sends a message. Make sure it reflects the professional quality and quick turnaround you provide.
Building Your Professional Brand
Before an agent hires you, they need to see what you can do. A polished online presence isn't optional; it’s your 24/7 storefront and your first impression.
Your number one priority is a clean, simple portfolio website. It doesn’t need all the bells and whistles. It just needs to showcase your best photos in a way that’s easy to navigate. Create a gallery with a few different types of properties to show your versatility. Make sure you have an "About" page, a "Services" page with your packages, and a contact form that's impossible to miss.
Once your website is live, go grab your business name on Instagram and Facebook. These platforms are fantastic for sharing your latest work, connecting with local agents, and even running highly targeted ads to get in front of the right people.
How to Find Your First Real Estate Clients
With your pricing and portfolio ready to go, it’s time to find some clients. Building your initial client list comes down to two things: making connections and being reliable.
Your primary customers are local real estate agents, so start there.
- Scout for Active Agents: Jump on Zillow or Realtor.com and see who's selling a lot of homes in your target neighborhoods. I've found it helpful to make a list of agents whose current listing photos could use a serious upgrade.
- Make a Real Connection: A cold email is easy to ignore. Instead, try to meet people in person. Go to local real estate industry meetups or even pop into an open house. Introduce yourself, hand them a business card, and follow up with a friendly email linking to your portfolio.
- Offer a First-Shoot Discount: This is a classic, effective strategy. Offering a small discount on the first job is a low-risk way for an agent to give you a shot. If you knock it out of the park, you’ve likely just earned a client for life.
And don't overlook your personal network! Let your friends and family know what you're doing. You never know who’s about to sell their house or has a friend who’s a real estate agent.
Protect Your Work with a Solid Contract
A professional contract is your best friend in this business. It protects you and the client by making sure everyone is on the same page about what’s expected, what will be delivered, and—most importantly—how your photos can be used.
The most critical part of your contract is the section on licensing rights. Standard practice is to grant the agent a license to use the photos only for marketing that one specific property. Once the house sells or the listing is canceled, the license expires.
This is non-negotiable. It makes it crystal clear that you own the copyright to your images. The agent can’t just hand them over to the new homeowner or sell them to the builder without your permission (and without paying you again). Getting this in writing from day one prevents headaches and ensures you're paid fairly for your work.
Answering Your Top Real Estate Photography Questions
When you're first starting out, the questions can feel endless. How much can you actually make? What gear do you really need? And how do you handle that first phone call with a real estate agent? I've been there. Let's walk through the most common questions I hear from new photographers and get you some clear, practical answers.
What’s the Real Earning Potential?
Let's get right to it. Yes, you can absolutely build a profitable career in this field. Most established photographers I know charge between $170 and $300 for a standard residential shoot. Of course, this swings up or down depending on your market. In a high-cost area like Los Angeles, for example, the average is closer to $318, whereas in a city like Atlanta, it's more like $222.
But that's just the baseline. Your real income comes from the extras. Think drone photos, video walkthroughs, and virtual staging. Tacking on these services can dramatically boost your revenue on every single job. A full-time photographer booking a few homes each week isn't just getting by; they're running a seriously profitable business.
What's the Bare Minimum I Need to Spend on Gear?
The good news is you don't need to drain your bank account on gear to get started. Focus your initial investment on the essentials that will give you professional results from day one.
Here’s what I’d consider a solid, no-fluff starter kit:
- Camera Body: Any reliable entry-level DSLR or mirrorless camera will do the job beautifully. Don't get caught up in having the newest model.
- Wide-Angle Lens: This is where you shouldn't cut corners. A quality wide-angle lens is your money-maker, allowing you to capture entire rooms without that weird, distorted look.
- A Sturdy Tripod: This is completely non-negotiable. For the sharp, clean photos agents expect, you need a stable tripod, especially for blending multiple exposures.
- An External Flash (Speedlight): One simple flash that you can aim at the ceiling will instantly make your photos look brighter, more professional, and more inviting.
You can pull together a really capable kit for under $2,000. The trick is to spend smart on the gear that solves the two biggest challenges in real estate photography: sharpness and lighting.
How Should I Handle My First Client Call?
That first call with an agent can be nerve-wracking, but confidence—even if you have to fake it a little—is everything. Show up prepared, be professional, and most importantly, listen.
Kick off the conversation by asking about the property itself. What features are the selling points? What's their timeline? This immediately shows you're focused on helping them, not just taking pictures. Have your portfolio website link handy and be ready to walk them through your packages and pricing. A small "first-time client" discount is a great little hook to get them to say yes.
More than anything else, just do what you say you're going to do. If you promise photos in 24 hours, have them in that agent's inbox in 24 hours. Reliability is what turns a one-off gig into a long-term client who sends you consistent work.
Is Virtual Staging a Must-Have Service?
It's not something you have to offer on day one, but it’s one of the smartest services you can add to your menu. Empty houses feel cold and are notoriously difficult for buyers to connect with. By offering to virtually stage them, you're not just a photographer anymore—you're a problem solver.
This is where a tool like aiStager becomes a secret weapon. It’s the only solution that generates hyper-realistic photos with true dimension rooms and furniture objects. The final images honestly look like the room was physically staged by a designer.
Think about it: you photograph a vacant living room. With aiStager, you can show the agent exactly what it would look like with a specific Crate & Barrel sofa, scaled perfectly to fit. If they're not sold, you can swap it for a classic armchair from Pottery Barn or even just change the fabric color with a few clicks. All you do is upload your photo of the room and a link to the product. It’s a high-impact, low-effort service that agents will happily pay a premium for.
How Many Photos Should I Deliver for a Standard Listing?
For a typical home, the sweet spot is between 20 and 35 photos. This gives potential buyers a full sense of the property without overwhelming them with too many similar shots. Your job is to tell the story of the home and highlight its best features.
A good shot list for a standard shoot usually includes:
- At least 2-3 wide shots of the exterior and any yard or patio space.
- 1-2 well-composed photos of each main room (living room, kitchen, primary bedroom).
- 1 solid photo of each smaller room (other bedrooms, bathrooms, office).
- A few detail shots of unique things like a cool fireplace, new appliances, or custom tile work.
Always remember to prioritize quality over quantity. An agent would much rather have 25 stunning photos than 50 mediocre ones.
Ready to give your clients a powerful new tool and boost your own income? With aiStager, you can transform empty listings into irresistible homes, let agents test out different furniture styles, and offer a service your competitors can't match. Start turning vacant rooms into visual assets today.