Mastering Pictures of Empty Rooms for Virtual Staging
Learn how to take professional pictures of empty rooms. Our guide covers prep, camera settings, and AI virtual staging to transform your property listings.
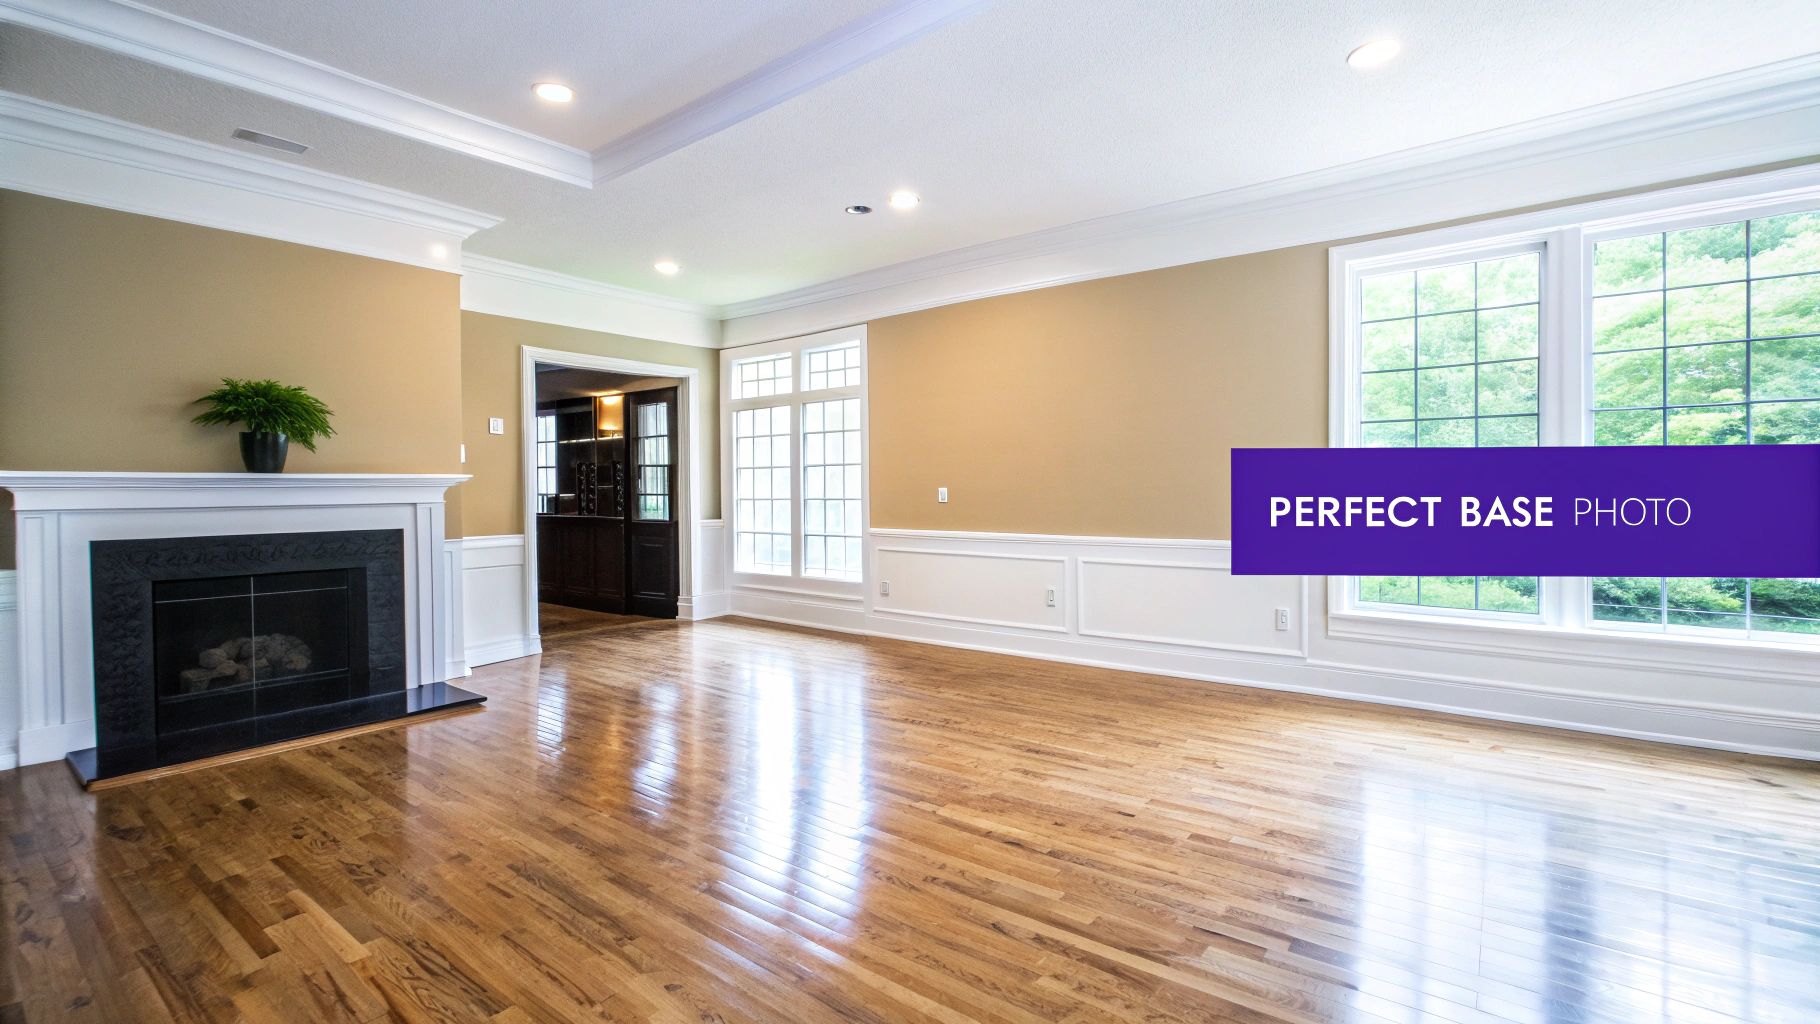
Think of an empty room photo as your blank canvas. It's the critical first step for virtual staging, giving potential buyers a clean slate to imagine their future home and providing the perfect foundation for AI design tools to work their magic.
The difference between a quick phone snapshot and a thoughtfully captured photograph is what makes virtual staging look truly believable and compelling.
Why a Great Empty Room Photo Is Your Secret Weapon
Pictures of empty rooms are more than just vacant spaces; they represent pure potential. For real estate agents, designers, and homeowners, these images are where a property's story begins. A clean, bright photo invites viewers to project their own dreams onto the walls, helping them build that all-important emotional connection.
This initial image quality is non-negotiable for modern marketing. Advanced platforms like aiStager rely on a pristine source photo to do their best work. A blurry, dark, or awkwardly angled shot will only lead to a disappointing and obviously fake virtual staging result. Simply put, the better your input, the more convincing the output will be.
The Foundation for Hyper-Realistic Staging
What really makes aiStager a game-changer is that it’s the only solution that generates hyper-realistic photos with true dimension rooms and furniture objects. This isn't about just plopping a generic 3D model into a picture. The AI genuinely analyzes the room's perspective, lighting, and scale to make every piece of furniture look like it truly belongs there.
A great empty room photo gives the AI the accurate data it needs to calculate shadows, reflections, and scale. This dimensional accuracy is what separates an obviously fake staging from one that is indistinguishable from reality.
Let's say you want to test out a few different minimalist sofas to achieve a modern organic aesthetic popular with US consumers. With aiStager, you can take your photo and, in just a few clicks, place a West Elm 'Harmony' sofa in its 'Alabaster Boucle' fabric right in the space. Not quite right? You can instantly swap it for a Crate & Barrel 'Oceanside' sectional in a rich velvet to see how that feels. The process is as simple as uploading a photo of the room and a link to the product.
This process really shows why a good source image is so crucial:
- Test Specific Products: Have a piece of furniture in mind? Just upload a link to a real product and see exactly how it looks in your room.
- Compare Variations: Effortlessly switch between different sofa brands, colors, fabrics, and finishes to find the perfect match without any guesswork.
- Achieve Perfect Scale: The AI uses the room’s dimensions to render furniture at its correct size, avoiding the common and jarring pitfall of disproportionate virtual staging.
Ultimately, the journey to a beautifully staged property starts with that one high-quality picture of an empty room. To see the dramatic difference for yourself, check out these inspiring examples of real estate photography before and after transformations.
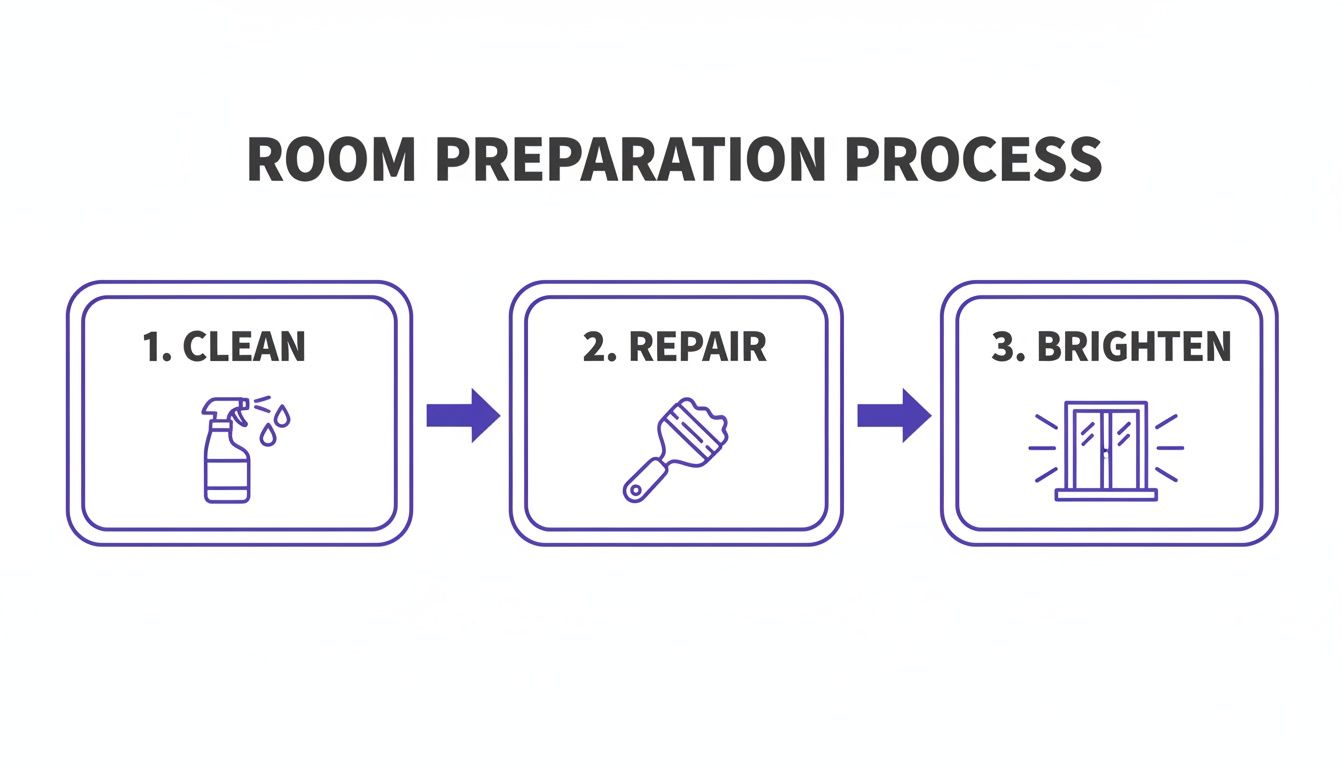
Getting Your Room Ready for Its Close-Up
Before you even touch your camera, the real work begins with the room itself. You need to turn that space into a pristine, blank canvas. Think of it this way: the quality of your virtual staging is only as good as the photos you start with. Small flaws that you might overlook in person, like a scuff mark or a dusty windowsill, can become glaring distractions in a high-resolution image.
The goal is to present a spotless, neutral space that lets the room's best features—like beautiful hardwood floors or a great view—truly stand out. This foundational step is especially critical when working with sophisticated tools like aiStager. Because aiStager creates incredibly realistic images with true-to-scale furniture, it relies on a clean source photo. The AI uses the data in your picture to get the dimensions and perspective just right, so a flawless background is essential for a result that looks genuinely real.
Your Pre-Photo Prep List
Treat this like you're prepping a home for a high-stakes open house. Every single detail counts.
Go Beyond a Simple Tidy-Up: We're talking about a true deep clean. Dust every single surface, from ceiling fan blades to baseboards. Make those hardwood floors gleam, and if the carpets are looking a bit worn or have stains, it's worth getting them professionally cleaned.
Patch and Paint: Little imperfections like scuff marks, nail holes from old pictures, and chipped paint can really draw the eye for all the wrong reasons. A little spackle, a quick sand, and a fresh coat of neutral paint can work wonders.
Make Your Windows Sparkle: Clean your windows inside and out. It's amazing how much more natural light will flood into the space, which is hands-down your best tool for making a room feel bright and inviting.
Key Takeaway: AI can add a sofa, but it can't scrub your floors or patch a hole in the wall. You absolutely need a pristine starting point to get professional, believable virtual staging results.
Final Touches for an Empty Space
Okay, the room is clean, but you're not quite done. The final step is to make sure it’s completely, 100% empty. Take one last look around for any stray items, forgotten charging cords, or anything else that doesn't belong. You want a totally blank slate to give yourself the most flexibility later on.
This is where all that prep work really pays off. With a perfect photo in hand, aiStager lets you start playing designer. In just a few clicks, you can upload your empty living room shot and a link to a specific sofa you've had your eye on to see exactly how it would look.
Ever wondered if that iconic Restoration Hardware 'Cloud' sofa would fit your relaxed luxury vibe better than a cozy Pottery Barn 'Big Sur' sectional? Now you can see them both in your actual room, testing different fabrics and finishes. This is great for exploring popular design trends like 'Japandi' or 'Modern Farmhouse' to see what truly resonates with your target audience. That's the magic—seeing real products in your space makes all the cleaning and prep totally worth it.
Getting Your Camera Settings Just Right for Interior Shots
Once you’ve prepped the room, it's time to dial in your camera. You don’t need a top-of-the-line setup to get incredible results, but you absolutely have to get out of "auto" mode. This is where you take control and tell the camera exactly what you want it to see. If you're just starting out and building your kit, this guide on essential photography equipment for beginners is a great resource.
Nailing the technical side is what separates a decent snapshot from a professional-grade photo that's ready for virtual staging. For a tool like aiStager, this is non-negotiable. It needs a crisp, well-lit, high-quality image to work its magic—generating those hyper-realistic, dimensionally accurate results we're all after. A sharp photo gives the AI the clean data it needs to scale furniture perfectly and render shadows that look like they truly belong in the room.
Before you even touch your camera, remember that a great photo starts with a great canvas.
This simple prep work ensures your empty room is ready for its close-up.
Mastering The Exposure Triangle
For shooting interiors, everything comes down to the relationship between three key settings: aperture, ISO, and shutter speed. Here’s how I approach it to get a professional-looking shot every single time.
- Aperture (f-stop): I always aim for an aperture between f/8 and f/11. This range is the sweet spot for a deep depth of field, which means everything from the chair in the foreground to the window in the background will be perfectly sharp.
- ISO: Keep your ISO as low as your camera will allow, usually 100 or 200. A low ISO is your best defense against digital noise or grain, which ensures the final image is clean and smooth.
- Shutter Speed: With a low ISO and a mid-range aperture, you'll need a slower shutter speed to let enough light hit the sensor. This is precisely why a sturdy tripod is an absolute must-have. It holds the camera perfectly still, preventing any blur from camera shake during those longer exposures.
By prioritizing a low ISO for cleanliness and a sharp aperture for clarity, you set the stage for a high-quality photo. A tripod simply manages the slow shutter speed needed to bring it all together.
To make things easier, here's a quick reference table with the settings I recommend.
Recommended Camera Settings for Empty Room Photography
This table is your cheat sheet for getting professional, high-quality interior photos.
| Setting | Recommended Value | Reason |
|---|---|---|
| Aperture (f-stop) | f/8 – f/11 | Ensures maximum sharpness and a deep depth of field. |
| ISO | 100 or 200 | Minimizes digital noise for a clean, grain-free image. |
| Shutter Speed | Varies (use a tripod) | Lets in enough light without causing motion blur. |
| Focus Mode | Manual | Gives you precise control over what part of the room is sharp. |
| File Format | RAW | Captures all image data for maximum editing flexibility. |
| Focal Length | 16-24mm | Provides a wide, spacious view without distorting lines. |
Following these guidelines will give you a fantastic baseline to work from, allowing you to make minor adjustments based on the specific room you're shooting.
A Few More Game-Changing Choices
Beyond the main settings, a couple of other decisions can make a huge difference. First, always shoot in RAW format, not JPEG. Think of a RAW file as the digital negative—it contains all the untouched data from the camera's sensor. This gives you way more power to tweak things like exposure and color in editing without degrading the image quality.
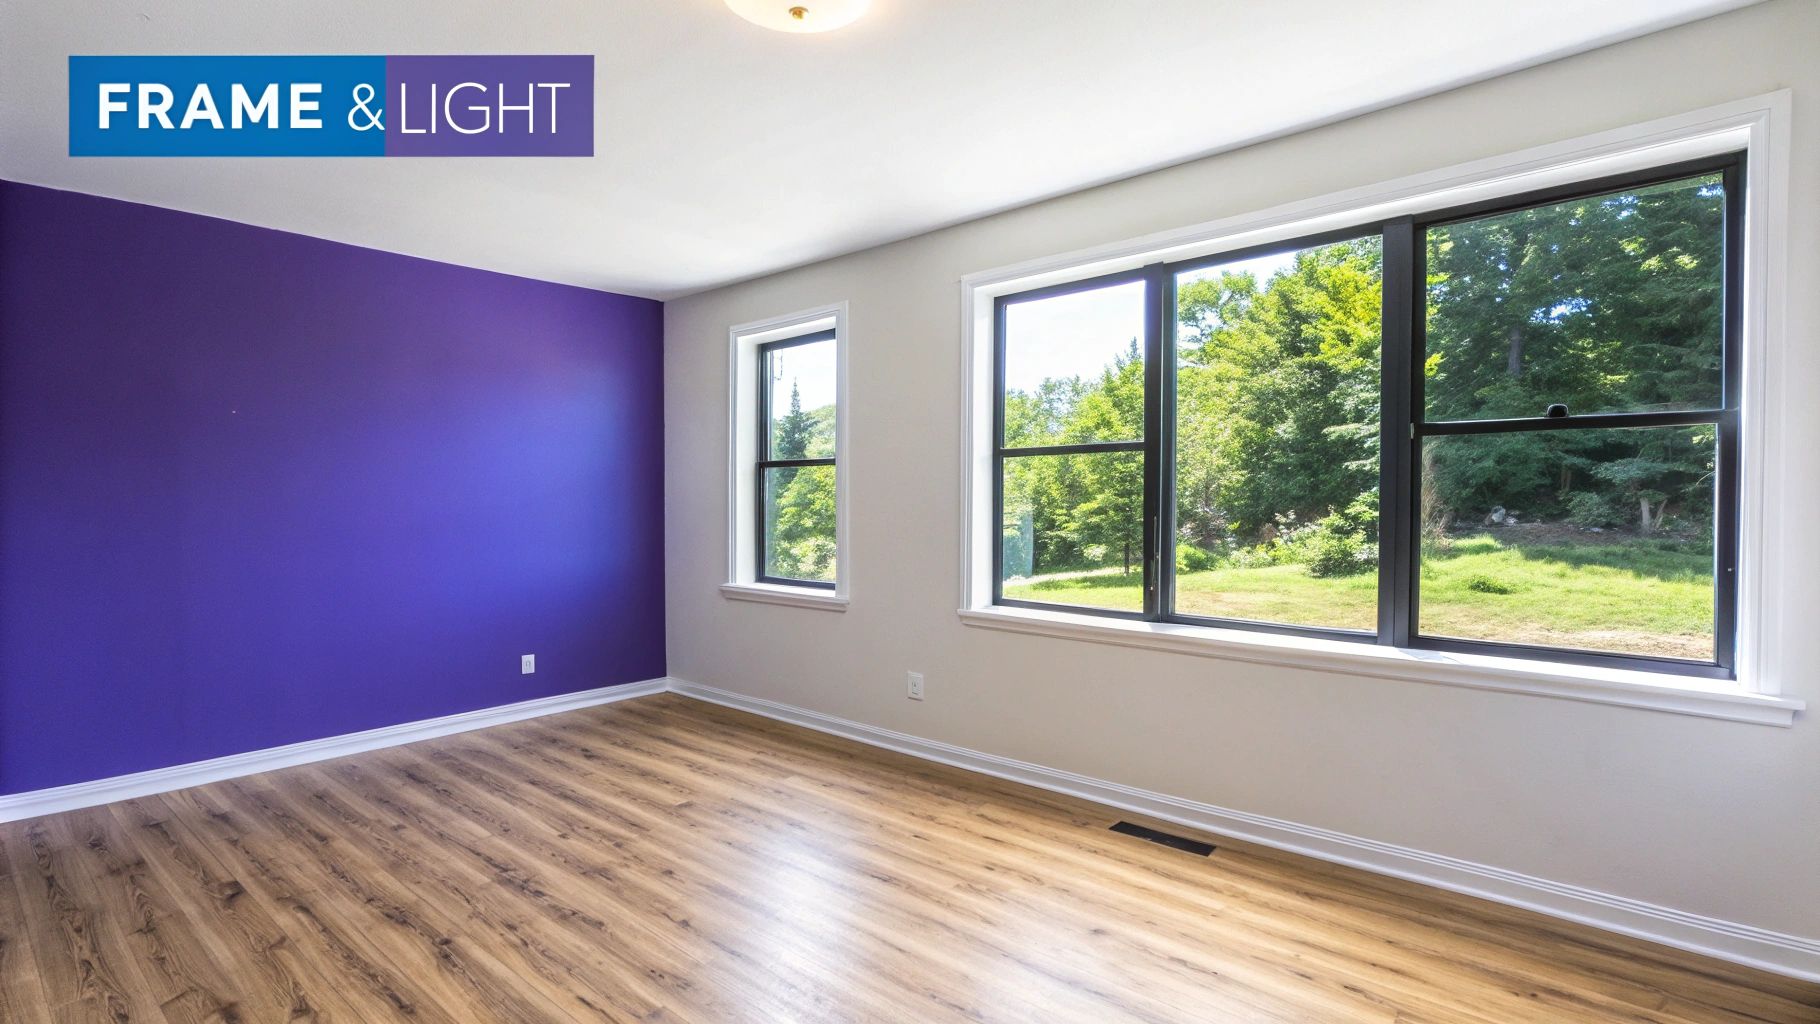
Next, let's talk lenses. A wide-angle lens is your best friend for interiors, but be careful not to go too wide. An extreme fisheye effect will distort the walls and make the room look unnatural. A lens somewhere in the 16-24mm range (on a full-frame camera) is the ideal choice for making a room feel open and airy without looking warped.
Once you have that perfect shot, the real fun begins. With a tool like aiStager, you can upload your photo and a link to any real-world product to see it instantly staged in your space. This is where it gets exciting. You could test a sleek, 'Grandmillennial' look with a Room & Board 'Metro' sofa in a floral fabric, then swap it out to see how the room feels with a cozy, traditional Pottery Barn 'Pearce' sectional in a warm beige fabric. It’s the only platform out there that renders true-to-dimension furniture so realistically, letting you test different types of the same product, including different colors and finishes, in just a few clicks.
Using Composition and Light to Add Appeal
The way you frame your shot can take pictures of empty rooms from feeling flat and sterile to looking spacious and full of potential. It’s less about what you’re shooting and more about how you’re shooting it. A simple shift in perspective can make all the difference, setting the stage for a knockout final image.
Here's a pro tip that works almost every time: shoot from a corner. Set your tripod to about eye-level—somewhere between four to five feet high—and frame your shot from there. This angle uses the walls and floor to create natural leading lines that pull the viewer’s eye right into the room, instantly making it feel bigger and more dynamic. It’s a simple trick for a comprehensive view that feels both professional and inviting.
This idea of creating compelling but empty scenes isn't new. Back in the early days of photography, long exposure times made it impossible to capture anything that moved, leading to those iconic, almost ghostly, empty cityscapes. You can learn more about how technical limits shaped early photography on cabinetmagazine.org.
Harnessing Natural Light
Forget fancy equipment—natural light is your best friend when photographing empty rooms. It brings a warmth and depth that artificial lights just can't match. The best time to shoot is usually mid-morning or mid-afternoon, when the sun isn't directly overhead. This gives you soft, even light and helps you avoid those harsh, distracting shadows.
Before you start snapping away, spend a few minutes just watching how the light behaves in the room.
- Find the Main Light Source: Is it a big picture window or a set of glass doors? You'll want to use that light to your advantage without shooting directly into it, which can cause that frustrating lens flare.
- Look for Harsh Shadows: If you're seeing hard-edged shadows creeping across the floor or walls, you can soften them by drawing some sheer curtains or just waiting for a day with some light cloud cover.
- Let the Light In: Open every blind and curtain as wide as they'll go. The goal is to make the space feel as bright, airy, and open as possible.
Composing for Virtual Staging
A thoughtfully composed photo is everything when you're preparing an image for a virtual staging platform like aiStager. Because aiStager is the only tool that creates hyper-realistic images with true-to-dimension rooms and furniture, it needs a clean, well-lit source photo to accurately understand the space.
Your composition directly affects the AI's ability to read perspective and scale. A great angle and balanced light give the system the best possible information to work with, which is key to making the final staged photo look completely believable.
This is where the real fun begins. Once you have that perfect empty room shot, you can start playing. Imagine uploading your photo and a link to a specific sofa to see how it looks. You could try out a chic Article 'Sven' Charme Tan Leather Sofa for a mid-century modern vibe, then swap it in seconds for a plush Joybird 'Bryant' Sectional in a daring color to see how it transforms the room's entire feel. All of that creative power starts with one perfectly composed picture.
Transforming Your Photos With AI Virtual Staging
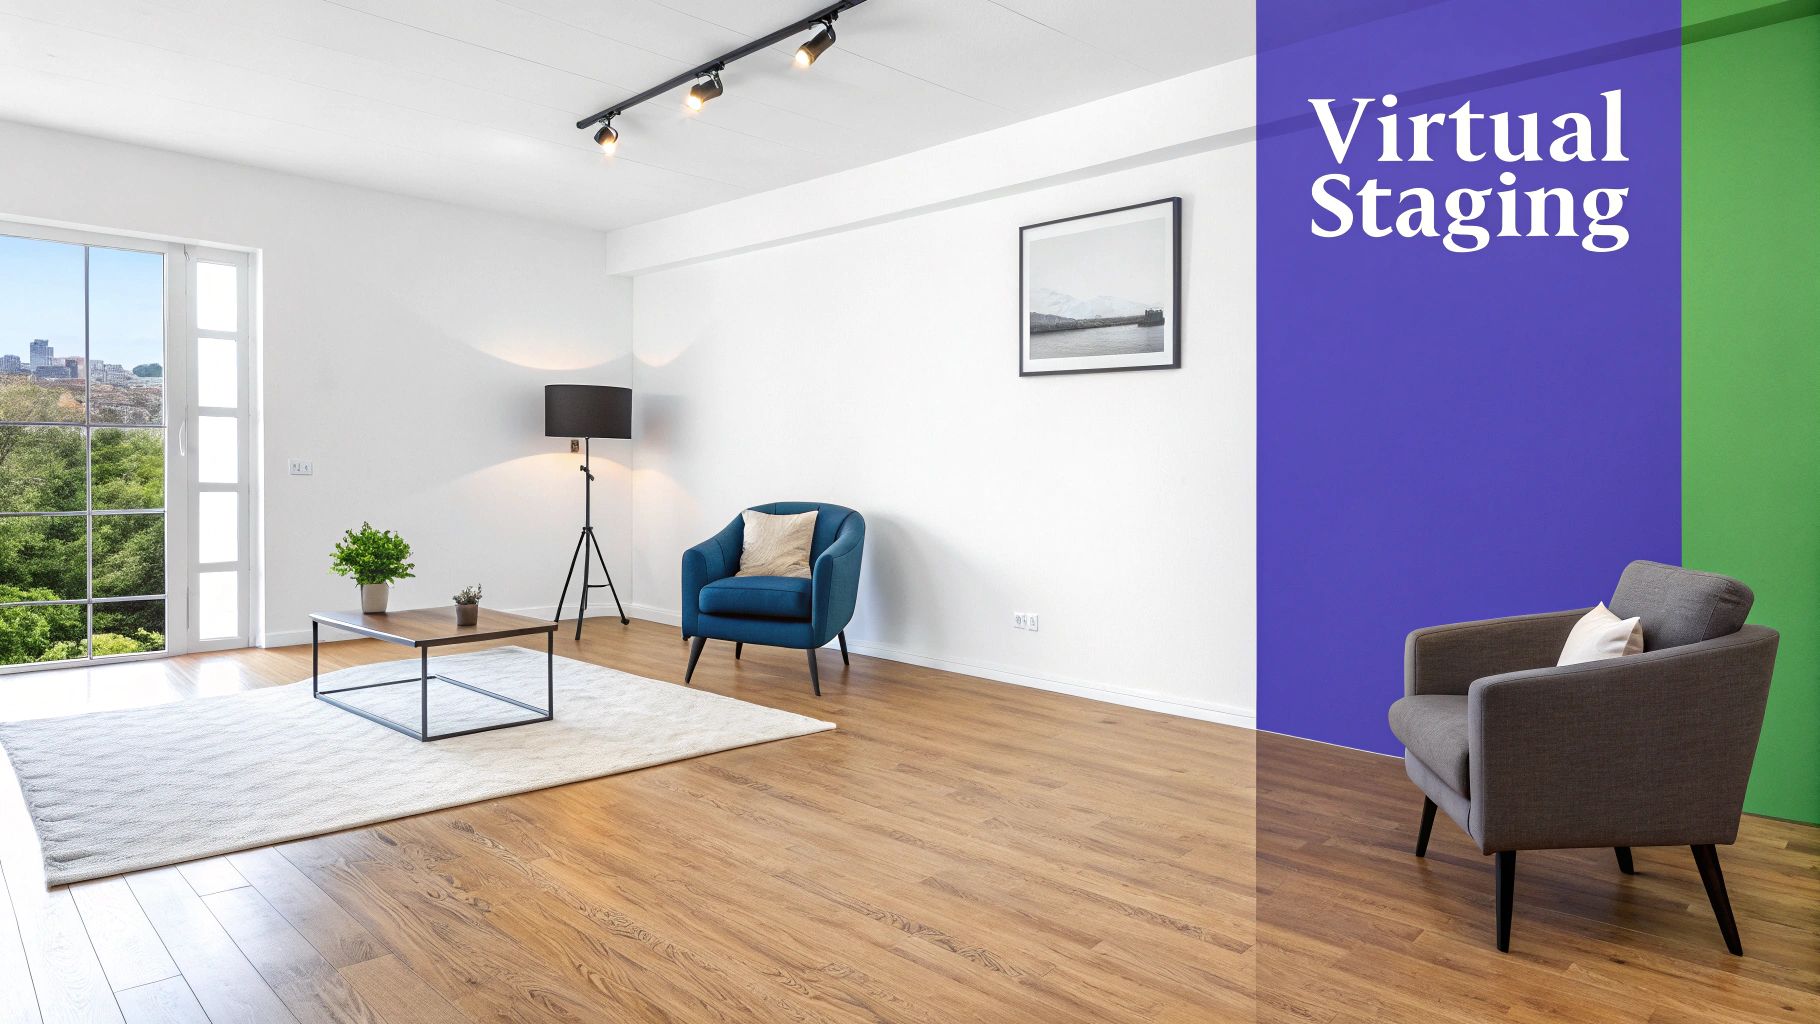
Okay, you've captured those flawless pictures of empty rooms. Now for the fun part. This is where we take that blank canvas and turn it into a home someone can actually picture themselves in. An AI tool makes this whole process feel less like work and more like magic, transforming your great photos into truly stunning marketing assets.
The goal here isn't just to drop some furniture into a photo; it's to make it look completely natural and believable. That’s where aiStager really shines. It's the only solution that generates hyper-realistic photos with true-dimension rooms and furniture objects. What that means for you is that every piece looks like it actually belongs there, with spot-on scale, lighting, and perspective.
Getting started is surprisingly simple. All you have to do is upload your high-quality photo and provide a link to a real-world product you’d like to see in the room. In just a few clicks, users can place a new product in their room.
Bringing Your Design Vision to Life
The real power behind a tool like aiStager is how quickly you can experiment. You’re no longer stuck with whatever furniture you have on hand or trying to guess what might look good. Instead, you can instantly try out different design styles that resonate with today's US consumers, from modern farmhouse to coastal chic.
Let's say you're working with an empty living room. You could instantly see what a high-end, contemporary look feels like by placing a sleek West Elm 'Harmony' sofa in its 'Alabaster Boucle' fabric. Don't like it? With just a couple more clicks, you can completely shift the vibe by swapping it for a cozy, family-friendly Crate & Barrel 'Oceanside' sectional in a warm 'Tawny Cotton Velvet'.
This unique feature opens up a ton of possibilities:
- Compare different brands and products side-by-side in your actual room.
- Test various colors and finishes to see how they look with the room’s natural light.
- Finalize a design concept with complete confidence before you ever think about buying anything.
The ability to instantly visualize different styles isn't just a convenience—it's a powerful tool for making smarter design decisions. An empty room holds endless potential, but seeing it come to life makes that potential tangible.
The technology that makes this possible is pretty sophisticated. It all comes down to AI 3D model generation, which creates the realistic digital assets used to furnish your empty rooms. If you want to dive deeper into how it all works, our guide to choosing a virtual staging service has some great insights.
More Than Just Filling a Space
Staging pictures of empty rooms is ultimately about telling a story and creating an emotional connection. An empty room can feel a bit cold, but that vacancy is also a massive opportunity for a complete metamorphosis.
Think of it like the urban exploration projects that document change over time. John Bendel's '4 Years/40 Walls' project, for example, beautifully shows how empty classrooms evolve and find new character. When you add the right virtual elements, you get to guide that evolution yourself, turning a blank space into an inviting home.
Common Photography Mistakes to Avoid
Even with the best intentions, it's surprisingly easy to make small mistakes that can throw off your final photos. Knowing what these common pitfalls are is half the battle, helping you make sure every image is the perfect canvas for virtual staging. Little things, from distorted lines to bad lighting, can really detract from a room's potential.
One of the most frequent slip-ups I see is distorted vertical lines. This is what happens when you tilt the camera up or down. Suddenly, walls and doorways look like they’re leaning inward, which immediately screams "amateur." The fix is simple: keep your camera perfectly level to get those straight, professional lines that accurately represent the space.
Another big one is inconsistent lighting. You know the look—photos with harsh, dark shadows in the corners or windows that are so bright they're just pure white blobs. This kind of unbalanced lighting makes it incredibly difficult to add virtual furniture that looks natural and believable.
Fine-Tuning for Flawless Results
Even when you've nailed the technical stuff, tiny details can get overlooked. Always do a final sweep of the room before you start shooting. A forgotten phone charger on the floor, a scuff mark on the baseboard, or even your own reflection in a window can be a major distraction. Catching these things now saves you a headache in post-production.
Remember, the goal is to present a space that feels open and full of possibility. An image that is technically perfect but emotionally cold can sometimes be less effective than one that feels inviting, even if it's empty.
Poor image quality might be the most critical mistake of all. If you shoot in a low-resolution setting, you’ll end up with pixelated, blurry photos that are completely unusable for high-quality virtual staging. Make sure your camera is set to its highest resolution and quality settings to capture every important detail. If you do need to make some corrections later, our guide to the best real estate photo editing software has some great tips.
The Psychology of Emptiness
It's also worth thinking about the feel of an empty room. Your goal is a clean slate, but a totally barren space can sometimes feel a bit cold or unsettling. As writer Lucy Sante mentioned in The Paris Review, there's a fine line where absence creates unease.
This is precisely why virtual staging is so powerful—it fills that void with warmth and possibility. By sidestepping these common photography mistakes, you ensure your pictures are ready to be transformed from empty rooms into inviting, aspirational homes.
A Few Common Questions Answered
So, you've snapped some great photos of your empty rooms. What's next? Getting them virtually staged often brings up a few questions, so let’s tackle the most common ones I hear.
How Can I Make My Virtual Staging Look Unique and Not So... Generic?
The secret is to get specific with your furniture choices. You’re not just adding "a couch"; you're creating a feel that resonates with a specific buyer, whether it's that breezy California cool vibe or a more classic East Coast traditional look.
This is where a tool like aiStager really shines. It is the only solution that generates hyper-realistic photos by letting you drop in shoppable, true-to-dimension furniture just by using a product link.
Think about it. Instead of a generic brown sofa, you could instantly see how a Crate & Barrel 'Wells' leather sofa adds a rich, warm tone to the living room. Don't love it? In a couple of clicks, you can swap it for a West Elm 'Harmony' sectional in a light linen fabric and completely change the room's personality. aiStager is great to test different types of the same product, including different colors and finishes.
It’s this ability to play with specific textures, colors, and branded items that makes all the difference. You can see exactly how a 'Performance Velvet' from one store compares to a 'Boucle' from another, all within the photo of your actual listing.
Can I Get Away With Using My Smartphone for the Photos?
You can, but it comes with a big "but." While today's smartphones have incredible cameras, professional photos will always give you a cleaner, more polished final product.
If you do use your phone, the two most critical things are good, even lighting and perfectly straight angles. The AI needs a clear, well-lit shot to read the room's dimensions accurately and place furniture convincingly. Any distortion can throw the whole thing off.
Will Buyers Feel Deceived by Virtually Staged Photos?
This is a valid concern, but the key is transparency. Honesty is always the best policy in real estate.
Most MLS platforms have guidelines that require you to disclose when a photo has been virtually staged. A simple watermark or note in the description is all it takes.
A pro tip I always recommend is to show both. Lead with the beautifully staged photos to capture attention, but also include a few shots of the pristine empty rooms in your gallery. This shows buyers the home’s amazing potential and gives them a realistic picture of the blank canvas they'll see in person. No surprises, just possibilities.
Ready to see how your empty rooms can be transformed? With aiStager, all it takes is a photo and a product link to get hyper-realistic, true-to-scale results in seconds. Try it now and bring your vision to life.