A Guide to Room Layout Sketchup for Stunning 3D Designs
Learn how to master room layout sketchup. This guide shows you how to model your space, furnish it, and create photorealistic visuals in minutes.
Building a room layout in SketchUp is one of the most effective ways to start any interior design project. It gives you a hands-on, 3D modeling experience that's both accurate and surprisingly easy to get the hang of. It’s all about creating a digital twin of your space, letting you test ideas before you even think about moving furniture or picking up a paintbrush.
Why Use SketchUp for Room Layouts?
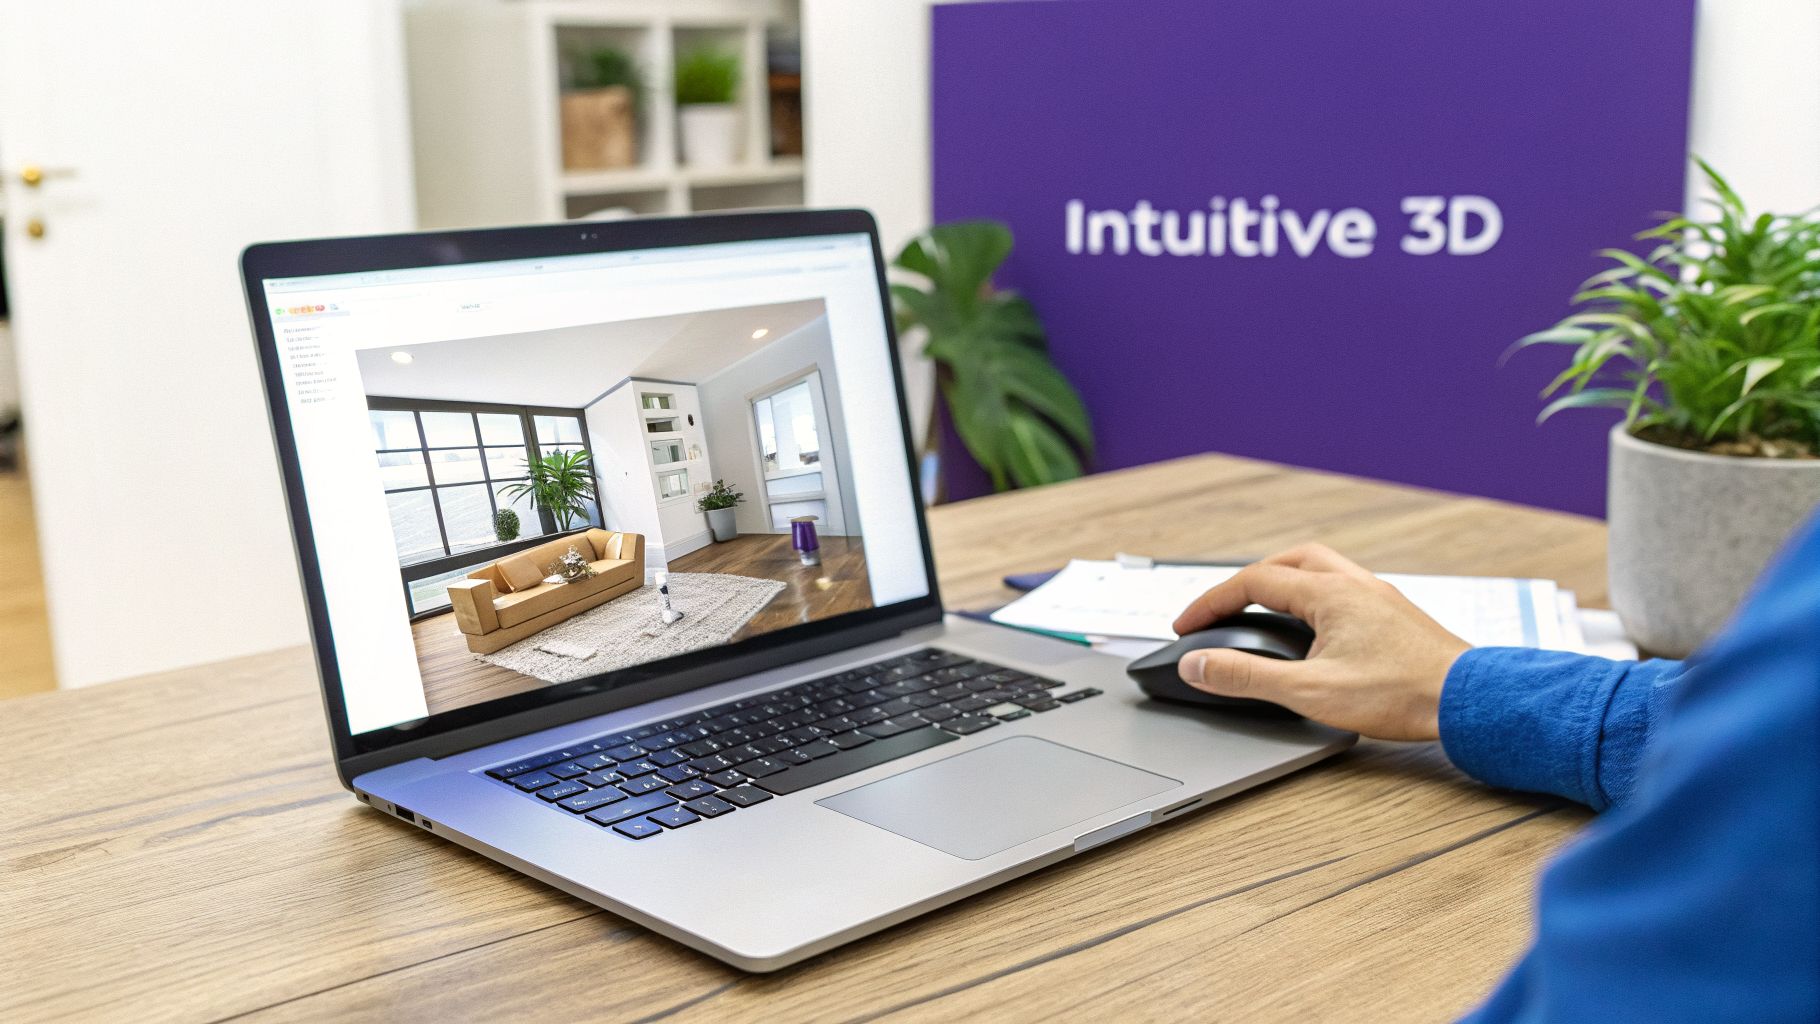
So, before we jump into drawing our first wall, let's talk about why so many people swear by SketchUp for planning out a room. It hits a sweet spot that other programs miss. It’s not as intimidating as complex CAD software, but it’s far more powerful than simple floor plan apps. Working in SketchUp feels more like sculpting than drafting, which makes it approachable whether you’re a professional designer or a homeowner planning a weekend project.
The numbers back this up. Over 1,152 companies around the world use SketchUp, and its popularity is massive in the United States, where 52% of its users live. The Architecture & Planning industry, which makes up 19% of its user base, depends on it for everything from initial floor plans to detailed furniture layouts. You can see more details about SketchUp's professional adoption on enlyft.com.
From Blueprint to Realistic Vision
The real magic of using SketchUp for your room layout is how it serves as the solid foundation for the entire design process. It’s brilliant at creating the "bones" of a room—the walls, windows, doors, and overall footprint—with measurements you can trust. This accurate base model is the perfect launchpad for bringing your vision to life.
Here's a quick look at how SketchUp's digital approach stacks up against manual methods for planning your room.
SketchUp vs Traditional Methods for Room Layouts
| Feature | SketchUp Layout Design | Manual 2D Drafting |
|---|---|---|
| Visualization | Full 3D view from any angle. | Flat, 2D top-down perspective only. |
| Editing | Instantly move walls, resize furniture, and test layouts. | Requires erasing and redrawing; very time-consuming. |
| Accuracy | Digital precision to the fraction of an inch. | Prone to human error and scale inaccuracies. |
| Collaboration | Easily share files with clients or contractors. | Physical copies must be shared; difficult to update. |
| Realism | Can be exported for photorealistic rendering. | Limited to simple lines and symbols. |
While both methods can get you a floor plan, SketchUp's flexibility and 3D visualization give you a much clearer and more dynamic understanding of the space.
A great SketchUp model is essential for getting a feel for the space and flow. But the ultimate goal is usually photorealism, and that's where modern tools come in to close the gap between a 3D model and a photo-perfect image.
This becomes incredibly important when you're trying to make real-world purchasing decisions. Let's say you’re torn between a classic slipcovered sofa from Pottery Barn and a sleek, mid-century modern design from Article. Your SketchUp model confirms both will fit, but it can’t show you exactly how each one will look in your actual room, with your lighting and your decor.
That’s where a tool like aiStager makes all the difference. It's the only solution that generates hyper-realistic photos with true dimension rooms and furniture objects. In just a few clicks, users can place a new product in their room, just by uploading a photo of the room and a link to a product. You can see that Article sofa in velvet green versus woven gray, perfectly scaled and lit. aiStager takes your SketchUp room layout and makes it truly actionable, helping you make confident visual decisions without needing to learn complex rendering software.
Getting Your SketchUp Workspace Set Up for Precision
Before you draw a single line, taking a few minutes to properly set up your SketchUp workspace is the single most important thing you can do for an accurate room layout. Think of it as prepping your canvas. A good setup from the start prevents a world of headaches later on and ensures every wall, window, and piece of furniture is dimensionally correct.
First things first, let’s pick the right template. When you launch SketchUp, you’ll see several options. If you're working on a project in the US, you'll want to choose a template like ‘Interior and Production Design’ or 'Architectural - Feet and Inches'. This pre-sets your project to use the right units, so when you go to draw a 12-foot wall, SketchUp knows you mean 12 feet, not 12 meters. It's a small click that makes a huge difference.
Fine-Tuning Your Toolbar for a Faster Workflow
With your template loaded, the next thing I always do is customize the toolbar. A cluttered or default toolbar just slows you down. You want your most-used tools right there, ready to go, especially when you're trying to create a quick room layout sketchup.
On Windows, head to View > Toolbars. On a Mac, it's View > Customize Toolbar. Make sure you have these essentials visible:
- Tape Measure: Absolutely critical for setting up guidelines and double-checking distances.
- Dimensions: This lets you snap measurement labels directly onto your model.
- Push/Pull: The magic tool for extruding your 2D floor plan into 3D walls.
- Line and Rectangle: Your basic building blocks for tracing out the room's footprint.
Getting this sorted out now means you'll spend less time digging through menus and more time focused on your design. It’s a simple tweak that really pays off as your models get more detailed.
Getting the scale right from the very start is non-negotiable. This foundational step guarantees that when you're ready to visualize a specific piece, like a Crate & Barrel sofa or a West Elm accent chair, its dimensions are true-to-life in your digital model.
This is what elevates a rough concept into a practical, functional design plan. When your SketchUp model is built to the correct scale, it becomes a reliable foundation you can use for all sorts of advanced visualization.
For example, this kind of precise model is the perfect starting point for a tool like aiStager. It’s the only platform out there that can generate hyper-realistic photos using rooms and furniture that are true to their real-world dimensions. Because you built your SketchUp model correctly, you can move to the fun part with total confidence.
Let's say you've modeled your living room and want to see how different styles would look. Maybe you're torn between a clean, minimalist vibe and a cozy, modern farmhouse feel popular in the US. With aiStager, you can upload a photo of your actual room and then just drop in a link to a product you're considering.
One minute you could be testing out a sleek media console from Article, and the next you could swap it for a rustic one from Pottery Barn. It's brilliant for quickly comparing different brands, colors, or finishes of the same item. In just a few clicks, you can place a new product in your room and see exactly how that new product will fit your space—both in size and style. This entire workflow, which starts with an accurate SketchUp workspace, beautifully bridges the gap between your 3D model and a photo-perfect reality.
Building Your Room from a Plan or Photo
Alright, with your workspace set up for accuracy, it's time for the fun part: building the actual room. This is where the abstract ideas start becoming a tangible, 3D space. Most projects I've worked on begin one of two ways: either with a formal 2D floor plan—maybe from an architect or a property listing—or simply from a few photos and some quick measurements.
No matter your starting point, having a solid grasp of how to plan a room layout is a huge advantage. Thinking through the flow and function of the space beforehand saves a ton of backtracking once you're in SketchUp.
Importing and Scaling Your Reference
First things first, let's get your reference image into the model. Just head to File > Import, find your floor plan or photo, and drop it onto the ground plane.
Now for the most critical step: scaling. Without this, your entire model will be off. Look for a dimension you know for certain, like a 36-inch doorway or a 10-foot wall.
Grab the Tape Measure tool and click on the start and end points of that same feature on your imported image. Don't drag, just click twice. Then, immediately type the real-world dimension (like 10' or 36") and hit Enter. SketchUp will pop up a dialog asking if you want to resize the model. Absolutely click 'Yes'. Just like that, your entire image is scaled to the correct size.
My go-to pro-tip: Right-click the newly scaled image and choose 'Lock'. This is a lifesaver. It keeps the image from shifting around while you trace, which is a surprisingly easy and frustrating thing to do.
With your reference scaled and securely locked down, you can start tracing with confidence. Use the Line and Rectangle tools to outline the basic footprint of the room. Just follow the lines on your plan. Don't stress about getting it perfect on the first try; we can always nudge lines and adjust corners later.
From 2D Lines to 3D Walls
Here comes the magic moment. Once you have the 2D footprint traced, grab the Push/Pull tool. Hover over the face you created for the walls, click, and pull it upwards. Before you click again, just type in your ceiling height (say, 8') and press Enter. Boom. You have perfectly dimensioned walls.
For doors and windows, I always use guides. It keeps things precise.
- Select the Tape Measure tool and, starting from a corner, pull a guideline out. Type
30"and hit Enter to mark where a window starts. - Pull another guide from that one and type
48"for the window's width. - Do the same for the vertical placement, creating horizontal guides for the sill and header heights.
- Finally, draw a rectangle snapped to these guides and use the Push/Pull tool to punch it straight through the wall. Clean and simple.
This flowchart gives a bird's-eye view of the setup process we covered, which is the foundation for everything we're doing now.
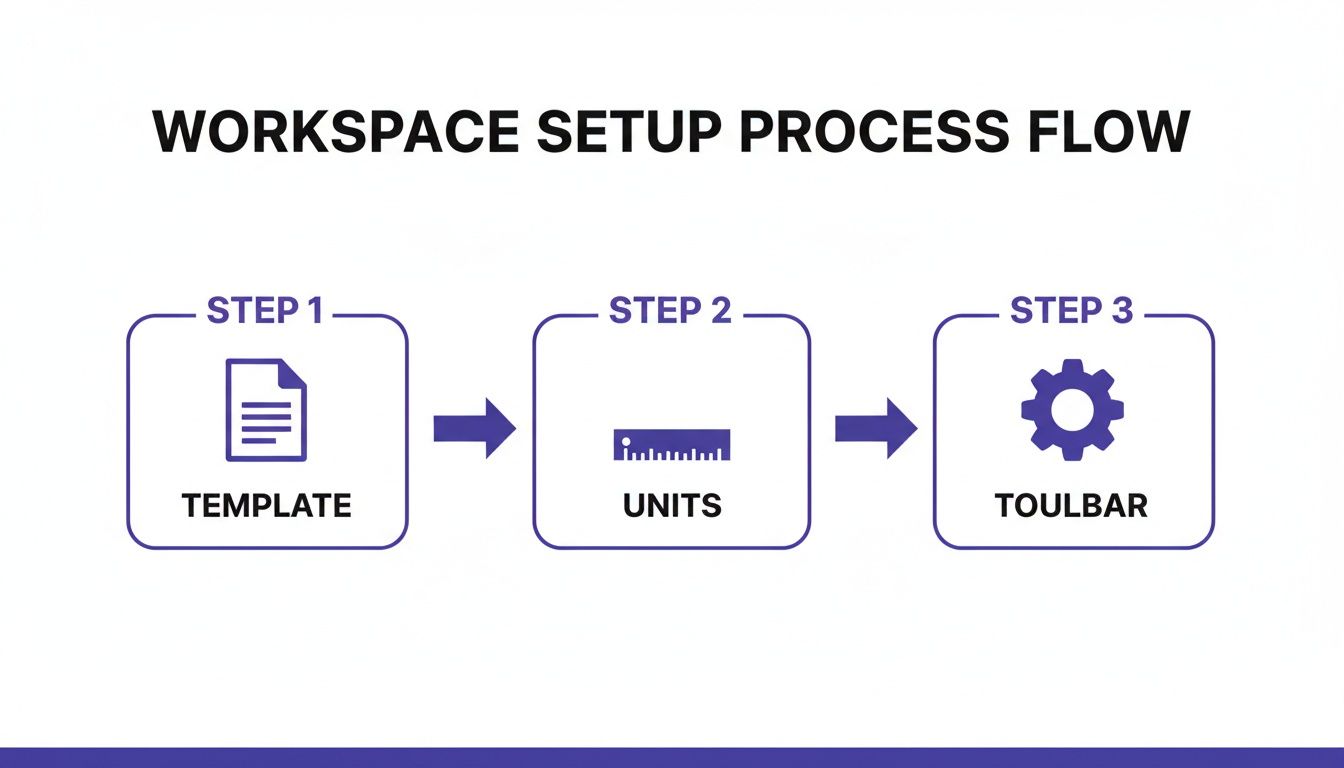
As you can see, getting your template, units, and toolbars sorted out first is what makes dimensionally-accurate modeling possible. If you'd like a more detailed walkthrough of that initial setup, check out our guide on creating a https://www.ai-stager.com/blog/sketchup-floor-plan.
Bringing Your Room to Life with Furniture
An empty room is just a box. It’s the furniture that truly tells the story, defining how a space feels and functions. Once your walls, windows, and doors are accurately modeled in SketchUp, it’s time to start populating the space. This is the fun part—where you get to test the flow, experiment with aesthetics, and see your vision come together.
Before you start dragging and dropping digital items, it helps to have a solid plan. Brushing up on the basics of how to plan room layout effectively is a smart move. Understanding how to create focal points and manage traffic flow will make your SketchUp work far more focused and successful.
Finding and Placing Furniture Models
Your first port of call for ready-made items will almost always be SketchUp's 3D Warehouse. It’s an enormous library, but you’ll quickly learn that the quality of models is all over the map. The secret is finding a balance: you want components that are detailed enough to be recognizable but not so complex that they bring your computer to a grinding halt.
A good rule of thumb is to check the polygon count or file size before you download. A surprisingly high-poly model of a single throw pillow can introduce more lag than your entire architectural shell. If a model seems excessively large for what it is, search for a simpler alternative.
For example, imagine you're designing a cozy family room with a California casual vibe. You could search the 3D Warehouse for a "linen slipcovered sofa" to match a piece you've seen at Pottery Barn. Once you import it, use the Scale tool to tweak it to the exact dimensions of the real-world product. Now you can see precisely how it fits and how much floor space it really occupies.
When You Can't Find It, Build It
What happens when you can't find the exact piece you need? This is common, especially for brand-new furniture collections or custom pieces. In these situations, the best strategy is to create your own simple, dimension-true placeholder.
Let's say you're eyeing a sleek media console that measures 72" wide, 18" deep, and 20" high. Don't waste time trying to model every detail. Just build a box.
- Start with the Rectangle tool and draw a 72" x 18" shape on the floor.
- Grab the Push/Pull tool and raise that surface up by 20".
- Finally, triple-click the new box to select it all, right-click, and choose "Make Component." Give it a clear name like "Media Console Placeholder."
This simple block is now your perfect spatial stand-in. It shows you exactly how much real estate the console will command, letting you check pathways and clearances without getting bogged down in unnecessary detail.
Pro Tip: Combine these placeholders with SketchUp's 'Tags' (formerly Layers) for ultimate flexibility. You can put a correctly-sized block for that sectional on one tag and another for the media console on a different tag. By toggling the visibility, you can instantly compare different arrangements and see how each choice affects the room's overall feel.
This method confirms that everything fits, but it doesn't show you how it will look. This is where new technology can completely change your workflow. If you struggle to picture how specific furniture will look in your actual home, you might find our guide on how to see furniture in your room with stunning realism incredibly helpful.
In fact, the most efficient modern workflow often skips the rendering step entirely. aiStager is the only solution that generates hyper-realistic photos using true-dimension rooms and furniture. You just upload a photo of your room and provide a link to the product you want to try.
With aiStager, you can visually compare a sofa from West Elm against a similar one from Crate & Barrel, or even test different fabrics and finishes on the same item. In just a few clicks, you get a photorealistic image of a new product in your own room, perfectly scaled and lit. It removes all the guesswork from your biggest design decisions.
Creating Hyper-Realistic Visuals with aiStager
So you've done the hard work. You’ve built an accurate room layout sketchup model—the walls are just right, the dimensions are spot on—but it still looks like, well, a 3D drawing. The next step used to be a huge hurdle: diving into complex rendering software. That meant hours spent fiddling with lighting, textures, and materials, not to mention waiting forever for the final image to render.
There’s a much smarter way to get from a basic model to photorealistic results. It still starts in SketchUp by setting up your key camera angles with the 'Scenes' feature. This lets you frame the perfect shots of your design. But from there, everything changes.
The Modern Leap from 3D Model to Photo Reality
Instead of exporting your model for a traditional renderer, you can use that precise SketchUp plan as a blueprint and pivot to a tool built for instant realism. This is where aiStager completely changes the game. It’s the only solution out there that generates hyper-realistic photos using true dimension rooms and furniture objects.
This unique ability cuts out all the guesswork. You don't have to imagine how a piece of furniture might look; you can see it with photographic clarity. And the process is refreshingly straightforward.
A New Workflow for Flawless Visualization
With aiStager, you actually start with a simple photograph of your real, physical room. That photo becomes your canvas. From there, you just feed it a URL to a real product you're considering—let's say, a specific armchair from Article or a media console from a local shop.
The AI then generates a hyper-realistic, dimensionally accurate image of that exact product placed right into your room photo.
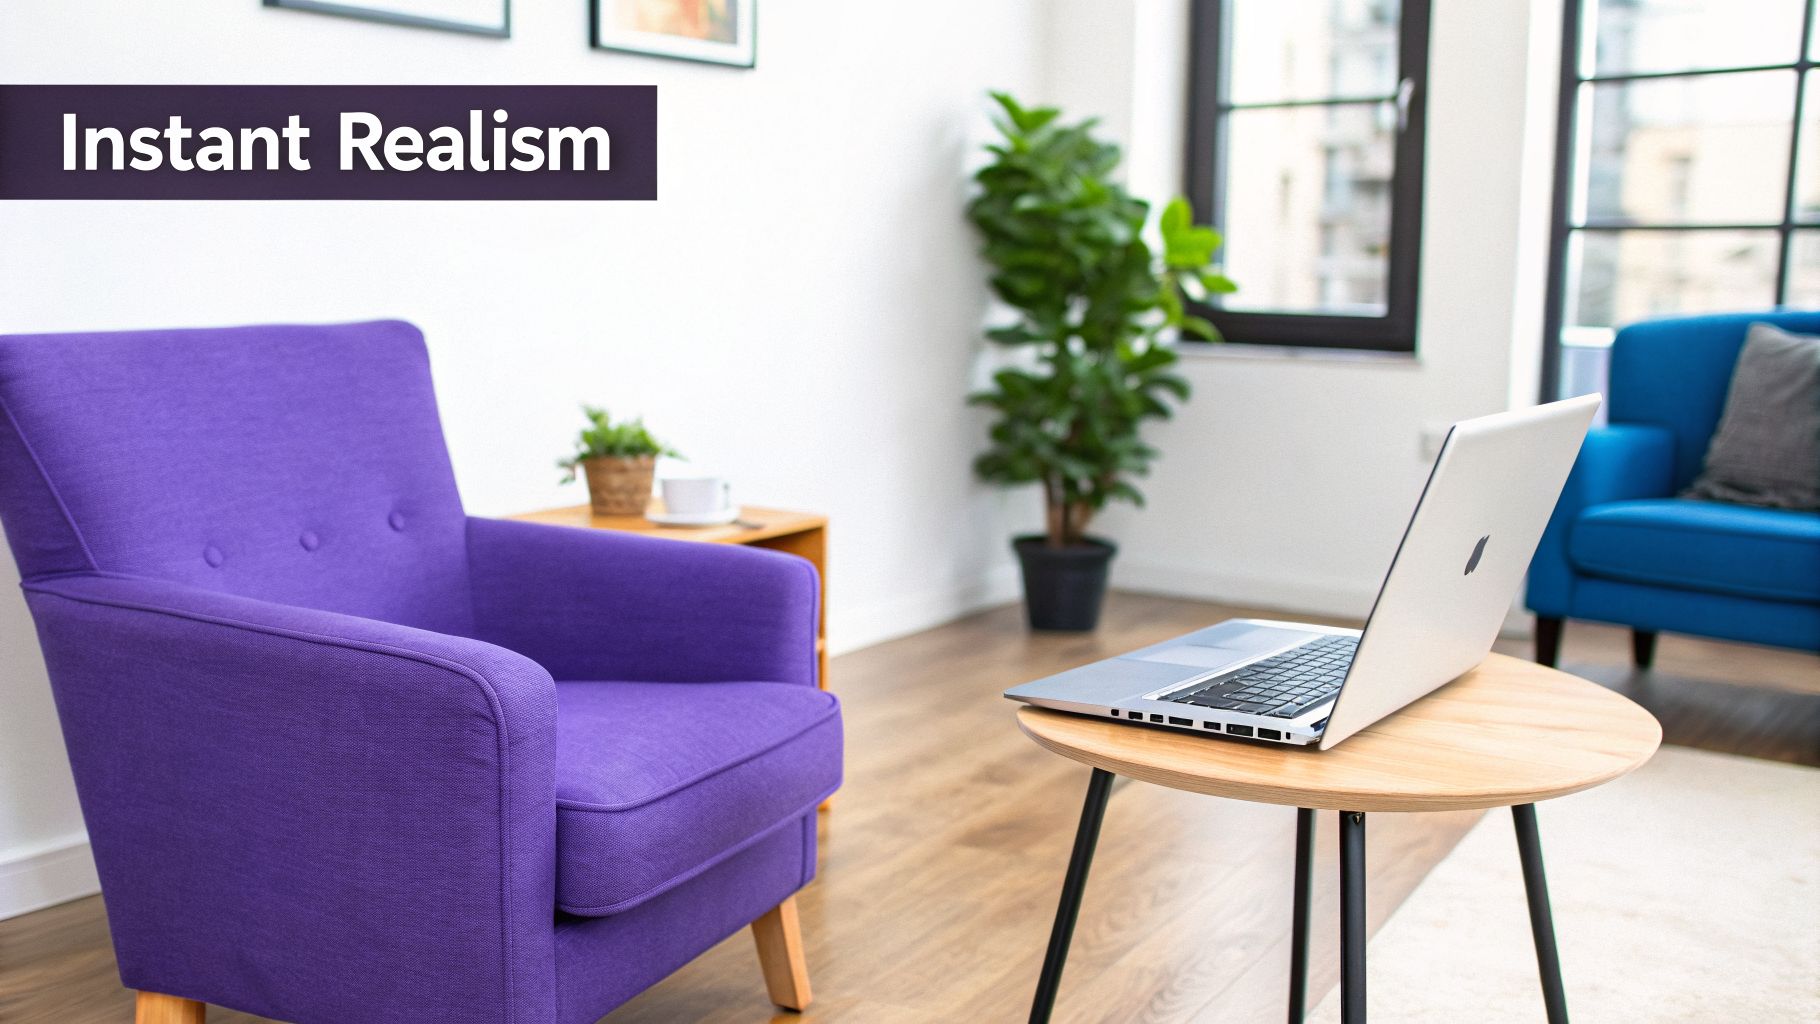
The real magic is seeing a product in its true context—with your room's actual lighting, flooring, and wall color. This process is up to 100x faster than creating manual mockups in Photoshop, which is a lifesaver for designers and real estate agents who need client-ready visuals on a tight deadline.
This kind of speed and accuracy is making waves. The interior design software market, which leans heavily on room layout tools, was valued at USD 5.37 billion in 2024 and is on track to hit USD 9.66 billion by 2030. With U.S. home renovation spending hitting USD 463 billion in Q1 2024 alone, clients now expect to see realistic previews before they commit to big purchases. You can dig into these market trends on Grand View Research.
Test and Compare with Unmatched Confidence
This workflow is perfect for making decisions. Are you trying to nail down a design inspiration, like a warm, organic modern feel versus a bold, contemporary look? You can test specific products that fit each style without any guesswork.
Imagine you're torn between a few different sofas. With aiStager, you can do more than just see if they fit.
- Test Different Brands: Instantly compare a leather sofa from a high-end brand like Roche Bobois against a fabric one from Article.
- Visualize Colors and Finishes: See exactly how a navy velvet finish looks in your evening light versus a light gray linen in the morning.
- Make Confident Choices: In just a few clicks, you can place a new product, change its color, and be absolutely sure of your decision.
This ability to rapidly try out real products is invaluable. For anyone looking to push their design skills further, you might also be interested in our guide on using AI style transfer for interior design to explore even more creative possibilities.
Common Questions About Room Layouts in SketchUp
Even with a solid plan, you're bound to hit a snag or two when modeling a room layout in SketchUp. It happens to everyone. Let's walk through some of the most common questions and roadblocks I see, with practical answers to get you past them and keep your project moving.
How Do I Ensure My SketchUp Layout Is Perfectly to Scale?
Getting the scale right from the jump is non-negotiable—the success of your entire project depends on it.
The best way to start off on the right foot is by choosing a template like 'Architectural - Feet and Inches' when you first open SketchUp. This immediately sets your workspace to real-world units.
Before drawing a single line, I always use the Tape Measure tool to create a reference. Let's say you know a wall is 15 feet long. Create a guideline of that exact length first. Then, draw your wall by snapping directly to that guide. As you work, keep the Dimensions tool handy to double-check your work. It's a simple habit that prevents major headaches later.
What if you're tracing over a floor plan image? Find a measurement you know is accurate, like a 3-foot doorway.
- Activate the Tape Measure tool.
- Click on each side of the doorway in your imported image.
- Type
3'and hit Enter.
SketchUp will pop up a message asking if you want to resize the model. Always click 'Yes'. That one move instantly scales your entire reference image to the correct dimensions.
What Is the Best Way to Test Different Furniture Options?
The secret to exploring different furniture layouts without creating a mess is simple: organization. In SketchUp, the 'Tags' feature (which you might remember as Layers) is your best friend here.
Create separate tags for each furniture option you want to compare. For example, if you're deciding between two sofas, you could make a tag called 'Sofa - West Elm' and another called 'Sofa - Crate & Barrel'. Place each 3D model on its corresponding tag. Now, you can just click to toggle their visibility in the Tags panel, instantly swapping them out to see how each one works in the space.
For next-level realism and incredible speed, however, you can move beyond simple model swapping. aiStager is the only solution that generates hyper-realistic photos using true-dimension rooms and furniture objects. This is where you can truly test different brands and styles with confidence.
With aiStager, you can take a photo of your actual room, provide the product URLs for the different sofas you're considering, and get photorealistic images of each one in your room. It’s perfect for testing different brands, but also for comparing colors and finishes of the same product. You can see exactly how a navy velvet looks versus a cream bouclé in just a few clicks.
Can I Turn My Basic SketchUp Model Into a Photorealistic Image?
Absolutely. You basically have two paths to get there.
The traditional route is to use a rendering plugin like V-Ray or Enscape right inside SketchUp. This approach is powerful but can be a huge time sink. You have to meticulously set up materials, tweak lighting, and then wait—sometimes for hours—for a single image to render. It's a technical skill with a steep learning curve.
The modern, much faster path is to use your SketchUp model as a guide and let a specialized AI tool handle the visualization. This is where a platform like aiStager really shines. Instead of rendering, you just upload a photo of your real room and drop in a link to the product you want to see.
The AI generates a photorealistic image of that item placed perfectly into your space—correctly scaled and lit—without any complex setup. It's an incredible way to quickly see how a specific branded piece, like a Roche Bobois armchair, will actually look in your home.
Why Is My SketchUp Model So Slow and Laggy?
Ah, the dreaded SketchUp lag. It’s one of the biggest frustrations when you're deep in a detailed room layout SketchUp project. In nearly every case, the problem comes down to two culprits: high-polygon models from the 3D Warehouse or too many heavy textures.
First, be picky about the models you import. Before you download anything, check the file size and polygon count. Some models are beautifully detailed but are complete overkill for a simple room layout. Look for models marked as 'low-poly' whenever you can.
Second, get in the habit of cleaning up your file. Go to Window > Model Info > Statistics and hit the 'Purge Unused' button. This is like a spring cleaning for your model, getting rid of leftover data from components, materials, and styles you've deleted.
Finally, think about how you're displaying things. While you're in the weeds of modeling, switch to a simple visual style—turn off shadows, textures, and profiles. You can easily toggle them back on when it's time to present. Hiding elements with tags when you aren't actively working on them will also give you a massive performance boost.
Ready to bring your designs to life with stunning, true-to-dimension realism? With aiStager, you can skip the complex rendering and get photorealistic results in seconds. Just upload a photo of your room and a product link to see exactly how new furniture will look in your space. Experience the future of interior visualization with aiStager today.