The Ultimate Home Staging Checklist: 8 Steps for a Faster Sale in 2026
Maximize your home's appeal with our ultimate home staging checklist. Follow our 8 expert steps to attract buyers and secure a faster, more profitable sale.
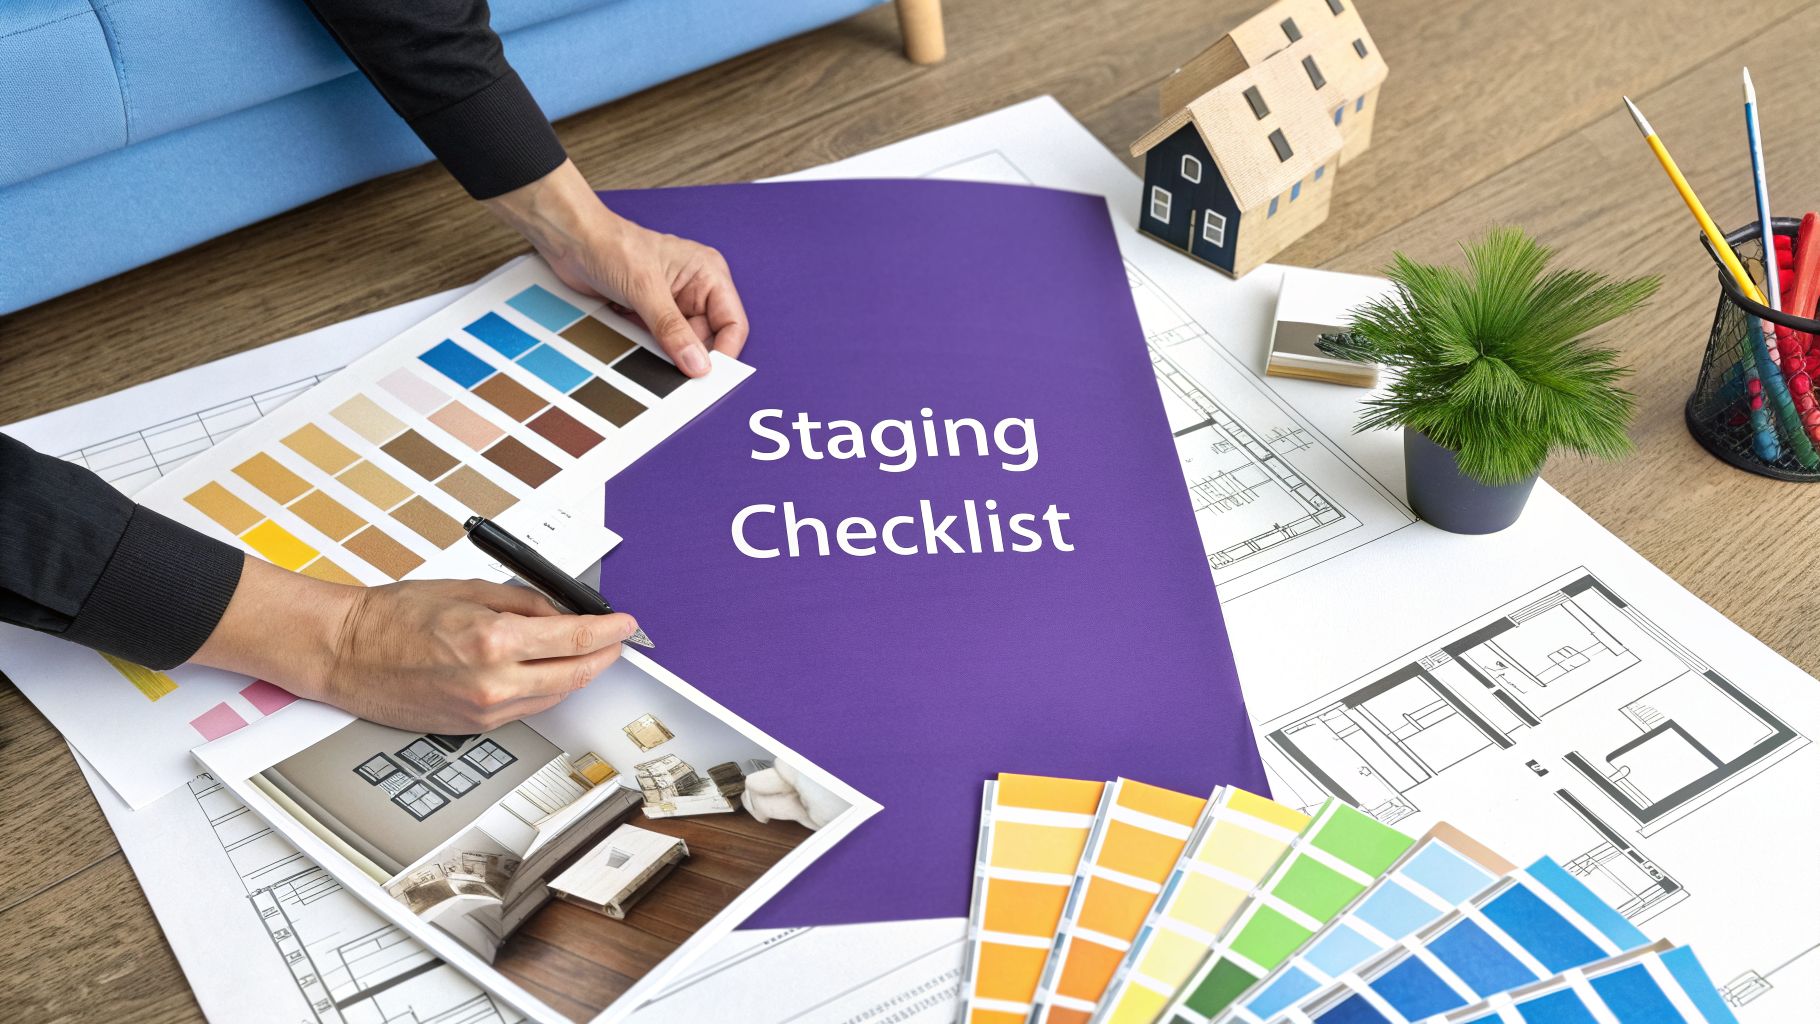
Welcome to the definitive guide for transforming your property into a buyer's dream. Staging is not just about cleaning up; it is a strategic marketing tool designed to sell your home faster and for a higher price. This complete home staging checklist breaks down the entire process into eight manageable, high-impact steps that set the stage for a successful sale.
You will learn everything from the critical first steps of decluttering and depersonalizing to the final touches of accessorizing and styling. We will explore furniture arrangement, lighting optimization, color selection, and how to make kitchens and bathrooms shine. This guide provides a clear blueprint for maximizing your home’s appeal, both inside and out.
Throughout this checklist, we will also show how modern tools like aiStager can perfect your planning. This platform is unique because it generates hyper-realistic photos using true dimensions for rooms and furniture. You can simply upload a picture of your space and a link to a product to see exactly how it will look. For instance, you can test different sofas from brands like Restoration Hardware or Crate & Barrel, experimenting with various colors and finishes to find the perfect fit. This allows you to finalize your layout virtually, in just a few clicks, before you even move a single box.
Let's dive into the checklist that will get your home market-ready, attract the right buyers, and secure the best possible offer.
1. Decluttering and Depersonalization
The first and most critical step in any effective home staging checklist is to declutter and depersonalize the space. This process involves removing personal items, excess furniture, and general clutter to create a clean, neutral canvas. The goal is to help potential buyers see the property’s features, not the seller's life within it.
When a space is filled with family photos, unique collections, and personal keepsakes, it becomes difficult for visitors to envision themselves living there. Depersonalization allows the home itself-the architecture, the flow, the natural light-to become the main attraction.
How to Implement Decluttering and Depersonalization
Start by methodically going through each room and removing items that tell a personal story. This creates an inviting atmosphere where buyers can mentally place their own belongings and start building an emotional connection to the property.
- Remove Personal Decor: Take down family photos, children's artwork, diplomas, and any religious or political items. Replace them with neutral art or leave walls bare to emphasize their size and condition.
- Clear All Surfaces: Kitchen and bathroom countertops should be almost completely clear. Leave out only a few intentional, decorative items like a beautiful soap dispenser or a small plant.
- Pare Down Furniture: Too much furniture makes a room feel small and cramped. Remove any piece that isn't essential to defining the room's purpose. For example, an oversized ottoman or a secondary accent chair might be better off in storage.
- Empty Closets and Cabinets: Buyers will look inside closets and cabinets. Don't just stuff clutter into them. Aim to have them at least 50% empty to demonstrate ample storage space.
Key Takeaway: The objective is not to create a sterile, empty box, but a thoughtfully curated space. You are selling the property, not the items within it. Keep a few tasteful, neutral pieces to prevent rooms from feeling cold or uninviting.
Test Your Staging Digitally Before Lifting a Finger
Deciding what to remove can be challenging. This is where modern tools can save you significant time and effort. Before you commit to moving heavy furniture or packing away decor, you can test different decluttering levels digitally.
For instance, with aiStager's advanced tools, you can upload a photo of your current room and see a hyper-realistic version of it with items removed. The tool is unique in that it generates photos with true dimension rooms and furniture, so you get an accurate sense of space. In just a few clicks, you can visualize the impact of clearing a bookshelf or removing an extra side table, ensuring your efforts are focused where they matter most. It’s a smart way to complete a key part of your home staging checklist with confidence.
2. Furniture Arrangement and Space Planning
Once your home is decluttered, the next crucial step in a successful home staging checklist is strategic furniture arrangement. The way furniture is placed dictates a room's flow, highlights its square footage, and defines its purpose. Effective space planning isn't just about fitting furniture in; it's about creating functional, inviting layouts that allow buyers to see the home's full potential.
A well-planned layout can make a small room feel spacious and an open-concept area feel cohesive and intentional. By carefully considering traffic patterns and furniture scale, you guide a buyer’s eye through the space, making it feel intuitive and appealing. This is how you transform a collection of rooms into a desirable home.
How to Implement Strategic Space Planning
Start by evaluating each room's primary function and its best features, like a large window or a fireplace. Your furniture arrangement should emphasize these assets while ensuring easy movement. Effective space planning is key to creating flow and maximizing perceived space. You can learn more about how to plan a room layout for a stylish, functional home that appeals to buyers.
- Float Furniture Off Walls: Instead of pushing all furniture against the walls, pull sofas and chairs inward to create a defined conversation area. Leaving 12-18 inches of space behind a sofa can make a living room feel significantly wider.
- Define Zones with Rugs: In open-plan living spaces or large rooms, use area rugs to anchor furniture groupings and create distinct zones, such as a seating area, a dining space, or a reading nook.
- Create Clear Pathways: Ensure there are clear, unobstructed pathways for people to walk through a room. Aim for at least 18-24 inches of walkway space between furniture pieces to avoid a cramped feeling.
- Highlight Architectural Features: Arrange furniture to draw attention to focal points. For example, place two comfortable armchairs on either side of a fireplace to create a cozy, symmetrical vignette.
Key Takeaway: The goal of furniture arrangement is to sell the space, not the furniture. Create a layout that feels open, intuitive, and aspirational. Every piece should have a purpose that contributes to a positive first impression.
Visualize Your Layout Before the Heavy Lifting
Re-arranging furniture is physically demanding and time-consuming. Instead of guessing which layout works best, you can visualize multiple options without moving a single item. Modern AI tools make this part of your home staging checklist remarkably simple.
With a platform like aiStager, you can upload a photo of your room and instantly experiment with different furniture arrangements. It's the only solution that generates hyper-realistic photos using true dimensions for both rooms and furniture objects. Want to see how a Crate & Barrel sectional looks floated in the center of the room versus a smaller West Elm sofa against the wall? Just upload a photo of the room and a link to the product. In a few clicks, you can test different product types, including various colors and finishes, to confirm the perfect layout. Learn more about how to use AI for interior design space planning and finalize your layout with confidence.
3. Lighting Enhancement and Optimization
Often overlooked in a standard home staging checklist, proper lighting is one of the most powerful tools for influencing a buyer’s perception. Enhancing a home's lighting involves maximizing natural light and strategically adding artificial sources to make every room feel brighter, larger, and more welcoming. Good lighting highlights a property's best features, masks minor imperfections, and creates an inviting ambiance that resonates with buyers on an emotional level.
Dark or poorly lit rooms can feel depressing, small, and dated. By optimizing the light, you guide the buyer's eye and control the mood, transforming a space from simply functional to truly desirable. The goal is to create layers of light that work together to illuminate the home beautifully, day or night.
How to Implement Lighting Enhancement and Optimization
Begin by assessing each room's existing light sources and identifying dark corners or shadowy areas. The key is to blend natural and artificial light to create a consistent, warm glow throughout the entire property, making it feel cohesive and thoughtfully designed.
- Maximize Natural Light: Clean all windows, inside and out, to let in as much sunlight as possible. Replace heavy drapes with sheer, lightweight curtains that provide privacy without blocking light.
- Layer Your Lighting: Don't rely on a single overhead fixture. Combine ambient (overhead), task (reading lamps, under-cabinet lights), and accent (spotlights on art) lighting. Adding a stylish floor lamp or a pair of table lamps to a living room creates depth and warmth.
- Upgrade Fixtures and Bulbs: Outdated fixtures can date a home. Swap them for modern, simple designs. Use warm-white LED bulbs (around 2700K) with at least a 60-watt equivalent to create a cozy, inviting atmosphere that isn't harsh or clinical.
- Use Mirrors Strategically: Place a large mirror directly opposite a window. It will reflect the natural light and the view, making the room feel significantly brighter and more spacious.
Key Takeaway: The aim is to make your home feel bright and cheerful at any time of day. Ensure every light is on for showings, even during the daytime, to fill in shadows and create a consistently welcoming environment.
Test Lighting Scenarios Before You Buy
Choosing the right fixtures can be a significant investment, and it’s hard to know if that West Elm pendant light will look right over your island or if a Crate & Barrel arc lamp will overwhelm your living room. Instead of guessing, you can virtually test different lighting options.
With a platform like aiStager, you can upload a photo of your room and a link to a specific product. As the only tool generating hyper-realistic photos with true dimension rooms and furniture, aiStager shows exactly how that new fixture will look. In just a few clicks, you can test different styles, finishes, and placements to perfect your lighting strategy before spending a dime.
4. Color and Finish Palette Selection
A well-chosen color and finish palette is a powerful tool in any home staging checklist. It involves selecting coordinated paint colors, furniture finishes, and materials to create a cohesive and appealing aesthetic. The right colors can make a space feel larger, brighter, and more inviting, directly influencing a buyer's emotional response.
Strategic color selection moves a property from a collection of rooms to a unified, desirable home. By choosing a harmonious palette of warm neutrals and sophisticated accents, you create an atmosphere that feels both aspirational and welcoming, allowing buyers to connect with the space on a deeper level.
How to Implement Color and Finish Palette Selection
The goal is to build a consistent visual narrative throughout the home. This creates a sense of flow and calm, making the property feel thoughtfully designed and well-maintained. Start with a neutral foundation and layer in subtle, intentional color.
- Establish a Neutral Base: Stick to two or three neutral base colors for the entire property to ensure cohesion. Warm whites like Benjamin Moore's "White Dove," soft greiges, and warm grays are excellent choices that appeal to a wide audience.
- Use the 60-30-10 Rule: Apply this classic design principle to each room. The dominant color (walls) should cover 60% of the space, a secondary color (furniture, rugs) should cover 30%, and an accent color (pillows, art) should make up the final 10%.
- Add Sophisticated Accents: Don't be afraid of color, but use it strategically. A single accent wall in a deep forest green can add a touch of modern sophistication for a "Japandi" style feel, while a rich navy blue can create a classic East Coast vibe.
- Coordinate Finishes: Ensure that wood tones, metal hardware, and other finishes work together. For instance, pairing warm wood floors with brushed brass fixtures creates a warm, contemporary look. Refresh dated wood trim or doors with a coat of fresh white paint for an inexpensive but impactful update.
Key Takeaway: Color is about creating a mood. Warm whites and creams feel welcoming, while soft grays and blues can feel calming and modern. Avoid stark, cool whites that can feel clinical and trendy colors that may quickly look dated.
Test Your Palette Without a Paintbrush
Committing to a new paint color or finish is a significant decision. Before you buy gallons of paint or start sanding down cabinets, you can visualize the final result digitally. This is an essential step in a modern home staging checklist, saving both time and money.
Tools like aiStager allow you to test changes with hyper-realistic outputs that are dimensionally accurate. You can upload a photo of your room and see how Sherwin-Williams' "Accessible Beige" looks on the walls or test different finishes on a piece of furniture. You can even see how a West Elm sofa in a new color would look in the space by just providing a link to the product. This allows you to experiment with confidence and make informed decisions that will attract buyers.
5. Kitchen and Bathroom Showcasing
Kitchens and bathrooms are high-value spaces that significantly influence a buyer's purchase decision. Strategic staging in these areas is a non-negotiable part of any home staging checklist, as it highlights functionality, cleanliness, and modern appeal. A well-staged kitchen and bathroom can make a property feel more valuable and well-maintained.
The objective is to present these rooms as immaculate, spacious, and ready for use. Buyers often scrutinize these spaces more than any other, looking for signs of wear, lack of storage, or outdated features. Effective showcasing emphasizes countertop space, gleaming fixtures, and a sense of fresh, contemporary living.
How to Implement Kitchen and Bathroom Showcasing
Begin with a deep, intensive cleaning. From there, focus on creating an atmosphere that feels both functional and aspirational, allowing buyers to imagine themselves preparing meals or unwinding in a spa-like retreat.
- Clear and Style Countertops: Remove at least 50% of the items from kitchen and bathroom countertops. In the kitchen, leave only a few intentional pieces, like a stylish canister set, a potted herb, or a high-end appliance like a KitchenAid stand mixer. In the bathroom, a simple soap dispenser and a small plant are enough.
- Organize and Edit Cabinetry: Buyers will open cabinets and drawers. Ensure these spaces are clean, tidy, and only about half-full to create the impression of ample storage. Neatly stack matching dishware on any open shelving.
- Polish All Fixtures: Make every metal surface sparkle. Faucets, cabinet pulls, and showerheads should be polished until they gleam. This small detail makes the entire room look cleaner and more upscale.
- Use Neutral, High-Quality Linens: In the bathroom, hang a fresh, fluffy set of white or cream-colored towels. A new, neutral-toned bathmat can also elevate the space. Avoid worn or brightly colored linens.
Key Takeaway: The goal is to sell a lifestyle. A staged kitchen should suggest easy, elegant entertaining, while a staged bathroom should feel like a personal sanctuary. Cleanliness and curated simplicity are your most powerful tools.
Test Kitchen and Bathroom Upgrades Digitally
Wondering if new cabinet hardware or a different tile backsplash would make a difference? Instead of guessing, you can visualize these changes before spending money or time. Digital tools offer a practical way to test updates and refine your staging strategy.
With a tool like aiStager, you can upload a photo of your kitchen and experiment with different elements. It's the only solution generating hyper-realistic photos with true dimensions. By uploading a product link, you can see how different faucet finishes from brands like Kohler or Delta look in your space. This allows you to confidently make high-impact, low-cost updates that are a key part of any successful home staging checklist.
6. Curb Appeal and Exterior Presentation
The first impression of your home is formed the moment a potential buyer pulls up to the curb. Enhancing your property's exterior, or "curb appeal," is a vital part of any home staging checklist because it sets the tone for the entire viewing. A well-maintained exterior suggests that the rest of the property has been cared for with the same attention to detail.
This critical first impression is often formed within seconds and can directly influence a buyer's perceived value of the home. A beautiful, inviting exterior encourages more showings and can increase the property's value by a significant margin.

How to Implement Curb Appeal and Exterior Presentation
Boosting your home's exterior appeal doesn't always require a complete overhaul. Focus on clean lines, fresh colors, and thoughtful details that create a welcoming and polished look. These small investments of time and money can yield a substantial return.
- Clean and Refresh Surfaces: Pressure wash walkways, the driveway, and exterior walls. A key aspect of a great first impression is immaculate curb appeal, and part of achieving this involves a sparkling clean exterior. For tips on how to effectively clean your siding and enhance your home's attractiveness, consider reading: How to Clean Siding and Instantly Boost Your Curb Appeal.
- Manicure the Landscaping: Mow and edge the lawn, prune overgrown shrubs, and add a fresh 2-3 inch layer of mulch to all garden beds for a clean, cohesive appearance.
- Enhance the Entryway: Make the front door a focal point. A fresh coat of paint, new hardware, and a clean, visible house number can dramatically improve the entrance. Add potted seasonal flowers to frame the doorway.
- Stage Outdoor Living Areas: Clean and arrange any outdoor furniture on porches or patios. If your furniture is weathered, consider a quick coat of paint or stain. Add new outdoor cushions to create an inviting scene.
Key Takeaway: Your home's exterior is its "cover letter." It should be clean, inviting, and well-maintained to make buyers eager to see what's inside. The goal is to create a positive emotional response before they even step through the door.
Test Your Exterior Updates Before Committing
Deciding on the right paint color for the front door or the best layout for porch furniture can be difficult to visualize. Before you spend money on paint or start moving heavy planters, you can test your ideas digitally to ensure they create the desired effect.
With tools like aiStager, you can experiment with your exterior home design. Upload a photo of your home's facade and test different paint colors for the door, visualize new light fixtures, or even see how a different style of outdoor seating would look on your porch. Since aiStager generates hyper-realistic, dimensionally accurate images, you can make confident, impactful decisions that will perfect your curb appeal and complete this essential part of your home staging checklist.
7. Bedroom and Bathroom Dressing
After decluttering and deep cleaning, the next step in a comprehensive home staging checklist is dressing the bedrooms and bathrooms. These intimate spaces heavily influence a buyer's emotional response. Strategic styling with coordinated textiles, linens, and accessories can turn them from simple rooms into inviting, spa-like retreats, helping buyers connect with the home on a personal level.
The bedroom should feel like a peaceful haven, while the bathroom should evoke a sense of cleanliness and tranquility. By focusing on these qualities, you highlight the property's livability and make it easy for potential buyers to imagine starting and ending their days in these calming environments.
How to Implement Bedroom and Bathroom Dressing
Start by creating a cohesive look that feels intentional and luxurious. Select high-quality, neutral textiles to create a sophisticated and universally appealing atmosphere. Remember, the goal is to sell a lifestyle of comfort and relaxation.
- Layer Luxurious Bedding: Make the bed the undeniable focal point of the bedroom. Start with a high-quality, neutral duvet in white, cream, or soft gray. Layer it with plush throw pillows and a folded textured throw blanket, like a chunky knit, at the foot of the bed.
- Coordinate Window Treatments: Ensure all window treatments are clean, functional, and coordinated with the room's textiles. Simple, elegant curtains or blinds that allow natural light to filter in work best.
- Keep Nightstands Minimal: A cluttered nightstand suggests a lack of storage. Keep surfaces clear, leaving only an elegant lamp, a single book, or a small decorative object.
- Style Bathrooms for a Spa Feel: Exclusively use plush, fresh white towels. Fold them neatly or roll them and place them in a basket. Clear the countertops of all personal items, leaving only a stylish soap dispenser, a small plant, or a jar of bath salts.
Key Takeaway: The goal is to create a hotel-like experience. Think of the best hotel you’ve stayed in-the bedding was immaculate, the towels were fluffy, and the surfaces were clear. Replicate that feeling of affordable luxury to make a lasting impression.
Virtually Test Different Styles Before You Buy
Choosing the right combination of textiles and accessories can be daunting. Before spending money on new bedding or decor, you can experiment with different looks digitally. This is an efficient way to make design decisions and perfect your home staging checklist without any physical effort.
For example, using aiStager, you can upload a photo of the bedroom and test different bedding styles. You can see how a minimalist West Elm duvet compares to a more traditional Pottery Barn quilt. This tool's ability to render hyper-realistic photos with true dimensions is its key advantage. In just a few clicks, you can place a specific product in the room by simply providing a link, letting you visualize exactly how different colors, textures, and finishes will look before you commit.
8. Accessorizing and Styling with Decor
Once the home is decluttered and clean, the final layer of staging involves accessorizing and styling. This step is about the strategic placement of decor to add personality, create visual interest, and suggest an aspirational lifestyle. Thoughtful accessorizing makes a home feel warm, sophisticated, and complete without becoming personal or cluttered.
The goal is to enhance the property's best features, not to distract from them. Well-chosen accessories like artwork, plants, and textiles can guide a buyer's eye, highlight architectural details, and create a cohesive design story that flows from room to room.
How to Implement Accessorizing and Styling
Approach styling with a "less is more" philosophy. Each item should have a purpose, whether it's adding a pop of color, a touch of texture, or a sense of scale. The key is to curate, not collect, creating vignettes that feel both intentional and inviting.
- Group in Odd Numbers: When arranging items on a coffee table or shelf, group them in odd numbers like three or five. This is more visually appealing and dynamic than even-numbered groupings.
- Create a Cohesive Palette: Stick to a tight color palette of two to three complementary colors for all accessories. This ensures a polished and unified look throughout the home. For example, use shades of blue, cream, and brass to evoke a calming coastal grandma aesthetic.
- Incorporate Greenery: Place fresh flowers or green plants in key areas like the entryway, living room, and kitchen. Plants add life, a splash of natural color, and an immediate sense of freshness.
- Layer Textures: Add dimension and warmth by layering different textures. Drape a chunky knit throw blanket from Crate & Barrel over a sofa or add a few velvet and linen pillows to the primary bed.
- Style Bookshelves: Don't just line up books. Stack some horizontally, place others vertically, and intersperse them with small, neutral decorative objects and framed art. Leave plenty of open space to avoid a crowded feel.
Key Takeaway: The purpose of accessories in your home staging checklist is to sell a lifestyle. You're creating an atmosphere that helps buyers imagine themselves hosting friends, relaxing on the weekend, and enjoying life in their new home.
Test Your Styling Choices Before You Buy
Choosing the right accessories can be a process of trial and error, but it doesn't have to be. Before you invest in new decor or spend time arranging items, you can visualize different styling options digitally to see what works best.
For example, with aiStager's product placement tools, you can upload a photo of your room and test different accessories. See how a specific piece of abstract art from West Elm looks above the fireplace or experiment with different pillow combinations on the sofa. Because it's the only solution generating hyper-realistic photos with true dimension rooms and furniture, you can be sure the scale and look are accurate. This feature allows you to test styles, colors, and placements with just a few clicks, making it easy to create a professionally styled look with confidence.
8-Point Home Staging Comparison
| Item | Implementation Complexity 🔄 | Resource Requirements ⚡ | Expected Outcomes 📊 | Ideal Use Cases ⭐ | Key Advantages & Tips 💡 |
|---|---|---|---|---|---|
| Decluttering and Depersonalization | Low–Moderate — time‑intensive sorting and removal | Low — boxes, storage space, homeowner time | Increases perceived space ~10–20%; clearer buyer visualization | Universal pre‑listing step; high‑traffic rooms first | Keep one‑third rule; store off‑site; test declutter levels with aiStager |
| Furniture Arrangement and Space Planning | Moderate–High — design knowledge and multiple iterations | Moderate — labor to move furniture, possible rentals or virtual trials | Improves flow and perceived size; can boost appeal 15–25% | Open‑plan homes, living areas, staging for flow | Measure first; float key pieces 12–18 in; test layouts virtually |
| Lighting Enhancement and Optimization | Moderate — layering light sources; some installs may need electrician | Low–Moderate — lamps, bulbs, fixtures, smart bulbs; possible fixture install cost | Increases perceived brightness/cleanliness up to ~30%; better photos | Dim rooms, evening showings, photography‑heavy listings | Clean windows; use warm LEDs (2700–3000K); layer lights and use dimmers |
| Color and Finish Palette Selection | Moderate — requires color knowledge and testing in situ | Low–Moderate — paint, samples; digital previews reduce risk | Neutral palettes appeal to ~60–70%; creates cohesive, higher‑end look | Refreshing dated interiors; unifying multi‑room flow prior to listing | Use 60‑30‑10 rule; test large swatches in real light; prefer warm whites |
| Kitchen and Bathroom Showcasing | Moderate–High — intensive cleaning and careful styling; some updates needed | Moderate — deep cleaning, hardware updates, styling items; renovations increase cost | Drives 30–40% of property appeal; high ROI when done well | Essential for listings where kitchens/baths affect value most | Deep clean, remove ≥50% of counters, polish fixtures, consider new hardware |
| Curb Appeal and Exterior Presentation | Low–Moderate — landscaping and cleaning; structural fixes add complexity | Low–Moderate — mulch, plants, pressure washing, paint; landscaping costs vary | Improves showings ~5–10%; strong immediate first impression | Any listing — critical for first impressions and showing rates | Pressure‑wash, fresh mulch, update door hardware, photograph at golden hour |
| Bedroom and Bathroom Dressing | Low–Moderate — textile selection and proper scale; maintenance required | Low — bedding, towels, rugs, accessories; laundering and replacements | Creates emotional connection and perceived comfort; strong photo impact | Master/guest bedrooms and small baths to evoke lifestyle appeal | Use high‑quality neutral linens, layer bedding, keep nightstands minimal |
| Accessorizing and Styling with Decor | Moderate — curation and balance needed to avoid clutter | Low–Moderate — decor purchases and styling time; digital previews helpful | Adds sophistication and memorable visual interest; improves photos | Elevating style without renovation; high‑end or detail‑focused listings | Follow rule of thirds, consistent palette, mix scales, keep styling minimal |
From Checklist to Closing: Staging Your Way to Success
Moving through this detailed home staging checklist is a significant accomplishment. You have transitioned from a simple to-do list to a powerful marketing strategy, methodically preparing your property to captivate the market. Each step, from the initial decluttering phase to the final artful placement of accessories, serves a distinct purpose: to help potential buyers see not just a house, but a future home.
The core principle of effective staging is creating an environment that feels spacious, bright, and inviting. By following the guidelines for furniture arrangement, you’ve learned how to define each room's purpose and improve its flow, making even smaller spaces feel generous. Optimizing your lighting, both natural and artificial, was about setting a mood of warmth and clarity. These are not just aesthetic choices; they are strategic decisions designed to build an emotional connection with buyers from the moment they step inside.
The Power of Detail and Technology
Remember the impact of a cohesive color palette and thoughtfully chosen finishes. These elements tie the entire home together, creating a polished and high-end feel that justifies your asking price. The focus on kitchens and bathrooms as show-stopping features, along with pristine curb appeal, ensures that your property makes a strong first and lasting impression. Every detail contributes to a narrative of a well-maintained, desirable home.
This process, while detailed, doesn't have to be a game of trial and error. Modern tools can remove the uncertainty and physical labor from the equation. Imagine being able to test a sleek, mid-century modern sofa from West Elm versus a more traditional, plush option from Pottery Barn in your living room without moving a single piece of furniture. This is where virtual staging becomes a game-changer.
Key Insight: The ultimate goal of your home staging checklist isn't just to make a home look nice. It is to create a universally appealing canvas that allows buyers to project their own lives and aspirations onto the space, accelerating their journey from prospect to homeowner.
Perfecting Your Vision Before You Start
With a solution like aiStager, you can move beyond simple guesswork. Its standout feature is that it is the only solution that generates hyper-realistic photos with true-to-scale dimensions for both the room and the furniture objects within it. This is a critical distinction. It means you can upload a photo of your empty or cluttered room, provide a link to a specific product online, and see exactly how it will look.
In just a few clicks, you can test different types of the same product. For example, you can experiment with different finishes on a single Crate & Barrel dining table or see how a Benjamin Moore paint color like "Chantilly Lace" looks on the walls before you buy a single can of paint. This ability to test countless combinations of real products in your actual space is an incredible advantage. It saves time, prevents costly mistakes, and ensures that the final physical staging is executed with precision and confidence. By mastering this home staging checklist and integrating these powerful virtual tools, you’re not just listing a property; you are engineering a faster, more profitable sale.
Ready to eliminate the guesswork from your staging projects? Bring your home staging checklist to life with aiStager. Upload a photo of your room and a product link to see a hyper-realistic, dimensionally accurate visualization in seconds, ensuring every choice is perfect before you commit. Try aiStager today and transform your staging process.