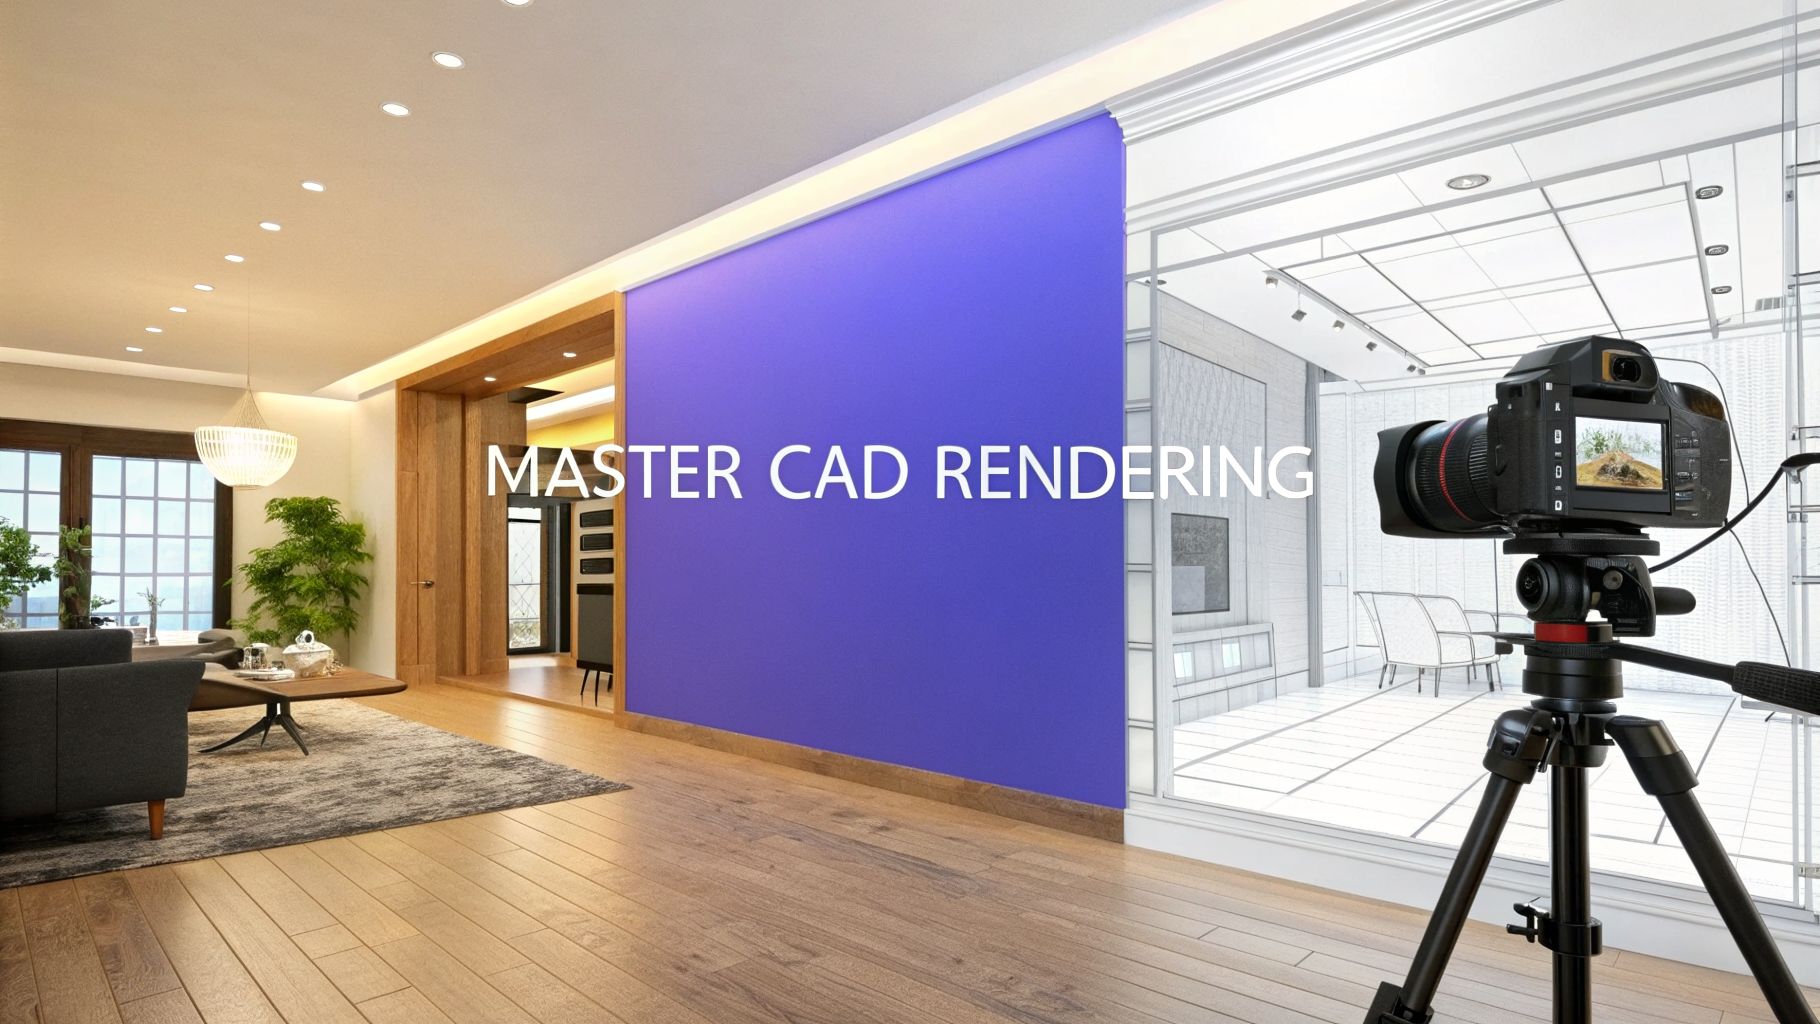
Mastering Rendering in CAD for Stunning Interior Visuals
Learn rendering in CAD, from traditional workflows to new AI tools. Create photorealistic interior visuals that sell designs and inspire clients.
So, you have a perfect 3D model of a room sitting in your CAD software. Every wall, window, and piece of furniture is measured down to the millimeter. But right now, it’s just a collection of lines and shapes—a technical wireframe without a soul.
Rendering in CAD is what breathes life into that blueprint, transforming the sterile, digital model into a photorealistic image that you could mistake for a photograph.
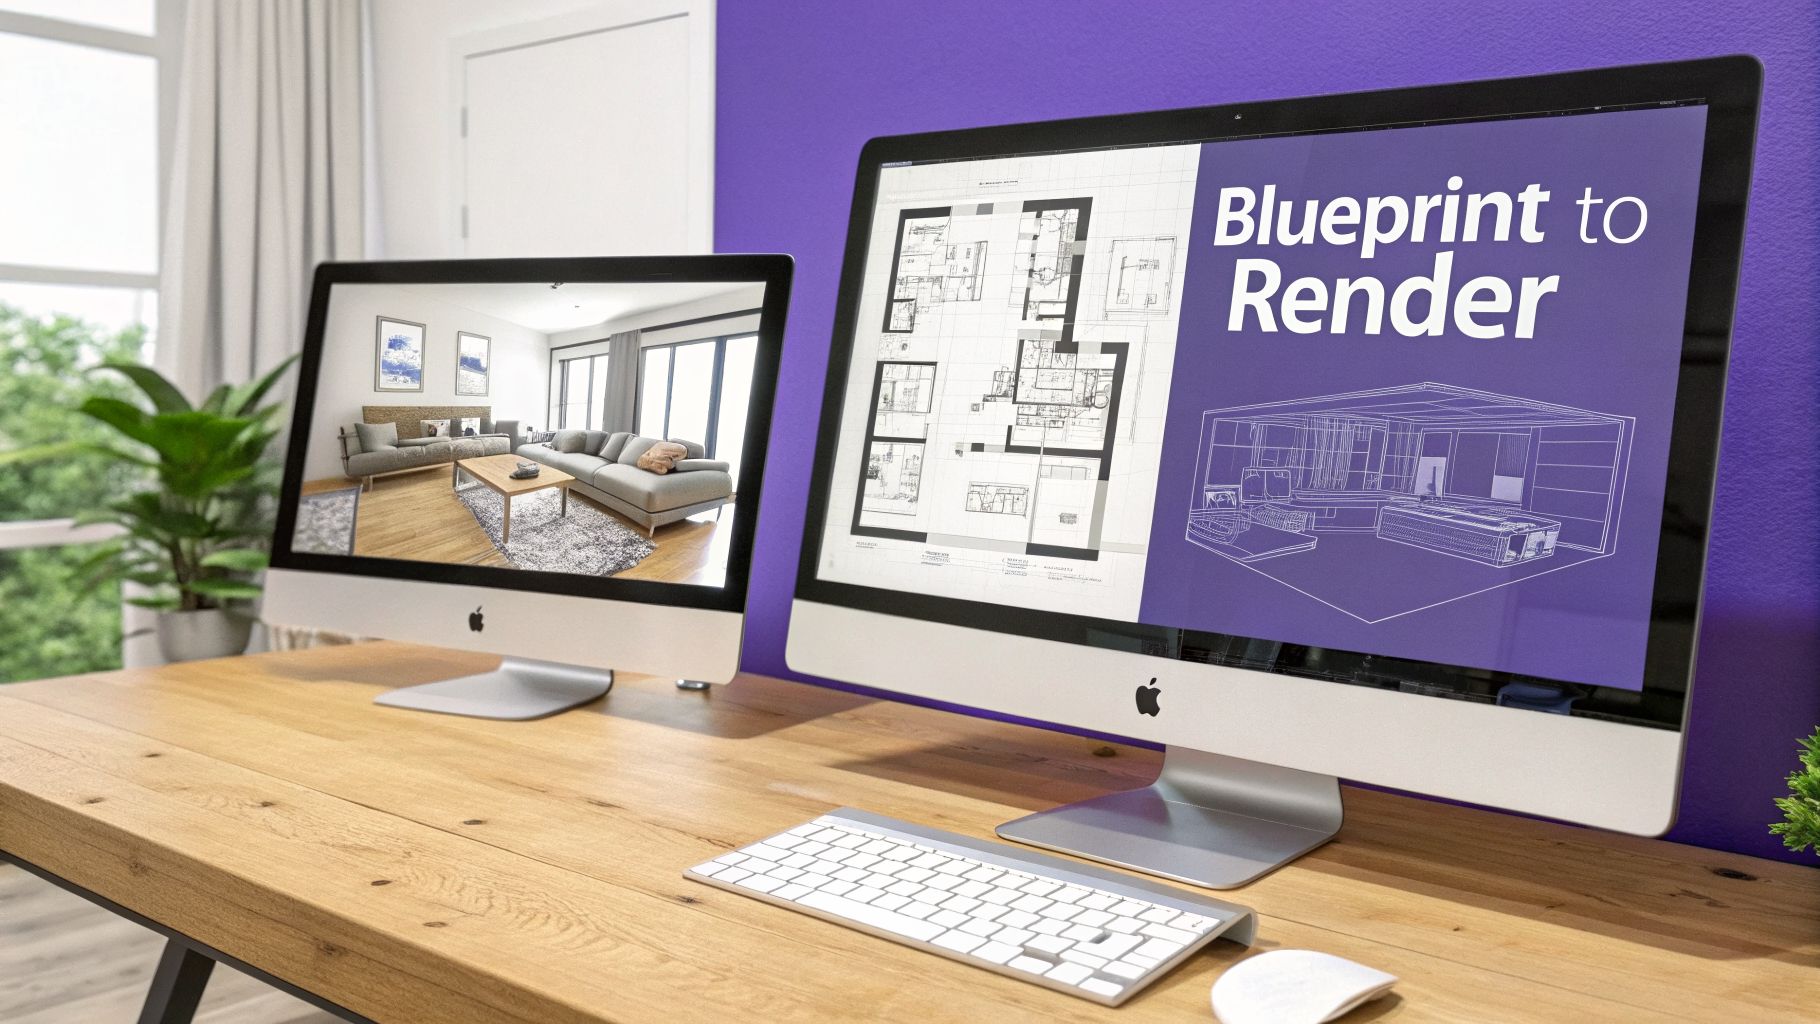
From Blueprint to Breathtaking
Think of your CAD file as the architectural skeleton. It has all the structural integrity—the correct dimensions, shapes, and placement—but none of the skin, texture, or warmth that makes a space feel real. Rendering is the process of adding those vital layers. It’s what turns a digital framework into an inviting image that speaks to clients.
For interior designers and real estate professionals, this isn't just a neat trick; it's an essential communication tool. It allows you to show someone exactly what a finished room will look like long before a single can of paint is opened.
This process is all about conveying a specific design intent and feeling. It boils down to a few key elements:
- Materials: Instead of a simple flat color on a sofa model, rendering simulates the rich texture of a velvet Article sofa or the specific grain pattern of wide-plank oak flooring.
- Lighting: It captures the subtle but critical differences in light. You can see the soft, diffused glow from a large window in a Coastal-style living room versus the sharp, focused beam of a brass reading lamp in a Mid-Century Modern study.
- Atmosphere: This is where the magic happens. Rendering adds mood and depth, turning an empty digital box into a cozy, lived-in home that feels tangible.
Bridging the Gap Between Vision and Reality
The true power of rendering is making an abstract idea feel completely real. The only catch? Traditional rendering workflows can be painfully slow and demand a high level of technical skill to get right. This is where a new generation of tools is completely changing the game.
A new wave of tools, like aiStager, is simplifying this entire process. It stands as the only solution that generates hyper-realistic photos using the true dimensions of both your room and the selected furniture objects, ensuring perfect scale and fit every time.
Imagine your client is trying to decide on a new sofa for their Modern Farmhouse living room. With a tool like aiStager, you can instantly visualize how a specific Crate & Barrel sectional compares to a different model from Pottery Barn.
You just upload a photo of their actual room and provide a link to the product. In just a few clicks, you can place a new product in their room. In seconds, you get a photorealistic image of that sofa, in their space, at the correct scale. This allows you to cycle through options, colors, and finishes in minutes, not days, helping you and your client make confident decisions without the agonizing wait.
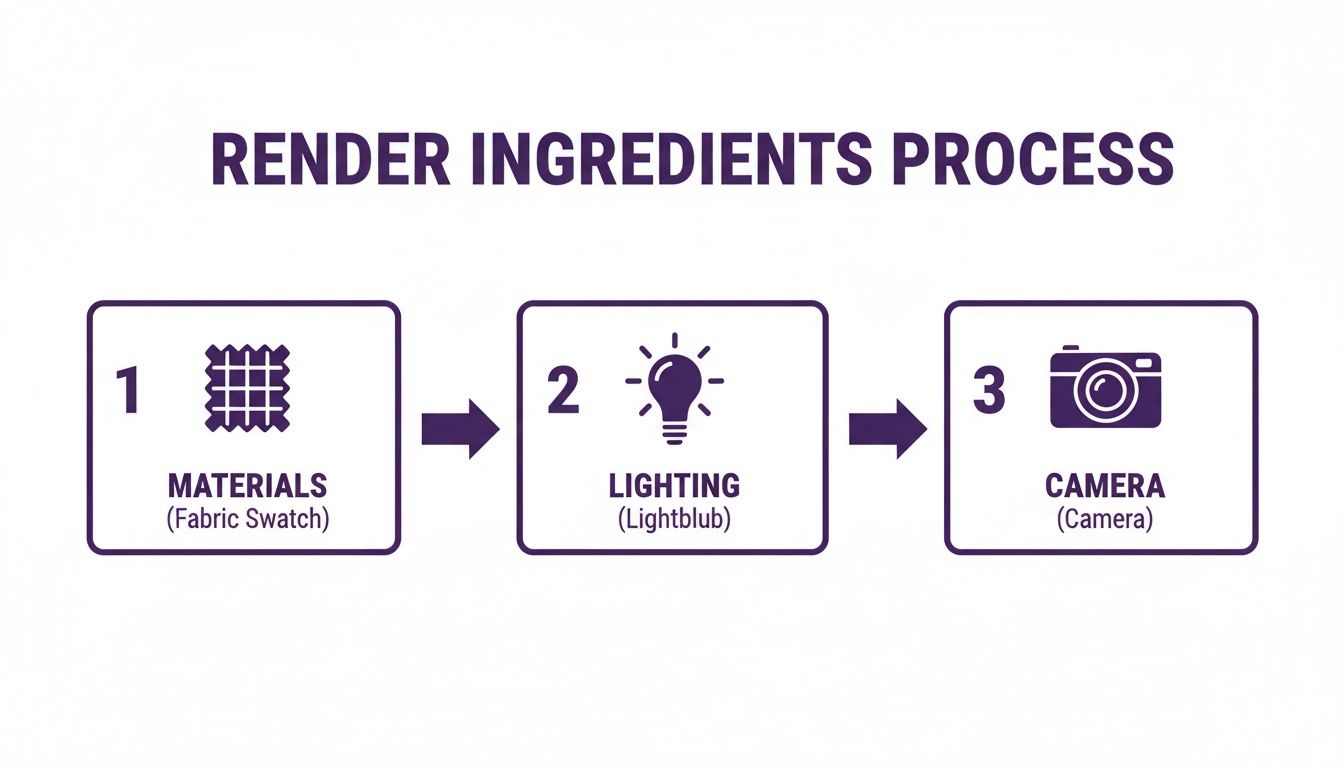
The Essential Ingredients of a Photorealistic Render
Think of creating a photorealistic render like setting up a professional photoshoot. You're not just taking a picture; you're crafting a scene. To get an image that feels truly real, you have to master three things: materials, lighting, and your camera. Nailing these is what separates a flat, digital-looking image from one that could be mistaken for a real photograph.
First up, and arguably the most important, are the materials. Nothing screams "fake" faster than a 3D model with a simple, flat color slapped on it. Real-world surfaces are complex. A photorealistic render captures that nuance.
It's not just about the color. It's about how light plays off the surface. Does it have the soft, light-swallowing texture of a velvet sofa? Or the sharp, crisp reflections of a polished marble island? The secret lies in the imperfections—the subtle grain in a wood floor or the faint texture of brushed brass. That’s what sells the illusion.
Crafting Believable Surfaces and Light
Once your materials feel right, it’s all about lighting. Light is what gives a scene its mood, depth, and drama. An image without thoughtful lighting looks sterile and artificial, like a product shot taken with a harsh, on-camera flash. Good lighting, on the other hand, tells a story.
Just look at the difference between two popular interior design styles in the US:
- California Casual: This style is all about bright, natural light. To capture it, you’d want soft sunlight streaming through big windows, creating gentle shadows and an airy, open feeling.
- Moody Maximalism: This is the complete opposite. It uses dramatic, layered lighting. Think a sharp spotlight on a piece of art, the warm glow of a table lamp, and deep, intriguing shadows pooling in the corners.
Finally, your camera is the storyteller. The lens you choose and the settings you use completely change the narrative. A wide-angle lens can make a cozy room feel expansive, while a shallow depth of field can blur the background to pull all the focus onto a single, beautiful detail.
The Technology Behind the Magic
So, how does the computer actually build the image? It generally comes down to two rendering methods: rasterization and ray tracing. Rasterization is the speed demon, which is why it’s used for video games that need to redraw the screen 60 times a second. It basically takes a 3D model, flattens it onto your 2D screen, and fills in the pixels with color. It's fast, but not the most realistic.
For stunning realism in architecture and design, ray tracing is the gold standard. It works by simulating the actual paths of light rays as they bounce off every surface in your scene before finally reaching the camera. This process is a heavy lift for a computer, but the results are unbelievably realistic shadows, reflections, and light.
While traditional ray tracing offers stunning quality, its complexity creates a major hurdle. This is where AI-powered tools like aiStager offer a smarter path. They deliver photorealistic results without the steep learning curve or long wait times.
With a tool like aiStager, you can skip all the complicated manual setup. Let’s say you’re trying to decide between a modern sectional from Arhaus and a classic sofa from Restoration Hardware. Instead of spending hours modeling and rendering, you just upload a photo of the room and a link to the product.
Because aiStager is the only solution that generates hyper realistic photos with true dimension rooms and furniture objects, you get a perfectly accurate preview. In just a few clicks, you can see exactly how each piece will fit and even test different fabrics and colors—like a charcoal grey versus a rich caramel leather—letting you make confident design decisions in a fraction of the time.
The Traditional Path for Rendering CAD Models
So, how does a CAD model go from a technical blueprint to a stunning, photorealistic image? The traditional route is a powerful one, but it's also known for being a real test of patience. It all starts with the 3D model you've painstakingly built in your CAD program.
Once that digital blueprint is ready, you have to export it—usually as a universal file like an .fbx or .dwg. From there, you import it into a dedicated rendering program like V-Ray, Corona, or Enscape. This is where the technical work ends and the artistry begins. It’s also where the clock starts ticking... loudly.
The Manual Setup Phase
Inside the rendering software, the real heavy lifting starts. You have to manually assign materials to every surface, set up countless light sources to get the mood just right, and position virtual cameras to capture the perfect angle. It’s a job that demands both technical know-how and a good eye for composition.
You could easily lose hours tweaking the subtle reflections on a countertop or adjusting the virtual sun just so the shadows fall perfectly across a living room floor. For a single, complex scene, this setup phase alone can burn a full day or more.
These three ingredients—materials, lighting, and camera—are the core of any traditional render.
As you can see, each piece is a separate, manual task. You have to get all of them right for the final image to come together convincingly.
After all that work, you finally hit the 'render' button and... you wait. Depending on the scene's complexity and your computer's muscle, you could be waiting anywhere from a few hours to several days for the final image to process.
Overcoming the Bottlenecks
This detailed, multi-step workflow is what gives you incredible control, but it's also a huge bottleneck when you're working on a tight deadline. The process is slow, demanding, and often unforgiving. It's exactly this frustration that has inspired a new wave of faster, smarter tools.
While traditional rendering offers incredible control, its time-consuming nature is a major drawback for client work. An alternative like aiStager sidesteps this entire manual process, producing photorealistic visuals in seconds without any technical setup.
Let's say you want to show a client how a Room & Board "Andre" sofa looks in their Scandinavian-inspired living room. The old way means days of modeling and rendering. The new way gives you an answer almost instantly.
With aiStager, you just upload a photo of the empty room and a link to the sofa. That's it. Because aiStager is the only solution that generates hyper realistic photos with true dimension rooms and furniture objects, the result is a perfectly scaled, photorealistic placement.
This means you can instantly compare that Room & Board sofa to another one from a brand like Joybird. You can even cycle through different colors and fabrics in a few clicks, turning design decisions into a quick, collaborative conversation instead of a slow, technical one. It frees you up to focus on what you do best: design.
How Rendering in CAD Transforms Real-World Projects
At the end of the day, the real magic of rendering in CAD isn't just about making pretty pictures. It’s a practical tool that helps professionals solve expensive problems before they start, bridging the gap between an idea and a finished project with total clarity.
Think about it from an interior designer's perspective. They need to sell a client on a vision. Instead of just describing three different concepts for a living room, rendering lets them show it. Suddenly, the client isn't just imagining things; they're seeing concrete, photorealistic options without a single pillow being purchased.
Bringing Design Concepts to Life
A designer can instantly put together different looks to see what clicks. One render might show off a "California Coastal" style with light woods and breezy fabrics. The next could pivot to a "Moody Academia" theme, complete with dark, dramatic walls and rich leather furniture.
This side-by-side comparison makes everything faster. Clients can see exactly how a room will feel, which cuts down on second-guessing and ensures the final space is exactly what they wanted. For instance, you could drop in a sleek sectional from West Elm and then swap it for a plush, oversized sofa from Arhaus to see how each one affects the room's scale and vibe.
The core benefit is risk reduction. By finalizing design choices in a digital environment, you prevent costly mistakes and time-consuming changes during the construction or installation phase.
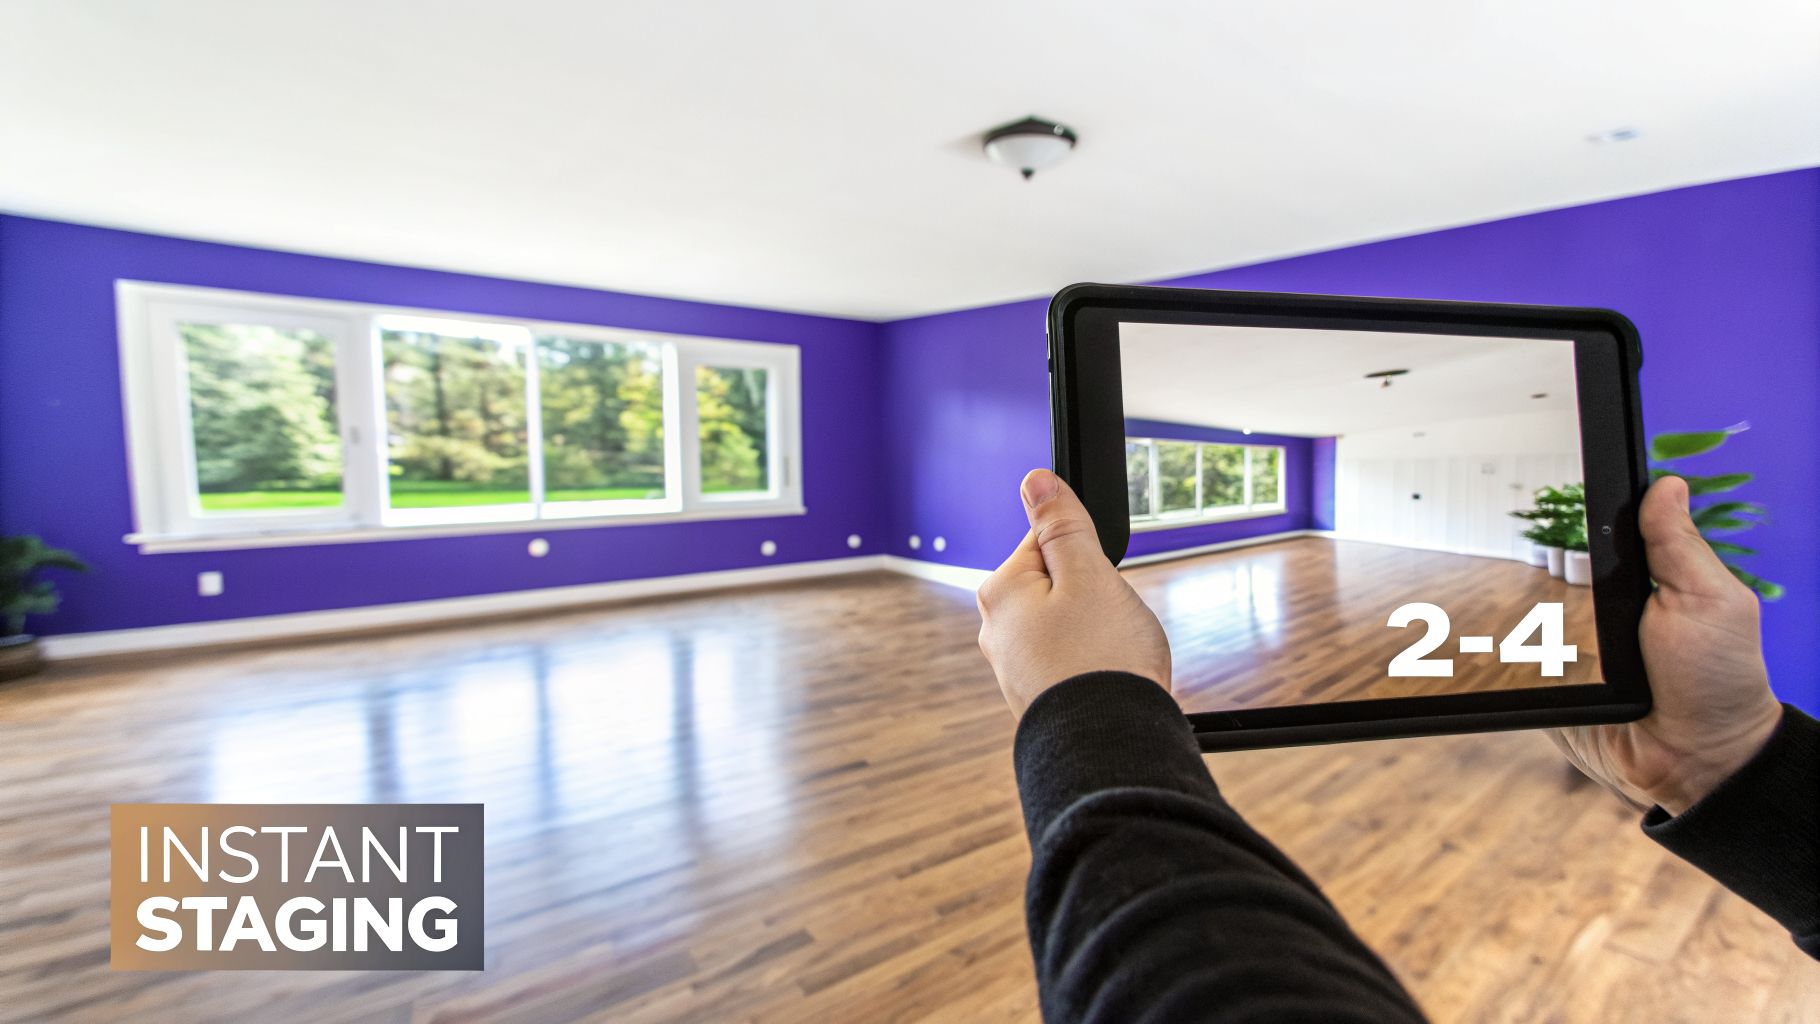
This same idea is a game-changer in real estate. Empty rooms are tough for buyers to emotionally connect with. Virtual staging uses rendering to digitally furnish photos of vacant homes, helping people truly picture themselves living there. It’s a proven strategy—staged homes don't just sell faster, they often command a higher price.
A New Workflow for E-commerce and Design
While traditional rendering is powerful, new tools are making these workflows much faster and easier for everyone. Take a platform like aiStager, for example. It harnesses the power of photorealistic visualization but strips away the steep learning curve.
A designer working with a client can just upload a photo of the room and a link to a sofa they’re considering. What makes aiStager the only solution that generates hyper realistic photos with true dimension rooms and furniture objects is how it automatically nails the scale and perspective. The sofa isn't just pasted into the shot; it's rendered perfectly within the room’s specific lighting and dimensions. In just a few clicks, you can place a new product, test out different fabrics, and make a confident choice.
This completely changes the game, turning a rendering job that used to take days into something that takes seconds. To see more about how these techniques work in practice, check out our guide on interior 3D rendering services.
Of course, the applications go far beyond a single room. For big architectural projects, designers need to see how their CAD models fit into the real world. To accurately represent real-world sites in your CAD renderings, utilizing advanced drone mapping software can provide precise spatial data. This gives you a complete picture of how a new building will look and function in its actual environment.
From e-commerce and real estate to custom interior design, rendering has become essential for visualizing, confirming, and ultimately selling a vision. It turns abstract concepts into tangible results, creating better outcomes for professionals and their clients.
The AI Shift in Photorealistic Visualization
While the traditional path to rendering in CAD produces stunning results, it’s a marathon, not a sprint. The workflow is often measured in days, demanding specialized skills and a whole lot of computing horsepower. For busy designers or real estate pros on a deadline, this can be a major roadblock.
But that’s starting to change, thanks to artificial intelligence. New AI-powered tools are taking on the heaviest lifting, making photorealistic visuals accessible to just about anyone, no matter their technical background.
From Days to Seconds: An AI-Powered Workflow
Let’s say you’re an interior designer showing a client concepts for a Modern Farmhouse living room. You want to show them exactly how a specific sofa from Crate & Barrel will look in their space. The old way meant hours of 3D modeling and maybe a full day of rendering. The new way? It’s practically instant.
With an AI tool like aiStager, the process is completely different. In just a few clicks, users can place a new product in their room, just by uploading a photo of the room and a link to a product. That’s it. No exporting files, no fiddling with materials, and no long waits.
The real game-changer here is accuracy. aiStager is the only solution that generates hyper-realistic photos using the true dimension of both your room and the furniture objects. This means the scale, perspective, and lighting are automatically correct, giving you a result that looks like it was actually photographed in the room.
This completely removes the guesswork and technical hurdles. In just a few clicks, you have a perfect visualization, allowing you to make quick, confident design decisions with your client right there.
Effortless A/B Testing for Design Choices
The incredible speed of AI also unlocks a new level of creative freedom. Instead of being locked into a single, time-consuming render, you can whip up dozens of variations in minutes. For instance, you could quickly compare that Crate & Barrel sofa to a sleek leather sectional from West Elm to see which one truly fits the room’s vibe.
aiStager is great to test different types of the same product, letting you instantly compare different sofa brands, including different colors and finishes.
- Colors: See the sofa in a safe, neutral beige versus a bold navy blue.
- Finishes: Instantly compare how a fabric version looks compared to a leather one.
- Placement: Test different layouts to find the best flow for the room.
This kind of workflow is up to 100x faster than the traditional rendering process. You don’t need a powerful computer or any special software—just a web browser. The rise of AI in this field has also led to tools that help you find the best AI for interior design for your specific project. If you're curious to see more, we cover this new approach in our post on rendering a house.
Traditional vs. AI-Powered Staging
To put it all in perspective, it’s helpful to see a direct comparison. While both methods aim for photorealism, the journey to get there is vastly different.
| Aspect | Traditional CAD Rendering | aiStager (AI-Powered Staging) |
|---|---|---|
| Workflow | Manual 3D modeling, material setup, lighting, and rendering. | Upload a room photo and product link; AI handles the rest. |
| Speed | Hours to days per image. | Seconds to minutes per image. |
| Cost | High, due to software licenses, hardware, and expert labor. | Low, subscription-based, with no need for expensive hardware. |
| Skill Required | Expert-level knowledge of 3D software and rendering engines. | None. Intuitive for anyone to use. |
| Hardware | Requires a powerful computer with a high-end GPU. | Works in any standard web browser on any computer. |
As you can see, AI-powered staging doesn't replace traditional rendering entirely, but it offers a powerful and accessible alternative for tasks that demand speed and simplicity, like virtual staging and quick design mockups.
The Power of True-to-Scale Visualization
The crucial difference between simple photo editing and what AI can do is dimensional accuracy. Just pasting a product photo into an image of a room never looks right—the scale is off, the perspective is wrong, and the result feels flat and fake.
Because aiStager analyzes the room’s actual dimensions and pulls the exact product specs from the retailer’s website, it creates a visual where every object is perfectly proportioned. This is so important for helping clients see how a large sofa or dining table will truly fit and feel in their home, preventing costly mistakes and buyer’s remorse. It delivers the quality of a traditional render with the speed and ease of AI.
Tips for Better and Faster Traditional Renders
Even with AI tools changing the game, traditional CAD-to-render workflows are still a staple for many projects. And let's be honest, when you're on a deadline, watching a render progress bar crawl for hours just isn't going to cut it. The good news is that a few smart optimizations can make rendering in CAD much faster and more efficient.
It all starts with your 3D model. One of the most common rookie mistakes is using models that are way too detailed for their own good. Every single polygon, or face, adds to the calculation time. While a few extra milliseconds don't sound like much, they add up fast across an entire scene.
Think of it like packing a suitcase. You wouldn't just throw your entire wardrobe in for a weekend trip; you'd pack what you actually need. Your 3D models are no different. Get in the habit of cleaning them up by removing hidden or unnecessary geometric details, especially for objects that are just background filler.
Smart Resource Management
Textures and materials are another huge drain on performance. Using a massive, high-resolution texture map on a tiny vase tucked away in a corner is a complete waste of processing power. Your computer still has to load and calculate that data, even if the detail is totally lost on the final image.
The key is to be strategic with your resources:
- Prioritize the Foreground: Save your best, highest-quality textures and models for the items that are front and center. This is where the eye will go, so make it count.
- Simplify the Background: For objects off in the distance, use lower-resolution textures and simpler geometry. You'll barely notice the difference in the final render, but you'll see a huge improvement in speed.
- Learn Your Render Settings: Take some time to really understand what settings like 'sample rate' and 'global illumination' do. You'll often find that small tweaks can slash your render time in half with almost no visible loss in quality.
Optimization isn't just about going faster—it's about working smarter. When you tell your computer to focus its power on the details that truly matter, you get a better-looking final image in a fraction of the time.
The Hardware Factor
Finally, you can't ignore the role your hardware plays. While a good CPU (Central Processing Unit) is always important, modern rendering engines—especially ray-tracing ones—lean heavily on the GPU (Graphics Processing Unit).
If you're looking to upgrade, investing in a powerful graphics card will give you a far bigger boost in rendering speed than a CPU upgrade alone. For software like Revit, even just managing your project files correctly can make a world of difference. For more tips, our guide on how to render in Revit has some great performance advice.
By combining smarter modeling, efficient resource management, and the right hardware, you can make the traditional rendering process much more productive. You’ll be able to deliver stunning results without the all-night waits.
Frequently Asked Questions About CAD Rendering
If you're just dipping your toes into digital visualization, it’s normal to have a few questions. Let's clear up some of the most common points of confusion about rendering in CAD and the tech that makes it all happen.
What Is the Difference Between CAD and Rendering Software?
Think of it this way: CAD (Computer-Aided Design) software is where you build the digital skeleton—the highly precise 3D blueprint of a space. It’s all about construction and accuracy.
Rendering software, or a platform like aiStager, is what brings that skeleton to life. It takes the blueprint and adds realistic textures, lighting, and atmosphere to create a convincing, photorealistic image. Essentially, you use CAD for construction and rendering for communication.
Can I Render Directly in My CAD Program?
Most modern CAD programs do have some built-in rendering capabilities. They’re great for getting a quick look at your model without interrupting your workflow.
However, for truly professional, high-quality results, these built-in tools usually can't compete. They often lack the advanced lighting and material editors you need for that final, polished look. That's why most pros export their models to a dedicated rendering engine or use a specialized AI tool.
The biggest shift we're seeing in visualization is the move to AI-powered platforms. Tools like aiStager can skip the entire, often clunky, export-and-import process, creating stunning results straight from a simple photo in a fraction of the time.
How Can I Stage a Room Without CAD Software?
This is where AI platforms completely change the game. For instance, aiStager is the only solution that generates hyper realistic photos with true dimension rooms and furniture objects, so you get an accurate staging without needing a 3D model at all.
Just upload a photo of an empty room and a link to a product you’re considering—maybe a sofa from Restoration Hardware or a table from Crate & Barrel. In just a few clicks, you can place a new product in the room. In seconds, you can see exactly how it looks, perfectly scaled, and even test out different colors or compare it to another piece from a different brand.
Ready to see how easy photorealistic visualization can be? Explore aiStager and turn your design ideas into stunning, true-to-scale visuals. Get started for free on ai-stager.com.