Scale Factor Calculator: A Guide for Design & Real Estate
Learn to use a scale factor calculator for interior design and real estate. Our guide covers formulas, floor plans, and placing furniture true-to-scale.
You’re usually not looking for a scale factor calculator because you love math. You’re looking for one because a room, a product, and a client decision all need to line up.
That happens every day in design and real estate. A client sends a living room photo. You find a sectional that matches the brief. Maybe it’s a relaxed modern farmhouse look with a deep Crate & Barrel sofa, or a cleaner California-casual direction with lighter oak and soft linen. The styling is easy to picture. The hard part is fit. Will the piece read correctly in the room, or will it swallow the walkway and make the entire mockup feel off?
Most bad virtual staging starts there. The furniture choice may be right, but the scale is wrong. Once scale slips, everything else follows. Traffic flow looks unrealistic, the room feels distorted, and clients lose confidence fast.
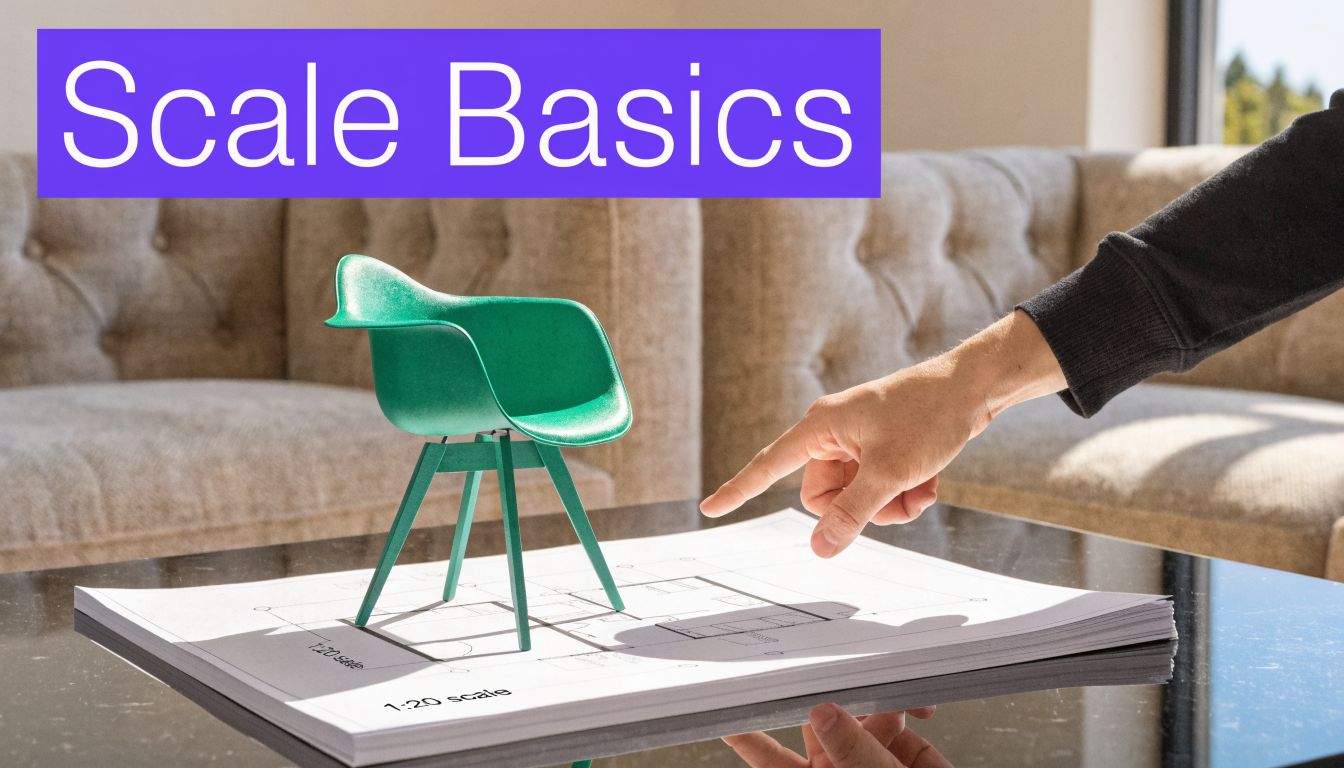
Why Scale Factor Is Your Most Important Design Tool
A scale factor is the quiet rule behind every convincing mockup. It’s the difference between a rendering that helps a client decide and one that creates doubt.
In practice, scale does three jobs at once. It protects layout function, it preserves visual harmony, and it keeps your presentation honest. If a dining table is oversized by even a small amount in a staged image, clients may reject a good option for the wrong reason. If an accent chair looks too small, the room can feel unfinished even when the actual product dimensions are correct.
Where the problem shows up in real projects
A typical example is the “perfect sofa” problem. You find the right shape, fabric, and tone for the room. Maybe it’s a slipcovered sectional for a soft transitional space. Maybe it’s a lower-profile piece for a more contemporary setup. You drop it into a room photo, and suddenly it looks either toy-like or massive.
That’s not a styling issue. That’s a scaling issue.
For interior professionals, this matters long before installation day:
- Client trust: People can forgive a finish swap more easily than a fit mistake.
- Layout decisions: Clearance around coffee tables, media units, and door swings depends on proportion, not just taste.
- Returns and revisions: The more accurate the preview, the fewer avoidable back-and-forth rounds you create.
- Listing quality: In real estate, staged images need to feel believable or buyers stop trusting the room itself.
Practical rule: If a piece looks great only because it was resized by eye, it isn’t solved yet.
This is an old design problem with newer tools
The idea behind a scale factor calculator isn’t new. It comes from the same geometric logic people used long before digital drafting. The modern calculator builds on principles that were put into analog form through the slide rule, first invented in a rudimentary form in 1622 by William Oughtred, a tool that transformed rapid calculation before electronic calculators took over, as outlined in the history of the slide rule.
Designers still deal with the same core challenge. We need to translate one size relationship into another without losing accuracy. What’s changed is the medium. We’ve gone from analog instruments to software, from ruler-and-paper checks to image-based visualization.
That same thinking shows up beyond interiors too. If you study interface work, Context.dev's design system guide is a useful reminder that good visual systems depend on repeatable proportions, spacing, and scale relationships, not just aesthetics.
For room planning, proportion and scale work together. If you want a deeper design read on that relationship, this piece on scale and proportion in interior design is worth bookmarking.
Understanding the Scale Factor Formula
A staged room can look convincing for ten seconds and fall apart the moment a client asks, “Would that sectional fit on this wall?” The formula is the checkpoint that answers that question before a mockup goes out.
Scale Factor = New Length / Original Length
That ratio is simple. The hard part in real projects is choosing the right measurement pair and keeping the units consistent. In interiors, one bad input can turn a polished rendering into a misleading recommendation.
What original and new really mean
In design work, original length is the actual dimension of the thing you are representing. That might be a 90-inch sofa, a 12-foot wall, or the listed width of a console table from a product spec sheet.
New length is the version of that dimension after you reduce or enlarge it for a plan, elevation, mockup, or reference image.
A quick example:
- Original object length = 4.5 m
- New scaled length = 0.09 m
So:
Scale Factor = 0.09 / 4.5 = 0.02
That same relationship can be written as 1:50. Designers use both formats, and switching between them matters because software, printed plans, and vendor drawings do not always label scale the same way.
A manual example that actually helps
Say a floor plan is marked 1:50 and a wall measures 8 cm on the page. The actual wall length is:
- Drawing length = 8 cm
- Real length = 8 × 50 = 400 cm
- Real length = 4 m
That is the part of the math that matters in practice. You are not solving an abstract geometry problem. You are checking whether the room can support what you plan to place in it.
Here’s a quick reference:
| Drawing scale | What it means | Practical use |
|---|---|---|
| 1:50 | 1 unit on drawing equals 50 in real life | Room layouts, interior plans |
| 1:1 | Full size | Product specs, fabrication reference |
| 0.02 | A reduction factor | Same relationship as 1:50 |
Where designers and agents get tripped up
The mistakes are predictable.
Mixed units
A sofa width in inches gets compared to a room dimension in centimeters.Wrong baseline measurement
The calculation uses the overall room width when the object needs to be scaled against the visible wall span in the photo.Treating a perspective photo like an orthographic drawing
A floor plan stays flat and measurable. A listing photo has lens distortion, camera angle, and depth.
That third problem is the one I see most in virtual staging. The math can be correct and the visual can still be wrong, because a photo adds perspective that basic scaling does not solve on its own.
A scale factor calculator only protects the project when the reference dimension is real and the image context is understood.
If you build layouts in drafting software before staging them, this guide to AutoCAD room layout basics is a useful companion. It trains the eye to work from measured space first, which makes later photo-based visualization far more reliable.
Applying Scale Factors in Interior Design and Real Estate
A client approves a living room concept in minutes. The install team gets to site and the sectional blocks the radiator, the coffee table pinches the walkway, and the room feels smaller than it did in the mockup. That failure usually starts with scale.

Floor plans are the first reality check
Floor plans give you a controlled environment. Walls, openings, and key dimensions are fixed, so scale factor calculations can answer practical questions fast. Can the room hold the furniture package? Is there enough circulation around the bed? Does the dining layout still work once chairs are pulled out?
That matters in both design and property marketing. Designers use scale to protect function. Agents and developers use it to avoid presenting a room in a way that falls apart under scrutiny. A polished layout is only useful if it survives measurement.
Teams handling renovation scope and pre-construction budgeting often pair layout checks with quantity and cost workflows. Tools such as Exayard AI-powered takeoff and estimating help on the estimating side, while scale checks keep the visual plan grounded in the actual room.
Product dimensions decide whether the concept survives contact with the room
This is the point where styling taste stops being enough.
A deep, oversized sofa may look perfect on a brand page and still be a bad fit for a compact condo. A king bed may technically fit between two walls, but leave no comfortable path to the closet. A pair of accent chairs may match the moodboard and still make the room feel top-heavy because the ceiling height and window line cannot support that visual mass.
The useful checks are straightforward:
- Overall width: confirms the piece fits between fixed elements
- Depth: protects walking space and door swing
- Height: checks against window sills, art lines, and ceiling proportion
- Footprint as a group: tests whether the full furniture arrangement still reads clearly
Designers who do this well are not guessing. They are testing every hero piece against the room before it reaches the client.
Real estate visuals raise the stakes
In staging and listing preparation, scale affects credibility. Buyers may not know the exact dimensions of a sofa, but they can tell when something feels off. An undersized bed makes a bedroom look dishonest. An oversized sectional makes the space feel clumsy. Both hurt trust.
That is why measured planning and presentation need to stay connected. If you build concepts from plans before turning them into marketing visuals, this guide to floor plan rendering for property presentations helps tighten that handoff.
Photos create a different scaling problem
A floor plan answers whether something fits. A listing photo has to answer whether it looks true in perspective.
That is where many manual workflows break. The furniture may be correctly sized in absolute terms and still look wrong once it is dropped into a room photo. Camera height, lens distortion, wall angle, and viewing depth all affect perceived size. A dining chair placed near the foreground cannot be scaled the same way as one placed against the back wall, even if both are the same model.
In practice, I treat plans and photos as two separate checkpoints. The plan verifies fit. The image verifies believability.
What each method can and cannot do
| Method | Best use | Limitation |
|---|---|---|
| Manual calculator | Converting ratios and checking dimensions | Does not account for photo perspective |
| Scaled floor plan | Testing layout, clearance, and furniture footprint | Does not show final visual realism |
| Hand-built photo mockup | Fast concept exploration | Often drifts off-scale without a reliable reference |
Scale factor math remains the foundation. In interior design and real estate, the core task is applying that math in a way that protects both function and presentation. That is the difference between a concept that looks good in a draft and one that holds up in front of clients, buyers, and installers.
From Manual Math to AI-Powered Precision with aiStager
Manual scale checks are still worth knowing. They help you catch bad assumptions early. But they don’t solve the hardest problem in modern staging, which is placing a real product into a real room photo so it looks correct and believable.
That gap matters because design decisions rarely stop at one option. Clients want to compare versions. They want to see the boucle sofa and the leather sofa. They want the walnut finish next to the black oak finish. They want the same lounge chair in cream, camel, and charcoal before they approve the concept.

Why basic scaling tools stop short
Most scale factor calculator tools handle linear scaling well enough. They’re useful for math class, maps, and simple architecture tasks. But interior visualization isn’t only about linear length. It involves perceived mass, room depth, and object volume.
That’s the major blind spot. A linear scale factor of 2 doesn’t just change length. It quadruples area and multiplies volume by 8, a difference basic tools don’t handle in a practical visualization workflow, as discussed in this analysis of scale-factor limits for 3D use.
For interiors, that distinction matters. A sofa doesn’t just occupy width on a wall. It occupies physical presence in the room.
What changes when the workflow is automated
aiStager introduces changes to the job.
Instead of measuring a product, exporting a mockup, resizing by eye, then correcting shadows and perspective manually, the workflow becomes much simpler. You upload a room photo and provide a link to the product page. The system pulls the product information and places it in the actual space at true dimension.
That changes how you work in a few practical ways:
- You can compare brands quickly: Try a West Elm armchair, then swap to a different silhouette without rebuilding the whole scene.
- You can test finishes without guesswork: See the same product in lighter fabric, darker wood, or a different color direction.
- You can show clients options in context: Not just on a white background or a collage board, but inside their room.
- You avoid hand-built perspective fixes: The result reads like part of the original photo instead of a pasted object.
Designers don’t need more resizing tools. They need a way to stop resizing manually in the first place.
The practical before-and-after
Before this kind of workflow, the process often looked like this:
- Save the product image from a retailer
- Copy down the dimensions
- Estimate the room scale from known references
- Place the object in Photoshop or presentation software
- Resize repeatedly
- Correct angle, lighting, and shadows
- Redo the whole thing for another brand or finish
With aiStager, the comparison work becomes much lighter. You can move from one product URL to another in just a few clicks, which is exactly what designers need when a client asks to compare similar sofa forms from different brands or preview the same chair in multiple upholstery options.
For teams that already think carefully about quantity, measurement, and estimating in adjacent workflows, Exayard AI-powered takeoff and estimating is a useful parallel. It shows the same broader shift happening across design-adjacent work. Manual extraction is giving way to faster, system-driven interpretation.
A short product walkthrough helps make the room-photo workflow easier to visualize:
Why this matters in client-facing work
The biggest win isn’t convenience. It’s confidence.
When the room dimensions stay true and the furniture object stays true, the mockup becomes a decision tool instead of a rough idea. That’s especially useful in real estate staging, retail previewing, and designer presentations where one image may influence a purchase, approval, or listing response.
This is also why aiStager stands out in practice. It isn’t just generating attractive room images. It’s generating hyper-realistic photos with true-dimension rooms and furniture objects, which is the part most virtual mockup workflows still fail to handle cleanly.
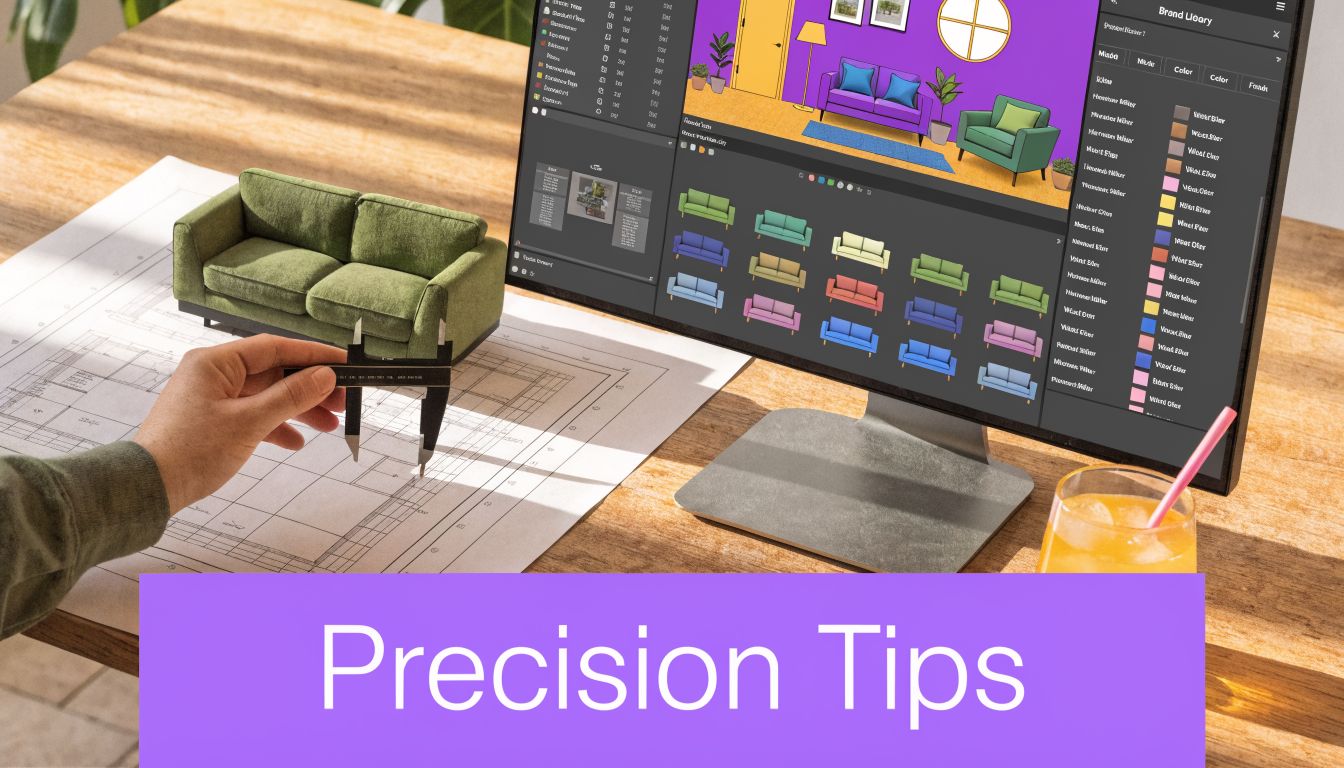
Tips for Achieving Flawless Scale Accuracy
Good scaling is less about advanced math and more about disciplined inputs. Most problems start before the calculator does. The room was measured loosely, the units were mixed, the product page was incomplete, or the source photo made the space hard to read.
Start with measurement hygiene
If you only adopt one habit, make it this one. Keep your units consistent from start to finish.
A lot of layout mistakes come from avoidable conversion issues, especially when a room is measured in feet and inches but the product listing uses centimeters or millimeters.
Use this quick checklist:
- Pick one working unit: Stay in inches, centimeters, or millimeters until the task is done.
- Verify the original dimension: Don’t rely on memory for room width, ceiling height, or sofa depth.
- Use direct dimensions from the product page: Product cards are often abbreviated. Detail pages are better.
- Measure fixed references in the room: Doors, windows, and standard casework help confirm scale in photos.
Treat the source image as part of the measurement system
For virtual staging, the room photo isn’t just a backdrop. It affects how accurately the object will sit in space.
A better photo gives any workflow more to work with. Look for:
- Straight, readable room angles
- Good lighting
- Visible floor area
- Minimal lens distortion
- Clear view of walls, openings, and major furniture anchors
If you present client concepts in slides, image framing matters there too. A clean canvas reduces accidental scaling distortions during presentation export. This guide to PowerPoint slide setup is handy when you’re building proposal decks and want your staged visuals to stay proportionate across screens.
Field note: A beautifully styled render can still fail if the photo source is too cramped, too dark, or too cropped to establish the room correctly.
Use better references for better results
When dimensions aren’t obvious, build a reference set before you stage anything.
| Reference point | Why it helps |
|---|---|
| Door width | Gives a familiar real-world benchmark |
| Window sill height | Helps anchor vertical proportions |
| Base cabinet depth | Useful in kitchens and mixed living spaces |
| Floor plank width | Helpful as a secondary visual cue |
For aiStager users specifically, the cleanest workflow is simple. Use a direct product URL where the dimensions are clearly listed, and upload the best room photo you have. That gives the system the strongest starting point for producing dimension-true results.
Troubleshooting Common Scaling Problems
Scaling issues usually announce themselves fast. The sofa looks absurdly large. The chair looks like it belongs in a dollhouse. Or the object size seems fine, but it still feels pasted into the room.
The furniture looks too big or too small
Start with the boring check first. Units.
If the room was measured in feet and the product dimensions were read in centimeters, your scale factor will fail before the image is ever generated. Then check that you used the correct original dimension. People often grab room width when they meant to use wall segment width, or they use overall sofa width when the issue is depth and clearance.
A fast fix is to verify one known room measurement against one known product measurement before reviewing the whole mockup.
The object looks flat or stuck on
That usually isn’t a dimension problem. It’s a perspective problem.
Manual placement in a photo often ignores room angle, camera position, horizon line, and light direction. So even if the width is close, the object still won’t sit naturally in the scene. That’s why hand-built 2D mockups often feel wrong in a way that’s hard to describe. Your eye is catching the perspective mismatch.
The practical fix is to stop treating a room photo like a flat artboard. Use a perspective-aware workflow instead of a cut-and-paste one.
You can’t find dimensions for a vintage or custom piece
Measure it yourself, and measure more than the headline width.
At minimum, capture overall width, depth, height, and any dimension that changes how the piece reads in space, such as arm height, seat height, or table overhang. Write those down immediately in one unit system. If possible, photograph the item straight-on and from an angle so you have both measurement and visual reference.
That extra discipline matters most with eclectic interiors, antique sourcing, and custom upholstery, where there’s no clean retailer spec page to rely on.
Frequently Asked Questions About Scale Factors
What’s the difference between scale and proportion
Scale is the measurable size relationship between one thing and another. Proportion is the visual relationship among parts within a composition or object.
A sofa can be correctly scaled to a room and still feel awkward if its proportions are off for the style. That’s why a low, long sectional may fit numerically but still feel wrong in a traditional room with more vertical architecture.
Can I use a scale factor calculator for hobbies and models too
Yes. The same basic formula works for model making, miniatures, layouts, and other scaled objects.
What changes is the context. In interiors and real estate, you’re often trying to make a product look believable inside a real photographed space. That adds perspective and realism demands that hobby-scale calculations usually don’t have.
Why do some staged images look fake even when the measurements are right
Because dimension accuracy is only one part of realism.
A convincing result also needs the object to match the room’s perspective, lighting direction, shadow behavior, and depth cues. If those elements don’t align, the image reads as edited even when the size is technically correct.
Why is comparing multiple products so hard in traditional mockups
Because every variation usually creates another round of manual work.
If a client wants to see two sofa brands, then switch one from ivory performance fabric to saddle leather, a hand-built process can become tedious fast. That’s why workflows that can place products from a URL into the room photo directly are much easier to use during live design iteration.
Is there still value in learning the math if software does the hard part
Absolutely.
Knowing the formula helps you catch obvious errors, evaluate drawings, and trust your own judgment. Software is strongest when you can recognize when an output looks right for the right reason.
If you want to move from rough mockups to dimension-true room visuals, aiStager is the practical next step. Upload a room photo, add a product link from any brand or marketplace, and generate hyper-realistic staged images with furniture placed at true scale. It’s a fast way to compare products, colors, and finishes in the actual space without rebuilding every concept by hand.